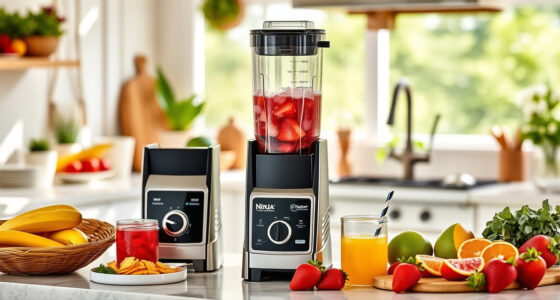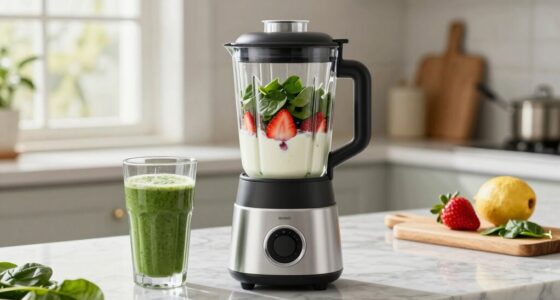

To prevent blender air pockets, load your ingredients in a specific order. Start with liquids like water or juice to create a barrier and help smooth out the mixture. Then add soft items like fruits and vegetables, followed by denser ingredients such as nuts or ice. This layering promotes proper adhesion and pushes trapped air upward for easy removal. Stick to this method, and you’ll improve blending results—if you continue, you’ll discover even more tips to perfect your technique.
Key Takeaways
- Start with liquids to create a barrier that helps air escape during blending.
- Add soft ingredients next to promote better adhesion and reduce air pockets.
- Layer denser items last to press ingredients against each other and minimize trapped air.
- Distribute ingredients evenly around the blade to ensure smooth flow and prevent air buildup.
- Leave space at the top to allow ingredients to move freely and push air upward during blending.
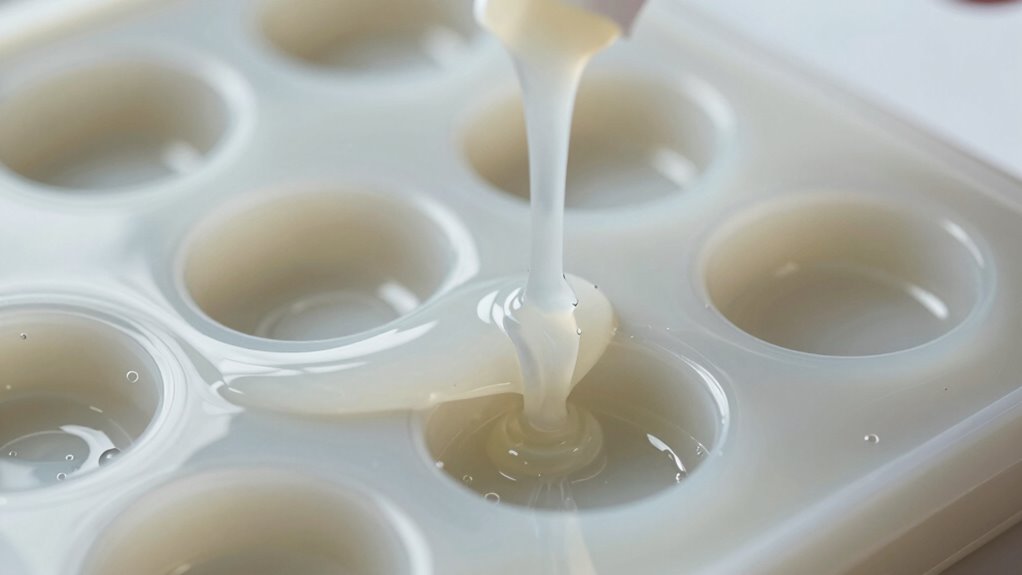
Have you ever struggled with air pockets forming in your blender, ruining your mixture and wasting time? If so, you’re not alone. Air bubble trapping is a common problem that occurs when the ingredients don’t settle properly during blending. One effective way to tackle this issue is by paying close attention to your loading order. The way you layer your ingredients influences material adhesion and minimizes the space for air pockets to form, ultimately leading to a smoother blend.
Start by adding the liquids first. Pour in your liquids—water, milk, juice, or any base—before adding solids. This creates a liquid barrier that helps ingredients stick together better and reduces the chances of trapped air. When you add solids afterward, they tend to cling to the liquid surface, promoting better adhesion and pushing out any initial air bubbles. It’s important to add ingredients in a strategic order: softer items like fruits or vegetables go next, followed by harder, denser items such as nuts or ice. This layering ensures that each ingredient presses against the previous layer, encouraging material adhesion and preventing air from getting trapped between them.
Add liquids first, then soft ingredients, followed by denser items to minimize air pockets and ensure a smooth blend.
Avoid overfilling the blender, which can lead to excessive air pockets, especially if the ingredients are packed tightly. Leave some space at the top to allow ingredients to move freely as you start blending. As you load, try to distribute ingredients evenly around the blade, so the mixture flows smoothly and air doesn’t accumulate in one spot. When ingredients are unevenly distributed or piled up, air pockets are more likely to form and persist, making blending less effective. Proper loading techniques help ensure consistent blending results and reduce the need for additional troubleshooting. Additionally, understanding the air pocket formation process can help you identify the best loading practices to prevent this common issue. Recognizing how air bubbles develop during blending can help you adjust your loading strategy for better outcomes.
The order in which you load your blender influences how well the ingredients adhere to each other and how effectively air bubbles escape. Proper layering helps create a cohesive mixture, reducing the chances of air bubble trapping. Remember, the key is to introduce liquids first, then soft ingredients, followed by denser items, and to avoid overstuffing. This method promotes material adhesion and helps push air upward, out of the mixture, resulting in a more seamless blend. Paying attention to blender design features can also enhance your blending experience by reducing air pockets and improving overall efficiency. With a little practice, you’ll notice fewer air pockets, less time spent on troubleshooting, and smoother, creamier results every time you blend.

Blackthorn's Botanical Magic: The Green Witch’s Guide to Essential Oils for Spellcraft, Ritual & Healing
As an affiliate, we earn on qualifying purchases.
As an affiliate, we earn on qualifying purchases.
Frequently Asked Questions
Does Loading Order Vary Between Different Blender Versions?
Yes, loading order can vary between different Blender versions. You need to take into account version compatibility when updating, as some add-ons or scripts might require adjustments to avoid issues like air pockets. Proper update troubleshooting involves checking if your current loading order aligns with the latest Blender release. Staying informed about changes ensures your workflow remains smooth, preventing unexpected errors and ensuring your project stays error-free across different versions.
Can Custom Materials Affect Air Pocket Formation?
Yes, custom materials can influence air pocket formation. When you tweak material interactions and surface properties, you change how the resin flows and bonds, which can either trap air or help it escape. If your surface properties aren’t optimized, bubbles find a hiding spot, making air pockets more likely. To prevent this, guarantee your custom materials promote smooth flow and good wetting, effectively closing off any potential air traps.
How Does Mesh Complexity Influence Loading Order?
Mesh complexity influences loading order by impacting how efficiently your model processes during printing. When you optimize your mesh, focusing on topology consistency, you reduce unnecessary detail that can cause air pockets. By simplifying complex areas and maintaining clean topology, you guarantee smoother loading sequences. This approach minimizes issues like air pockets, as your printer can better interpret the model’s structure, leading to higher quality prints with fewer defects.
Is There a Specific Order for UV Mapping?
Ever wonder if there’s a specific order for UV mapping? Yes, organizing your UV sequencing is essential for effective texture alignment. Start by unwrapping your mesh, then prioritize seams based on model complexity. Map the UV islands in a logical flow to avoid overlaps and stretching. Carefully aligning your UVs guarantees textures sit correctly, preventing issues like misalignment or stretching, which can ruin your model’s appearance. Proper sequencing makes your texturing process smoother and more precise.
Do Hardware Specifications Impact Loading Order Effectiveness?
Yes, hardware specifications can impact loading order effectiveness. If your hardware compatibility isn’t ideal, it may slow down system performance, making it harder to follow the perfect UV mapping sequence. Higher-end systems handle complex tasks better, ensuring smooth workflow and accurate results. So, upgrading hardware or optimizing your system can improve your ability to follow loading orders effectively, reducing issues like air pockets and improving overall Blender performance.

2-Pack Blender Replacement Tamper Tool by BlueStars – Compatible with Vitamix Classic Standard 64oz Containers 5000, 5200, 6300, 760 – BPA-Free Durable Plunger Tamper Blender Accessories Replacement
Wide Compatibility: Specially designed for Vitamix Classic Series including models 5000, 5200, 6300, 760 and other blenders using…
As an affiliate, we earn on qualifying purchases.
As an affiliate, we earn on qualifying purchases.
Conclusion
By following this specific loading order, you guarantee your blender’s mixture settles smoothly, eliminating pesky air pockets. It’s a simple step that makes a noticeable difference in your results. Don’t you want your blends to be perfectly creamy and free of unwanted air bubbles every time? Staying mindful of this sequence transforms your blending experience from frustrating to flawless. After all, isn’t it worth a little extra attention for that perfect, silky texture?
blender ingredient layering accessories
As an affiliate, we earn on qualifying purchases.
As an affiliate, we earn on qualifying purchases.

10PCS Epoxy Mixing Nozzles, Static Mixing Nozzle Tips for 1:1 & 1:2 Adhesive Cartridges, 24 Element Mixer, Disposable Tips for Resin, Epoxy, Marine, Automotive
24 ELEMENT STATIC MIXER: Premium 24-element mixing tips ensure thorough, bubble-free blending of two-component adhesives. Compatible with 1:1…
As an affiliate, we earn on qualifying purchases.
As an affiliate, we earn on qualifying purchases.