To make clear ice at home using the directional freezing trick, start by filtering or purifying your water to remove impurities and gases. Use a well-insulated container that promotes freezing from top to bottom, and keep your freezer at around 0°F (-18°C). Avoid opening the freezer often and wait until the ice is fully set before removing it. If you’re curious about perfecting this technique, you’ll find helpful tips to elevate your clear ice skills.
Key Takeaways
- Use filtered, purified, or distilled water to minimize minerals and gases that cause cloudiness.
- Employ a well-sealed, insulated container that promotes directional freezing from top to bottom.
- Maintain freezer temperature around 0°F (-18°C) and avoid opening doors during freezing.
- Wait until the ice is fully frozen before removing, then trim cloudy edges with a sharp knife.
- Store the clear ice in airtight containers to preserve its clarity and prevent contamination.

ecozy 2.4" Clear Ice Ball Maker Countertop with CrystalFlux Technology, Minimal Footprint Sphere Ice Maker with 8H Timer, 1 pcs in 40 Mins, 32 pcs/Day, Self-Cleaning for Home Bar Whiskey & Bourbon
Vaultico One Plus Ice Ball Maker – 2026 Refined Upgrade: Smallest Footprint Ever. CrystalFlux technology makes 2.4" crystal-clear…
As an affiliate, we earn on qualifying purchases.
As an affiliate, we earn on qualifying purchases.
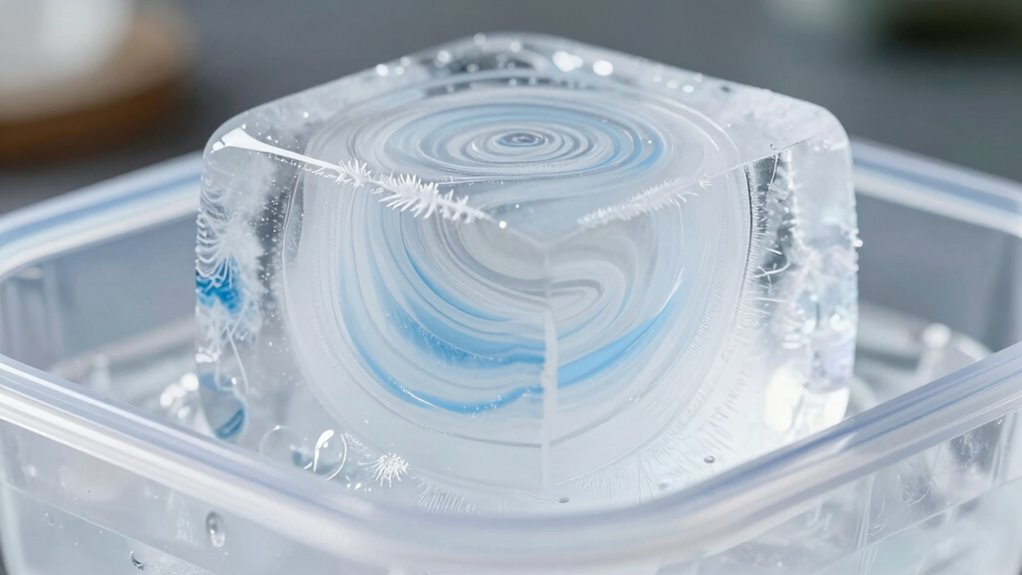
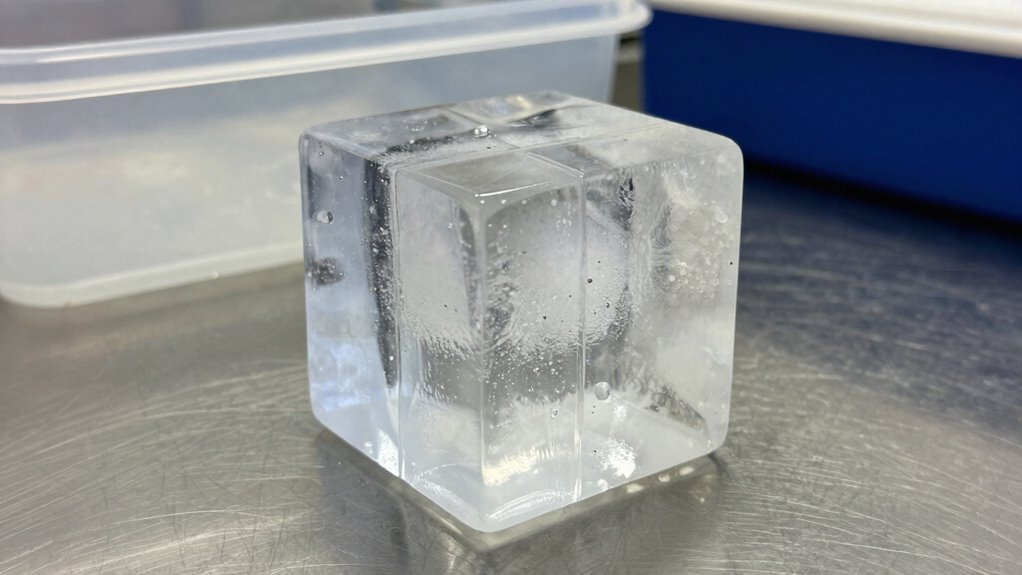
What Is Directional Freezing and How Does It Make Clear Ice?
Directional freezing is a technique that controls how water freezes, resulting in clearer ice. It works by guiding the ice formation process so that impurities and air bubbles are pushed away from the main ice block. This method relies on water filtration to remove contaminants before freezing, ensuring the water is as pure as possible. When you use directional freezing, the ice forms in a single direction, typically from top to bottom, which helps exclude impurities naturally. As the water freezes gradually, the impurities are pushed toward the last part of the ice to freeze, often the edges or the bottom. This precise control of ice formation is what creates the crystal-clear appearance, making it ideal for home use. Understanding the science behind freezing can help you optimize the process for even better clarity. Additionally, using proper freezing techniques enhances the overall transparency and quality of your clear ice. Employing temperature control methods ensures a steady freezing rate, further improving the clarity of your ice. Incorporating advanced freezing methods can further refine the clarity and appearance of your homemade clear ice, especially when combined with vetted vacuum techniques to reduce residual air bubbles.

3M Water Filtration System for Commercial Ice Maker Machines ICE125-S
GREAT TASTING ICE: Provides consistent quality water for commercial ice machines by reducing sediment and chlorine taste and…
As an affiliate, we earn on qualifying purchases.
As an affiliate, we earn on qualifying purchases.
How to Choose the Best Water for Crystal-Clear Ice
Choosing the right water is key to making clear ice. You should use filtered or purified water to remove impurities and minerals that cause cloudiness. Opting for bottled or spring water can also help achieve that perfect, crystal-clear look. Additionally, using water with a low mineral content can further improve the clarity of your ice. Low mineral content helps prevent cloudiness caused by mineral deposits. To ensure the best results, consider testing different water sources to find one with the ideal water purity for crystal-clear ice. Incorporating water filtration techniques can further enhance the clarity by removing residual impurities, much like how proper deep-sky imaging setups rely on quality equipment to produce clear images. Understanding water chemistry can also assist in selecting the most suitable water for your needs.
Use Filtered Water
Have you ever noticed how the water you use can affect the clarity of your ice? Using filtered water guarantees better water quality and reduces impurities that cause cloudiness. To get crystal-clear ice, focus on impurity removal by choosing water that’s been filtered properly. Here are four ways filtered water improves your ice:
- Removes dissolved gases for transparency.
- Eliminates minerals that cause cloudiness.
- Reduces particles that create cloudy spots.
- Enhances overall clarity and aesthetic appeal.
Opting for filtered water is a simple step that makes a significant difference. It ensures your ice is as clear as possible, letting your drinks shine and maintaining a beautiful presentation. Prioritize quality water to achieve perfectly transparent, professional-looking ice every time.
Avoid Impurities and Minerals
Selecting the right water is essential for achieving crystal-clear ice. Impurity removal is key, so choose water with minimal contaminants that can cause cloudiness. Tap water often contains minerals and impurities that create bubbles and cloudiness as the water freezes. To improve clarity, opt for water with controlled mineral levels, reducing substances that could interfere with the freezing process. Using water with low mineral content helps prevent impurities from forming during freezing, resulting in clearer ice. If you’re concerned about mineral buildup, consider using distilled or deionized water, which is free of minerals and impurities. This approach guarantees your ice remains transparent and free of cloudiness caused by mineral deposits or impurities trapped during freezing. Additionally, understanding water quality can help you select the best water for your clear ice needs, especially since water treatment techniques can further enhance clarity.
Opt for Bottled or Spring Water
Opting for bottled or spring water can substantially improve the clarity of your ice. The water’s quality and mineral content directly impact transparency, as impurities and minerals can cause cloudiness. To choose the best water, consider these factors: 1. Use filtered or bottled spring water with low mineral content. 2. Avoid tap water, which often contains impurities and minerals that cloud ice. 3. Check labels for purity and mineral levels; clearer water leads to clearer ice. 4. Opt for water that’s been tested for contaminants, ensuring minimal impurities. Additionally, selecting water with low levels of Vetted wave and wind can help produce the clearest ice possible. Ensuring the water has minimal impurities and minerals is essential for achieving crystal-clear ice. Being aware of water mineral content can further enhance your chances of making perfectly transparent ice. Understanding water filtration methods can also improve your results and ensure the best possible clarity.

ClearlyFrozen Highest Rated (4.6 Star) Highest Capacity (Ten 2" Cubes) Clear Ice Tray – What Beats BEST and MOST?
THE ORIGINAL & HIGHEST RATED CLEARLYFROZEN ICE SYSTEM – 4.6 Stars And Top Of The Amazon "Clear Ice"…
As an affiliate, we earn on qualifying purchases.
As an affiliate, we earn on qualifying purchases.
Essential Supplies Needed to Make Clear Ice at Home
To make clear ice at home, you’ll need a few essential supplies. A clear freezing container helps shape the ice, while a pure water source guarantees clarity. Additionally, controlling your freezer temperature is key to slow, even freezing for perfect results. Using smart kitchen tools like temperature-controlled freezers can further improve your ice clarity. Proper freezing techniques ensure the ice freezes gradually, preventing cloudiness caused by trapped air or impurities. Maintaining a stable home energy environment can also assist in consistent freezing conditions, leading to better ice quality. Incorporating sound healing science principles, such as gentle vibrations, may even promote more uniform freezing, although more research is needed to confirm this effect. Ensuring your water is free from impurities and particles enhances the clarity of your ice, emphasizing the importance of water filtration in the process.
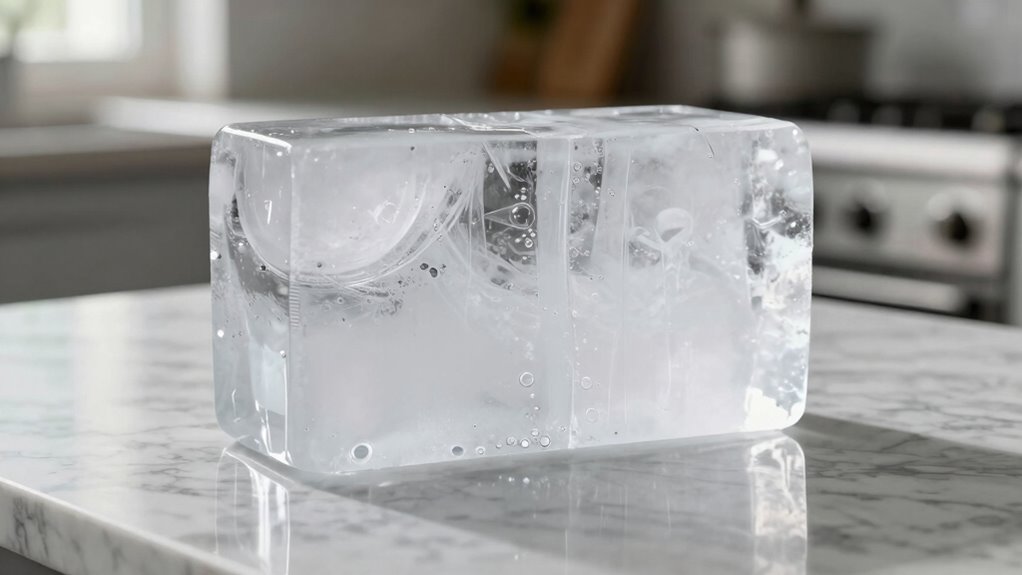
Clear Freezing Container
A clear freezing container is essential for making pristine, bubble-free ice at home. It guarantees that the ice forms evenly and stays clear during the directional freezing process. To get started, you’ll need a sturdy container that can withstand cold temperatures without cracking. Consider these options:
- An insulated cooler or a dedicated clear ice container
- A large ice mold or freezing tray designed for clarity
- A plastic or glass container that’s easy to remove after freezing
- A lid to prevent odors and impurities from seeping in
Choosing the right container helps control how the ice freezes, minimizing trapped air and impurities. Using a directional freezing technique with a proper container ensures the best clarity and quality of your ice. Proper freezing techniques are crucial for achieving the desired clarity and appearance. A well-chosen clear freezing container is the foundation of perfect, crystal-clear ice for your cocktails or drinks. Additionally, selecting containers that promote controlled freezing can significantly improve the transparency of your ice.
Pure Water Source
Have you considered how the quality of your water impacts the clarity of your ice? Using pure water is essential for achieving crystal-clear ice. Tap water often contains minerals and impurities that create cloudiness and cloudy streaks. To get the best results, opt for filtered or distilled water, which has low mineral content and fewer impurities. This reduces the chances of air bubbles and mineral deposits forming during freezing. If you’re serious about clarity, consider using reverse osmosis water, as it offers the highest purity. The cleaner your water source, the clearer your ice will be. Remember, the quality of your water directly influences the final appearance of your clear ice, so choose your water source wisely for the best results.
Freezer Temperature Control
Maintaining the right freezer temperature is essential for producing clear ice because inconsistent temperatures can lead to cloudiness and uneven freezing. Proper temperature control ensures your ice freezes slowly and evenly, minimizing trapped air and impurities. To achieve this, you should:
- Set your freezer to around 0°F (-18°C) for optimal clarity.
- Regularly check and adjust freezer settings to maintain consistent temperatures.
- Use a thermometer to verify accurate temperature calibration.
- Avoid frequent door openings, which can cause temperature fluctuations.
Proper temperature calibration is vital; even a slight misadjustment can impact ice quality. Keep your freezer stable, monitor temperatures regularly, and fine-tune your settings to produce crystal-clear ice every time.

True Cubes Crystal Clear Ice Tray with Lid – Stackable 2"x2"x2" Mold for Space-Saving, Sturdy, Bartender-Quality Ice – Perfect for Cocktails, Whiskey, and Drinks at Home, Ready-to-Serve Convenience
Pristine Storage for True Cubes. Specifically designed to complement your True Cubes mold, these trays make it easy…
As an affiliate, we earn on qualifying purchases.
As an affiliate, we earn on qualifying purchases.
How to Set Up Your Freezing Environment for Perfect Clarity
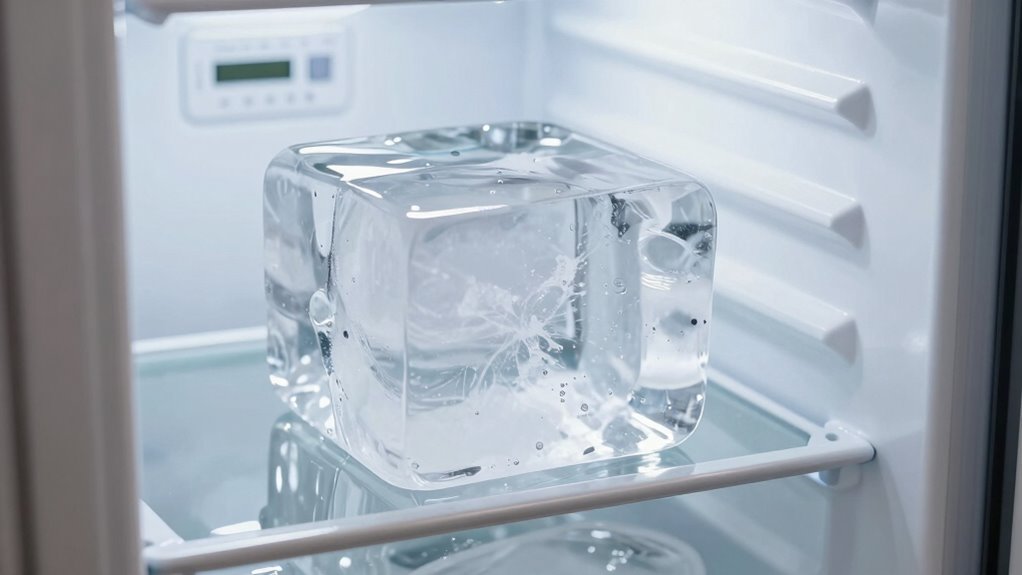
To achieve perfectly clear ice, you need to control your freezing environment carefully. Start with water quality—use filtered or distilled water to minimize impurities and dissolved gases that cause cloudiness. Guarantee your freezer settings are consistent, ideally around 0°F (-18°C), to allow slow, even freezing. Avoid fluctuating temperatures, as they can create cracks or cloudiness. Place your ice-making container on a stable, flat surface away from door openings or drafts that can cause temperature variations. If possible, turn off the freezer’s auto-defrost cycle during freezing, as it can disturb the process. By maintaining ideal freezer settings and starting with high-quality water, you set a solid foundation for clear, professional-looking ice.
Step-by-Step: How to Perform Directional Freezing at Home
To perform directional freezing at home, start by choosing the right container that guides the ice to freeze in one direction. Next, control your freezer environment to slow down the process and prevent cloudiness. Once the ice is fully frozen, carefully remove it and store it properly for the clearest results.
Select the Correct Container
Selecting the right container is crucial for achieving clear, distortion-free ice. Your choice of a freezing vessel impacts how the ice forms and its clarity. To pick the best container, consider these factors:
- Size: Choose a container that fits your freezer space and yields the desired ice block size.
- Material: Use opaque or insulated containers to prevent uneven freezing caused by heat transfer.
- Shape: Opt for a rectangular or square vessel for easy removal and uniform edges.
- Lid or Cover: Ensure it seals well to limit air exposure and control ice growth direction.
Container selection directly influences the clarity of your ice, as a good freezing vessel promotes even, directional freezing. Picking the right vessel is your first step toward perfect clear ice.
Control Freezing Environment
Controlling the freezing environment is essential for achieving clear, distortion-free ice. To do this, maintain consistent temperature control by setting your freezer to just below freezing, around 0°F (-18°C). Sudden temperature fluctuations can cause cloudiness, so avoid opening the freezer frequently. Ensure environmental stability by placing your container in a draft-free area, away from heat sources or direct sunlight. Keep the freezer door closed as much as possible during the freezing process. Using a thermometer inside the freezer can help you monitor temperature consistency. By maintaining a stable environment, you allow the ice to freeze slowly and directionally, which reduces trapped air and impurities, resulting in crystal-clear ice blocks.
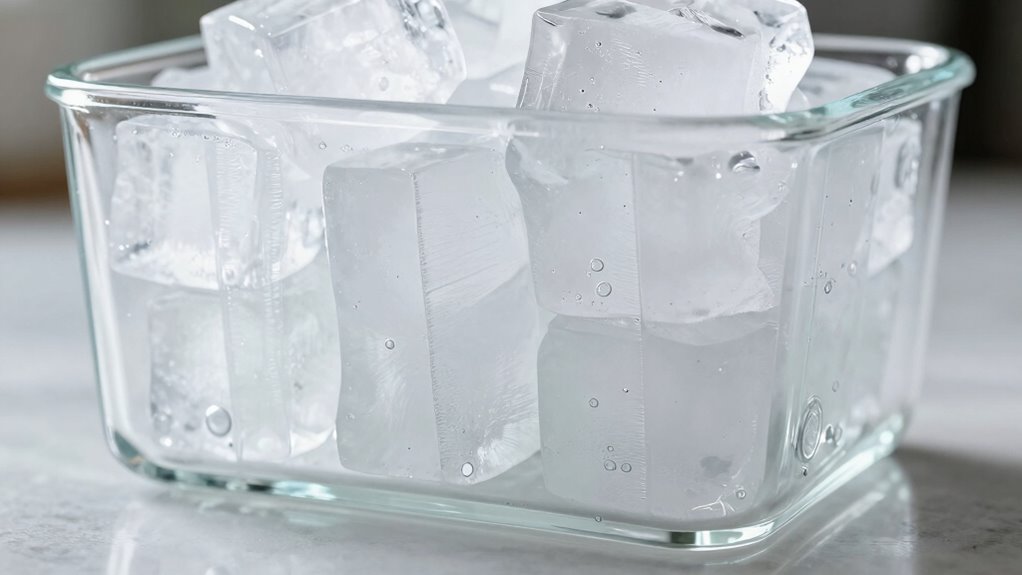
Remove and Store Ice
Wondering how to remove and store your clear ice without introducing cloudiness? The key is using proper removal techniques and smart ice storage. First, wait until the ice is fully frozen, then carefully remove it from the freezer. Next, follow these steps:
- Gently lift the ice from the mold or container without cracking it.
- Trim any cloudy or uneven edges with a sharp knife.
- Rinse the ice briefly with cold water to remove any residues.
- Store the clear ice in an airtight container or plastic bag to prevent cloudiness caused by air exposure or odors.
Proper ice storage preserves clarity and quality, making your ice perfect for drinks. Remember, gentle handling and airtight storage are essential for maintaining your clear ice’s pristine appearance.
How to Remove and Thaw Clear Ice Without Cracks or Cloudiness
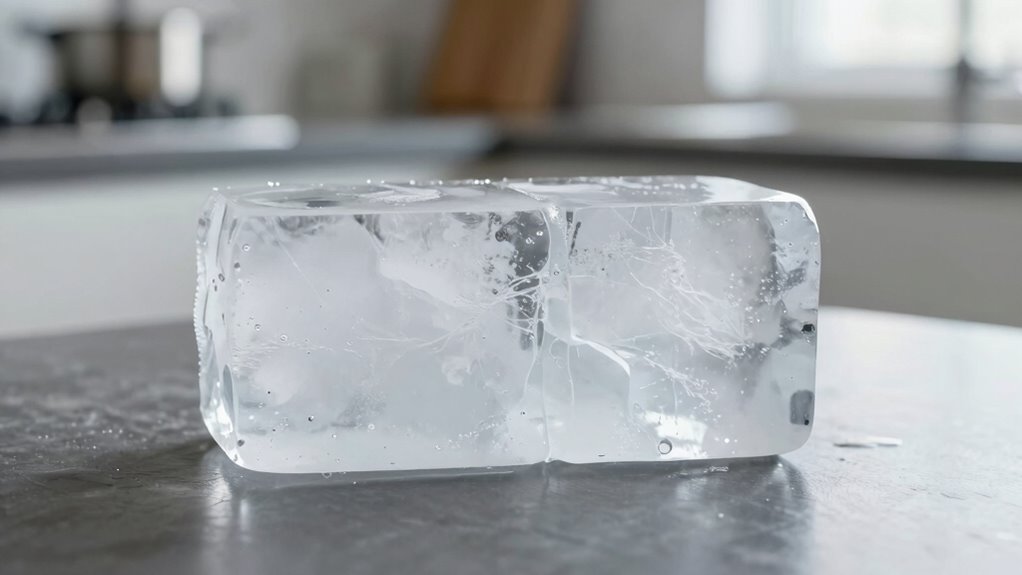
To remove and thaw clear ice without causing cracks or cloudiness, it’s essential to handle it gently and gradually. Slow warming minimizes stress and prevents fractures. Start by transferring the ice to a cool, insulated environment, avoiding rapid temperature changes. Proper ice storage, such as in a sealed container, helps maintain clarity. Water filtration before freezing ensures fewer impurities, which can cause cloudiness during thawing. Use the table below for quick tips:
| Step | Tip |
|---|---|
| 1 | Thaw in a controlled, room-temperature environment |
| 2 | Avoid direct heat or hot water |
| 3 | Handle with care using tongs or gloves |
| 4 | Keep ice in a sealed container during thawing |
| 5 | Use water filtration for cleaner ice |
This gentle process preserves clarity and prevents cracks.
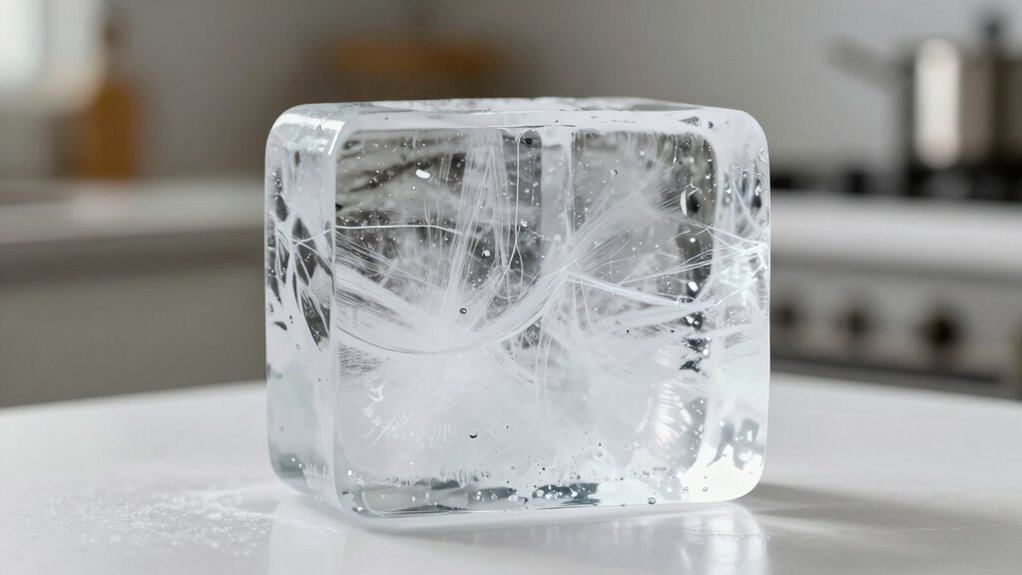
Troubleshooting: Why Is My Clear Ice Cloudy or Uneven?
Have you noticed your clear ice turning cloudy or uneven? Cloudy ice or uneven freezing often results from common mistakes. Here are four causes to watch for:
- Poor insulation, causing inconsistent freezing temperatures.
- Using tap water with impurities, leading to cloudy ice.
- Not allowing proper directional freezing, which results in uneven layers.
- Opening the freezer frequently, disrupting the freezing process.
To fix this, verify your insulation is airtight, use distilled water, maintain a stable freezer temperature, and avoid opening the freezer during freezing. Cloudy ice forms when impurities and air bubbles are trapped inside, while uneven freezing occurs when temperature gradients aren’t controlled. Addressing these issues will help you achieve crystal-clear, evenly frozen ice every time.
Tips for Customizing Your Clear Ice for Different Drinks
Are you looking to enhance your drinks with visually appealing, customized clear ice? One way is by using ice sculpting techniques to create unique shapes that match your drink’s theme or style. For cocktails, consider smaller or thinner pieces for faster chilling and better dilution control. You can also embed fruit, herbs, or edible flowers during the freezing process to add vibrant colors and flavors, elevating your cocktail garnishes. For whiskey or spirit-based drinks, larger, clear blocks make an elegant statement, highlighting the purity of your ice. Adjusting the size and design of your clear ice allows you to tailor each piece for specific drinks, making your presentation more impressive and enhancing the overall drinking experience.
Creative Ideas for Serving and Using Your Clear Ice
Clear ice isn’t just for chilling drinks; it can also serve as a stunning centerpiece or creative element in your presentation. You can elevate your gatherings with these ideas:
- Create an ice sculpture as a striking focal point, adding elegance and artistry.
- Use large clear ice blocks as bases for fruit or flower arrangements, turning them into functional art.
- Incorporate clear ice spheres or cubes as cocktail garnishes, making drinks visually appealing.
- Freeze herbs, fruit, or edible flowers inside the ice for vibrant, flavorful enhancements.
These inventive uses showcase your clear ice’s versatility, impressing guests and transforming ordinary drinks into extraordinary experiences. Let your creativity shine by exploring these mesmerizing presentation ideas.
How to Maintain Your Equipment for Consistent Results
To guarantee your clear ice turns out perfectly each time, regular maintenance of your equipment is essential. Keep your ice storage clean and dry to prevent contamination and ensure the ice remains clear. Periodically check and calibrate your freezer and insulation setup to maintain consistent freezing conditions. Proper equipment calibration ensures the temperature stays steady, which is vital for directional freezing.
| Maintenance Step | Benefit |
|---|---|
| Regular cleaning of ice storage | Prevents cloudiness and impurities |
| Equipment calibration check | Maintains consistent freezing temps |
Frequently Asked Questions
Can I Make Clear Ice in a Standard Home Freezer Without Special Equipment?
Yes, you can make clear ice in a standard home freezer, but it’s challenging due to home freezer limitations like inconsistent temperatures and airflow. To improve ice clarity, use a small cooler or insulated container inside your freezer to control freezing direction and slow down ice formation. Keep the water clean and boil it beforehand to remove impurities, which helps reduce cloudiness caused by trapped air and impurities.
How Long Does It Typically Take to Make Clear Ice Using Directional Freezing?
It typically takes about 24 to 48 hours to make clear ice using directional freezing. The freezing duration depends on your freezer’s temperature and the size of the ice block. During this process, you’ll notice the ice gradually becoming clearer, as impurities are pushed out. To achieve ideal ice clarity, ensure your freezer maintains a consistent temperature, and avoid opening it frequently to prevent uneven freezing.
Is It Necessary to Boil the Water Before Freezing for Clearer Ice?
Boiling water isn’t strictly necessary for clearer ice, but it can help reduce water impurities and dissolved gases that cause cloudiness. When you boil water, you’re removing these impurities, leading to clearer ice. If your tap water is heavily mineralized or contains many impurities, boiling is a good step. Otherwise, using filtered water directly can also produce clearer ice without boiling.
How Do I Prevent Ice From Cracking During the Removal Process?
To prevent ice from cracking during removal, you should handle it gently to minimize thermal stress. Let the ice sit at room temperature for a few minutes to reduce temperature differences, which can cause freezing cracks. Use a warm cloth around the mold’s edges for controlled melting, and carefully loosen the ice. This careful approach helps prevent thermal stress and reduces the risk of cracking during removal.
Can I Reuse the Same Water for Multiple Batches of Clear Ice?
You can reuse water for multiple batches of clear ice, but it’s best to use the same water within a short period to prevent impurities or bacteria buildup. Reusing water may slightly affect clarity, so consider filtering or boiling it first. Keep in mind, fresh water generally yields clearer ice, but if you’re mindful of cleanliness, reusing water is an efficient way to make multiple batches without wasting resources.
Conclusion
By mastering the directional freezing technique, you can effortlessly craft stunning, crystal-clear ice at home. It’s a simple process that, when done correctly, produces ice free of air bubbles and impurities—perfect for elevating your drinks. Some say that slow, controlled freezing mimics nature’s own process, revealing that patience truly pays off. With a little practice, you’ll impress guests and enjoy beautifully clear cubes that transform any beverage into a sophisticated experience.