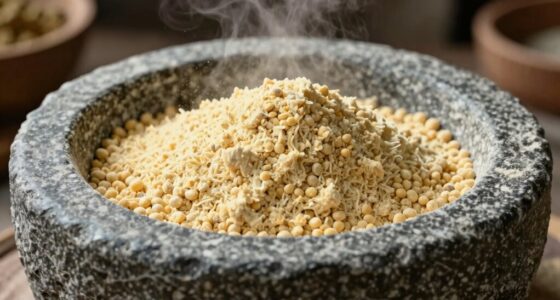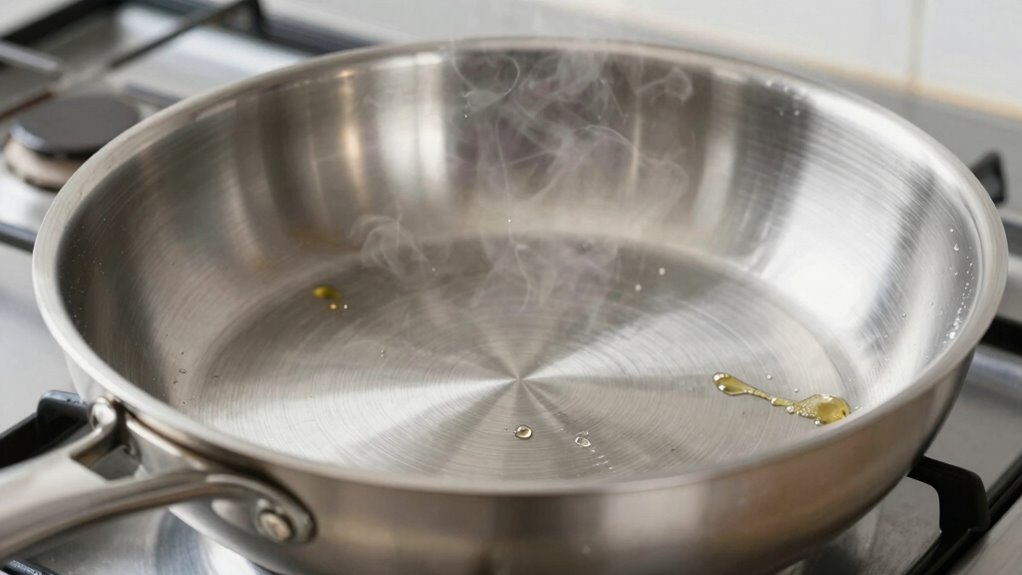
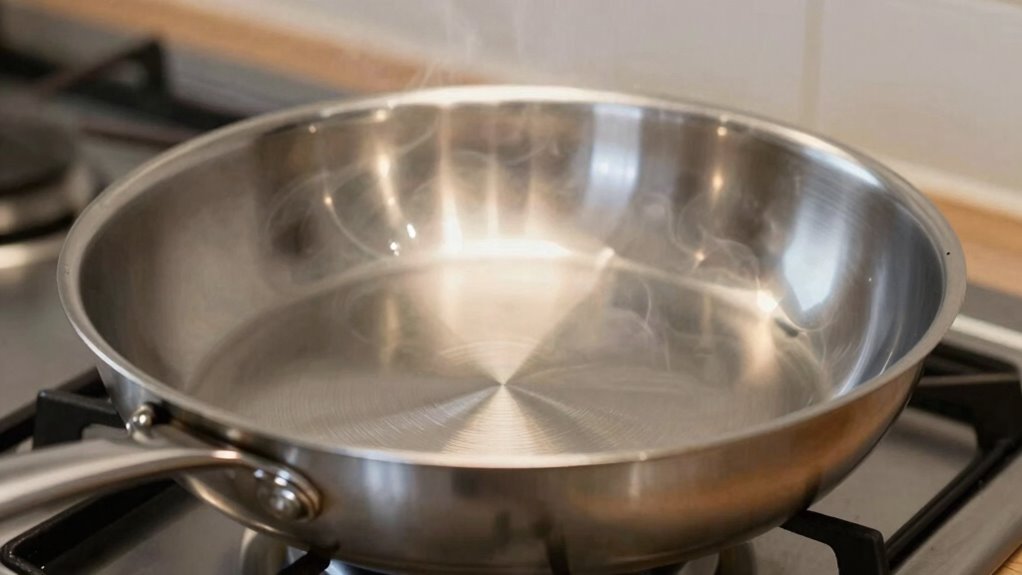
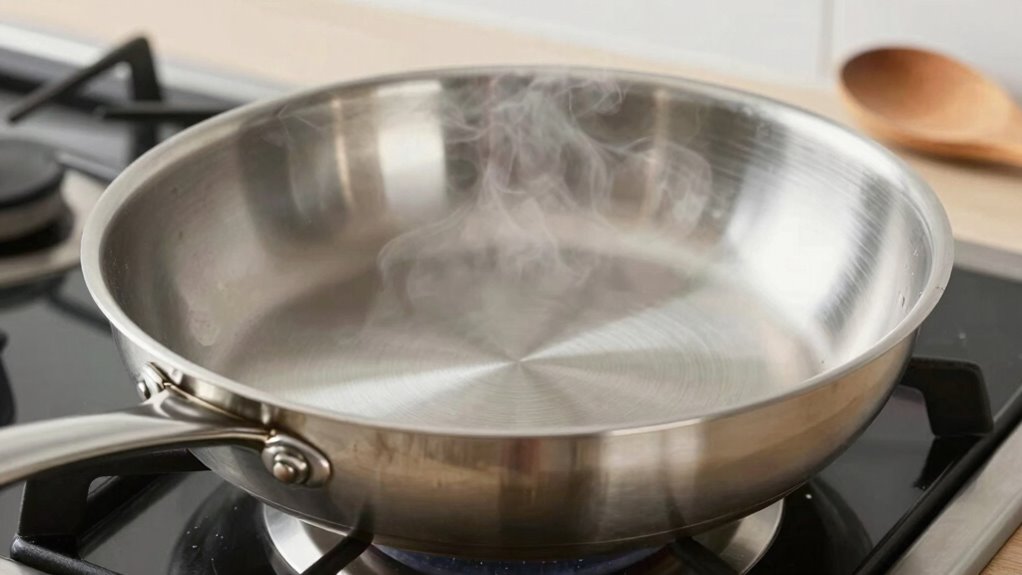
To preheat your stainless steel pan properly, start by cleaning and drying it thoroughly. Set the heat to medium or medium-low and gradually warm the pan until it develops a slight shimmer. Drop a few water droplets—if they bead, dance, and evaporate quickly, the pan is ready. Avoid high heat or rushing the process, as it can cause sticking. For more tips, discover how to master even heating and prevent paneer from sticking.
Key Takeaways
- Preheat the pan gradually over medium or medium-low heat until water droplets bead, dance, and evaporate quickly.
- Ensure the pan is clean, dry, and lightly oiled before heating to promote even heat distribution.
- Avoid adding cold ingredients; let them reach room temperature to prevent sudden temperature drops.
- Use an infrared thermometer or water test to monitor and confirm proper preheating temperature.
- Never heat the pan on high heat immediately; gradual heating reduces hotspots and prevents sticking.
Why Proper Preheating Prevents Sticking and Burning
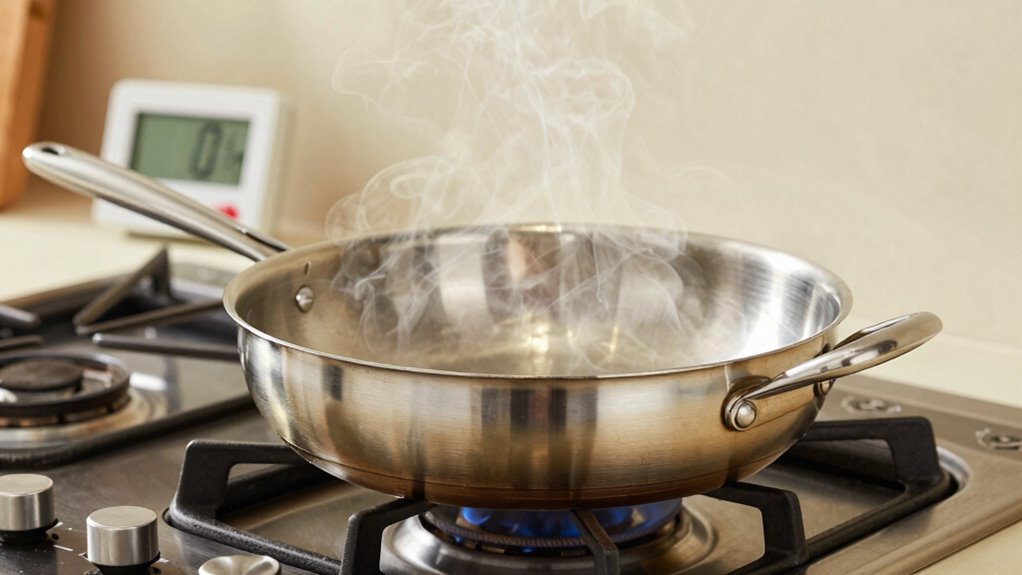
Preheating stainless steel is essential because it helps prevent sticking and burning during the cooking process. The pan material’s heat conductivity improves with proper preheating, ensuring even heat distribution. When you add cooking oils, a well-preheated pan allows the oil to spread smoothly, creating a barrier that keeps food from sticking. If you skip this step, the pan’s surface remains cool, causing food to cling and burn. Proper preheating also reduces hot spots, which can burn delicate ingredients. Using the right cooking oils, like those with high smoke points, complements preheating by resisting early burning. This combination of heat, pan material, and oils guarantees your food cooks evenly and releases easily, making your cooking experience smoother and more successful. Additionally, understanding the heat conductivity of stainless steel helps you achieve the ideal preheating technique for consistent results. To optimize your preheating method, consider the thermal properties of your cookware, which directly influence how evenly heat is distributed across the surface. Recognizing the maintenance needs of stainless steel can extend the lifespan of your cookware and ensure it performs optimally over time. Being aware of thermal expansion can also help prevent warping or damage from improper heating practices.
How to Choose the Right Temperature for Preheating
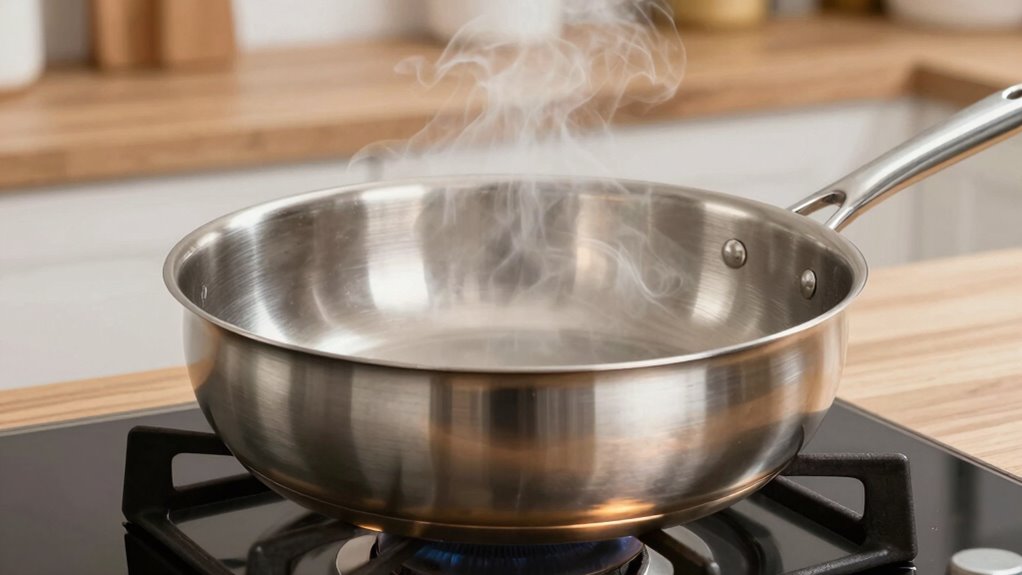
Choosing the right temperature for preheating your stainless steel pan is essential because it directly affects how evenly your food cooks and how easily it releases. A good rule is to heat the pan until it’s hot enough that water droplets sizzle and evaporate quickly. This ensures proper thermal expansion, which creates a slight layer of steam between the pan and your ingredients, preventing sticking. Understanding heat conductivity helps you gauge how quickly the pan reaches the desired temperature; stainless steel transfers heat efficiently, so avoid overheating. Too hot, and you risk burning or warping the pan; too cool, and your food may stick or cook unevenly. Aim for medium heat initially, then adjust as needed based on your cooking process. Incorporating AI-driven solutions can further optimize your preheating process for better results. Proper preheating techniques not only improve your cooking outcomes but also help maintain the integrity of your cookware over time, preventing damage and warping. Additionally, monitoring temperature control methods can provide more precise heat management during the process.
Step-by-Step: How to Preheat a Stainless Steel Pan Correctly
To preheat your stainless steel pan properly, you need to use the right heating techniques and test when it’s ready. This involves paying attention to how the pan heats up and knowing how to check its temperature accurately. By avoiding common mistakes, you’ll guarantee your pan heats evenly and safely for perfect cooking results. Additionally, understanding safe installation practices can help ensure your cookware heats correctly and reduces the risk of sticking or uneven heating. Being aware of smart energy management can also help you optimize your stove settings for more efficient and safer preheating. Incorporating proper maintenance ensures your pan remains in optimal condition, which is essential for consistent heat distribution. Implementing connected kitchen appliances can further enhance your ability to monitor and control heat levels precisely during preheating. Using precise temperature monitoring tools allows for better control and consistency during the preheating process.
Proper Heating Techniques
Before heating your stainless steel pan, make certain it’s clean and dry to promote even heat distribution and prevent sticking. Set the burner to medium or medium-low to control the pan temperature effectively. Allow the pan to warm gradually; rushing this step can cause hot spots and uneven heat. As the pan heats, you’ll notice it begins to shimmer slightly, indicating it’s reaching the right temperature. To ensure proper heat distribution, avoid cranking up the heat too high too quickly. This helps prevent hot spots that can cause sticking or burning. Consistent, moderate heat allows the pan to heat uniformly, creating a reliable cooking surface. Proper heating techniques guarantee your stainless steel pan performs well and your dishes turn out perfectly every time.
Testing Pan Readiness
Wondering if your stainless steel pan is ready for cooking? To test its readiness, use the water droplet method. Drop a few drops of water onto the pan’s surface; if they bead and dance around, your pan has reached the right temperature. This ensures the pan material heats evenly without hot spots. Incorporate proper seasoning methods beforehand to enhance the non-stick qualities and prevent sticking. When the water sizzles and evaporates quickly, it’s a clear sign the pan is properly preheated. Avoid guessing or rushing this step, as it can lead to uneven cooking or sticking issues later. Testing your pan’s readiness with water helps you gauge the temperature precisely, making your seasoning methods more effective and your cooking more successful. Additionally, understanding the thermal properties of stainless steel can help you maintain optimal heat distribution during cooking. Knowing how the heat transfer works in your pan allows for better control over cooking temperatures and results.
Avoiding Common Mistakes
Many people make the mistake of rushing the preheating process or guessing when the pan is hot enough. This can lead to uneven heat distribution and sticking, especially with seasoned cookware. To prevent these mistakes, follow these steps:
- Don’t skip gradual heating—start with medium heat to ensure even heat distribution. Understanding heat transfer principles can help you better control the cooking process.
- Use a thermometer to monitor surface temperature, avoiding over or under-heating.
- Avoid rapid temperature changes—add cold ingredients only after the pan is properly preheated.
- Patience is key—wait until the pan reaches the right temperature before cooking, preventing hot spots and sticking.
- Understand heat transfer principles—a solid grasp of temperature regulation can help you achieve better results and prevent sticking.
How to Test If Your Pan Is Ready for Cooking
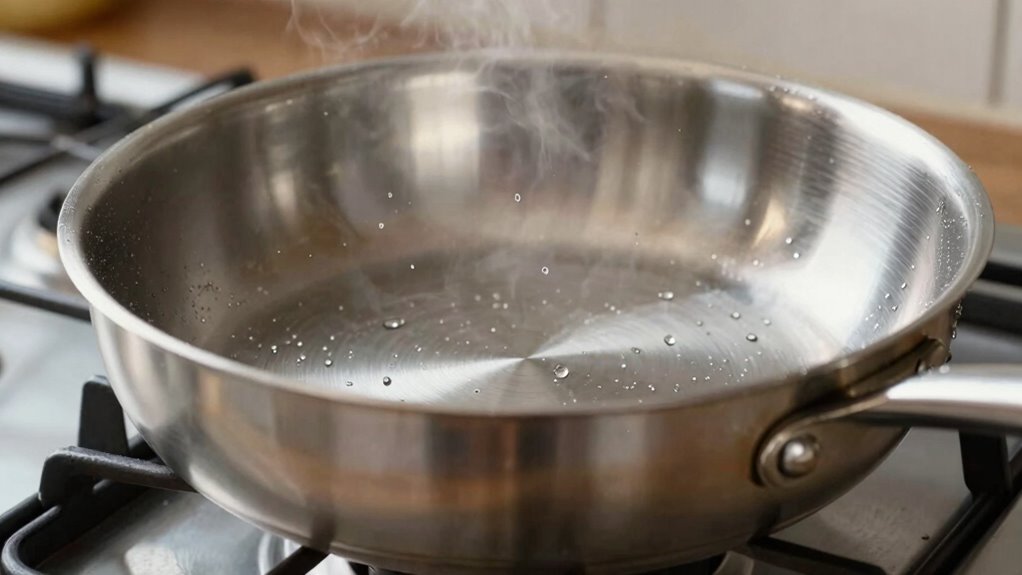
To check if your pan is ready for cooking, start by feeling the surface temperature. Carefully sprinkle a few drops of water onto the pan; if they sizzle and evaporate immediately, your pan has reached the right temperature. This simple test guarantees your pan is hot enough to prevent sticking and promotes proper seasoning tips for a non-stick surface. Avoid guessing or rushing—proper preheating is essential for good pan maintenance. When the pan is properly heated, the food will cook evenly and release easily. Remember, a well-maintained pan heats gradually, so don’t rush the process. Monitoring temperature with water tests helps you develop a feel for your pan, leading to better cooking results and longer-lasting cookware. Additionally, understanding thermal conductivity of stainless steel can help you better control heat distribution and prevent hotspots. Using a infrared thermometer can also provide a precise reading of the surface temperature for even more accurate preheating. Developing a preheating routine can ensure consistent results every time you cook.
Common Mistakes That Cause Pan Sticking and How to Avoid Them
One common mistake is not heating your pan properly before adding ingredients, which can cause sticking. Using cold ingredients straight from the fridge also increases the chances of food sticking to the surface. To prevent this, make sure your pan is adequately preheated and ingredients are at room temperature before cooking.
Improper Heating Techniques
Improper heating techniques are a common cause of pan sticking when cooking with stainless steel. If you don’t heat your pan correctly, uneven metal expansion can create hotspots that cause food to stick. To avoid this, consider these mistakes:
- Starting with a cold pan: This prevents even heat distribution and hampers thermal conductivity, leading to sticking.
- Heating too quickly: Rapid temperature changes cause metal expansion unevenly, increasing the risk of sticking and warping.
- Ignoring heat levels: Using high heat unnecessarily can damage the pan’s surface and affect thermal conductivity.
- Not preheating properly: Skipping proper preheating prevents the pan from reaching the right temperature for cooking, making sticking more likely.
Mastering proper heating techniques guarantees even heat, reduces sticking, and preserves your pan’s quality.
Using Cold Ingredients
Starting with cold ingredients can undermine your efforts to prevent sticking, even if you’ve preheated your pan correctly. Cold ingredients lower the pan’s temperature abruptly, making it harder to maintain proper temperature control. When you add cold foods, the sudden temperature drop causes sticking, especially with proteins like paneer or fish. To avoid this, let ingredients reach room temperature before cooking, or add them gradually to help the pan adjust. Proper temperature control ensures the surface stays hot enough to create a non-stick layer and prevents food from sticking. Remember, even the best preheated pan won’t perform at its best if you introduce cold ingredients at the wrong moment. Focus on bringing ingredients to the right temperature for the best results and easier release.
Troubleshooting Sticky Paneer and Ensuring Even Heating

If your paneer turns sticky during cooking, it usually indicates uneven heat distribution or moisture issues. To fix this, focus on seasoning methods and cookware maintenance. Here are four tips:
- Preheat your stainless steel cookware properly to ensure even heat. Avoid hot spots that cause sticking.
- Maintain your cookware by regularly cleaning and seasoning it, which creates a natural non-stick surface.
- Adjust cooking temperatures to prevent high heat that can cause moisture to evaporate unevenly.
- Use a thin layer of oil and allow it to heat thoroughly before adding paneer, promoting even cooking and preventing sticking.
Implementing these steps helps troubleshoot sticky paneer and guarantees consistent, even heating.
Frequently Asked Questions
Can I Preheat Stainless Steel Without Oil?
Yes, you can preheat stainless steel without oil. For oil-free cooking, simply heat your pan gradually over medium heat, allowing it to warm evenly. This method helps with stainless steel care by preventing sticking without using oil. Just make certain you’re patient and avoid overheating, which can cause warping. With proper preheating, your stainless steel cookware performs well, and you maintain its quality longer.
How Long Should I Preheat My Pan?
Did you know that proper preheating improves heat distribution by up to 50%? You should preheat your stainless steel pan for about 2-3 minutes on medium heat, ensuring the surface reaches around 350°F (175°C). This allows for ideal temperature control, preventing sticking and ensuring even cooking. Always test by sprinkling a few drops of water—if they sizzle and dance, your pan is ready to go.
Does Pan Thickness Affect Preheating?
Yes, pan thickness affects preheating. Thicker pans take longer to heat but retain heat better, leading to more even cooking. Thinner pans heat up quickly but lose heat faster, making temperature control trickier. When preheating, consider your pan’s thickness to guarantee it reaches the right temperature evenly. Adjust your preheat time accordingly, so you avoid hot spots or sticking, and get ideal results each time.
Can Preheating Damage My Stainless Steel Pan?
Preheating your stainless steel pan is like tuning a musical instrument—you won’t damage it if you do it right. When you heat it gradually, you safeguard the pan’s material and ensure even heat distribution. Rapid or uneven heating can cause warping or discoloration, but gentle preheating won’t harm your pan. Keep the heat moderate, and your stainless steel will stay in harmony, ready for your next delicious creation.
How Do I Clean a Sticky Stainless Steel Pan?
To clean a sticky stainless steel pan, start by filling it with hot water and a few drops of dish soap, then let it soak for 15-20 minutes. Use a non-abrasive scrubber to remove residue, focusing on stuck-on food. For pan seasoning, occasionally heat the pan with a thin layer of oil to maintain non-stick qualities. Regular cleaning prevents residue buildup and keeps your pan performing well.
Conclusion
Preheating your stainless steel pan might seem simple, but it’s the key to perfect cooking—like a dance where timing and technique matter. When you preheat correctly, your paneer slides smoothly, avoiding sticking and burning. Think of it as setting the stage for a flawless performance; without it, even the best ingredients can falter. Master the preheat, and you’ll enjoy beautifully cooked dishes every time, with no sticking or frustration to hold you back.