A dough hook doesn’t always knead dough perfectly because improper use, hydration levels, or mixing speed can cause tearing. If the dough is under- or overworked, it weakens gluten, making it prone to tears. Using the wrong hook for your dough or rushing the process can also damage the gluten network. To avoid this, learn how proper technique, hydration, and equipment compatibility play a role—more tips await if you keep exploring.
Key Takeaways
- Overmixing or kneading too long weakens gluten, causing tears during dough handling.
- Using an incompatible dough hook or incorrect speed can stress the dough and lead to tearing.
- Insufficient hydration results in stiff dough that is more prone to tearing when kneaded.
- Rapid mixing speeds or sudden movements can damage gluten strands, especially if the hook isn’t suitable.
- Not allowing the dough to rest relaxes gluten and reduces tearing during subsequent kneading.

MEET JUICE C-Shaped K45DH Coated Dough Hook, Attachment for KitchenAid Tilt-Head Stand Mixers Only, Fits 4.5–5 Quart Bowls, Compatible with K45, K45SS, KSM90, KSM150
High Quality】Aluminum material with nylon coated to avoid oxidation.
As an affiliate, we earn on qualifying purchases.
As an affiliate, we earn on qualifying purchases.
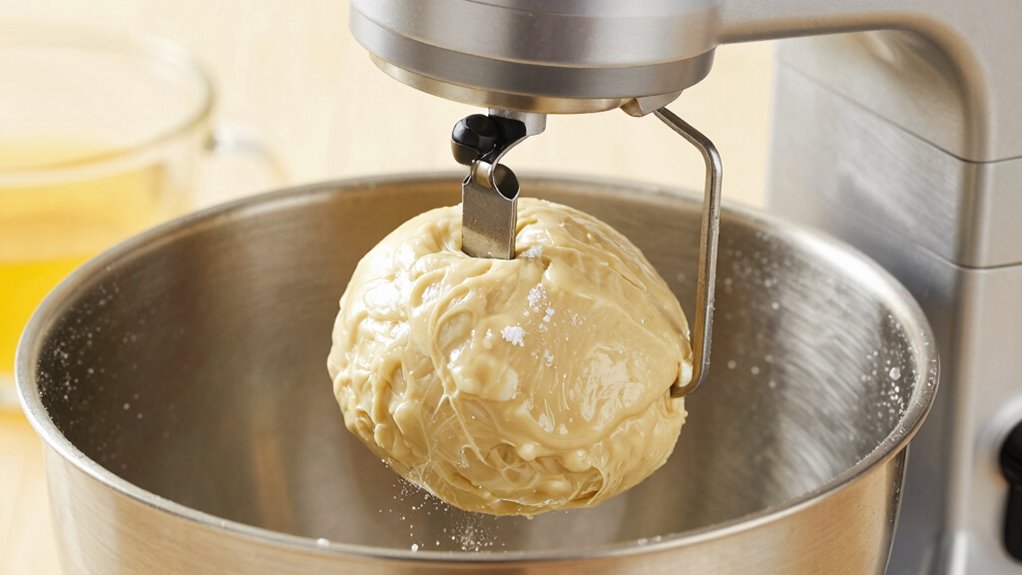
How Does a Dough Hook Work?
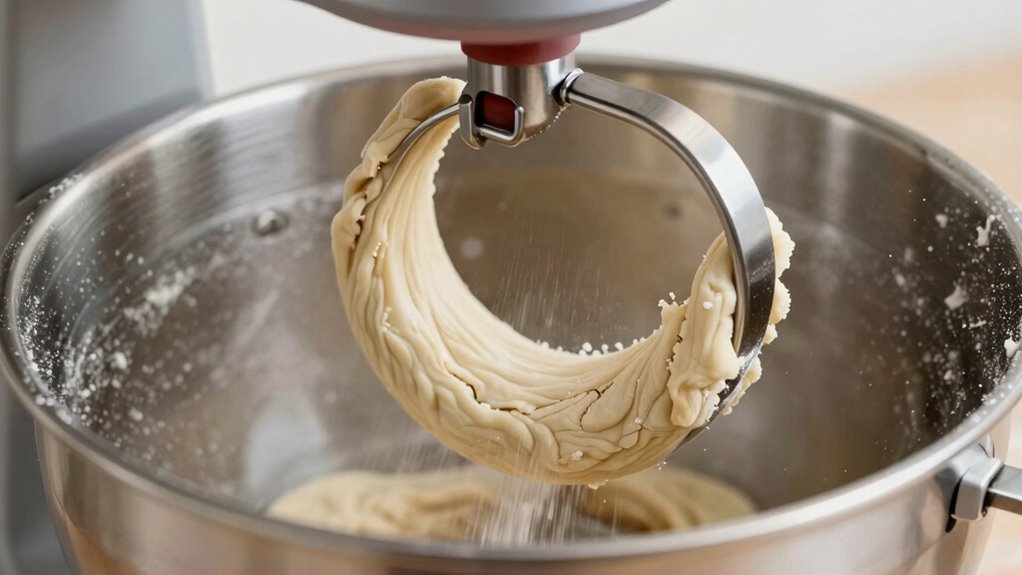
A dough hook works by mimicking the kneading action you would do by hand, but with more consistency and less effort. As it spins, the hook extends into the dough, gently stretching and folding it. This process helps develop dough elasticity, making it stretchable without tearing. The continuous movement encourages gluten development, which gives the dough its structure and strength. By working the dough evenly, the hook ensures all ingredients are thoroughly combined and the gluten network forms uniformly. This creates a smooth, elastic dough that’s easier to shape and rise. Unlike manual kneading, a dough hook maintains steady tension and motion, optimizing gluten formation while reducing fatigue. Additionally, understanding the navigation and mapping of stand mixers can help troubleshoot issues and improve performance. Recognizing the importance of consistent mixing can also help prevent tearing and achieve ideal dough texture. Properly calibrated mixers can further enhance the mixing efficiency, ensuring the dough is worked evenly throughout. Being aware of the mixing speed settings is crucial for achieving the best results and preventing overworking the dough. It’s an efficient tool to achieve the right texture and consistency for perfect baking results. Moreover, proper maintenance of the attachment” can extend the lifespan of your mixer and improve overall performance.

NutrIMill Stainless Steel Dough Hook
Compatible with: NutriMill Artiste, Bosch Universal Plus, and Bosch Universal Classic
As an affiliate, we earn on qualifying purchases.
As an affiliate, we earn on qualifying purchases.
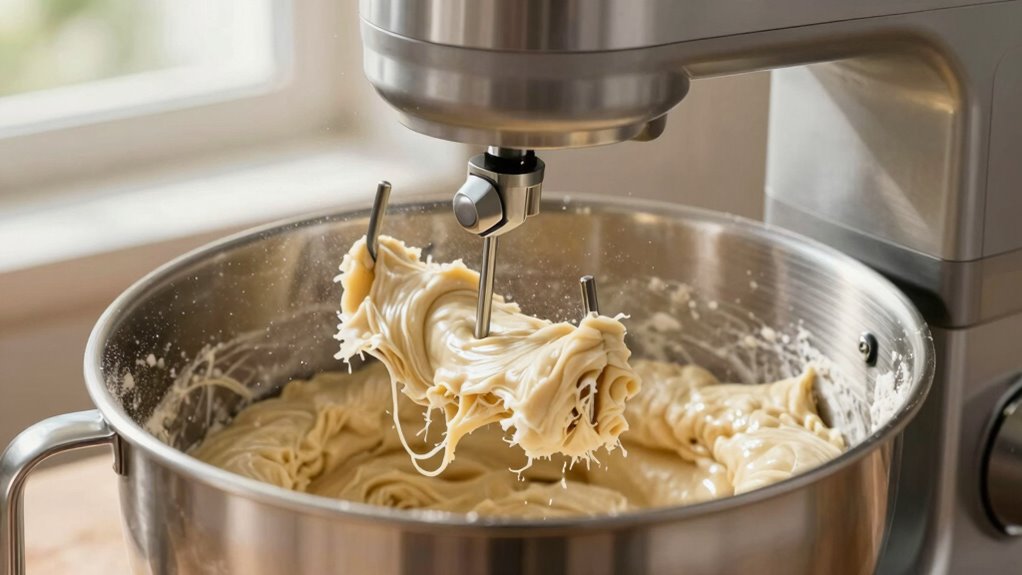
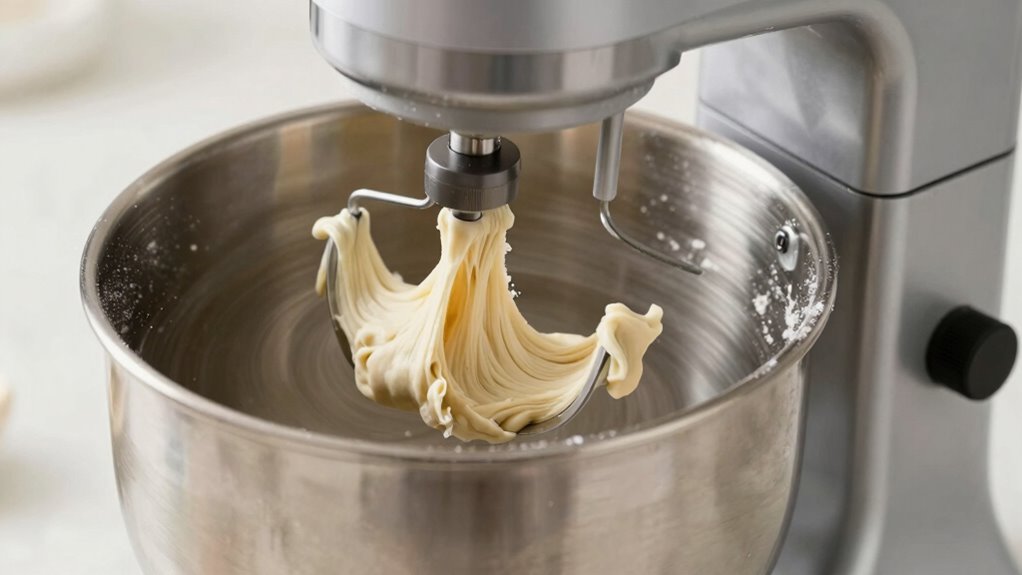
Why Does My Dough Hook Tear the Dough?

If your dough hook tears the dough, overmixing could be be the culprit, as it weakens the gluten structure. Additionally, using the wrong hook for your dough type can cause damage, so guarantee compatibility. Paying attention to mixing time and hook type helps prevent tears and keeps your dough intact. Proper color accuracy in your mixer can also influence how evenly the dough is processed, ensuring consistent results. Ensuring your mixer has the appropriate sensor technology can further optimize mixing performance and prevent overprocessing. Selecting the correct body jewelry measurements and materials can also contribute to optimal performance and prevent unnecessary strain on your mixer. Monitoring the ear wax odor can also help identify potential issues with your equipment or ingredients, ensuring it functions properly during baking. Incorporating sound healing science principles into your maintenance routines might also help reduce vibrations that could contribute to wear and tear on mixer parts.
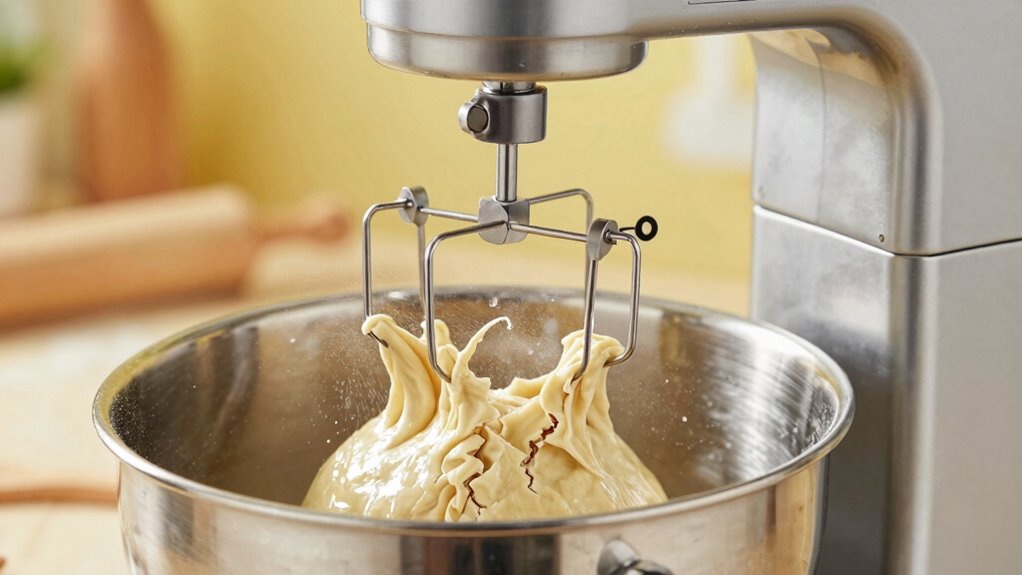
Overmixing Causes Tears
Overmixing dough can lead to tears in the dough hook because excessive kneading weakens the gluten structure, making the dough more fragile. When you overmix, you push dough elasticity past its limit, causing the gluten network to become overly tight and then break. This compromises proper gluten development, resulting in a dough that’s less resilient. To avoid tears, keep these points in mind:
- Stop mixing once the dough is smooth and elastic.
- Watch for signs of over-kneading, like a very stiff texture.
- Use a timer to prevent overprocessing.
- Adjust mixing speed to prevent unnecessary stress on the dough.
Understanding gluten development can help you better gauge when your dough has been kneaded enough without risking tears.
Improper Hook Compatibility
Using the wrong type of dough hook can cause tears in your dough because not all hooks are designed to handle different dough textures or hydration levels. For example, a hook suited for heavy, high-hydration dough may tear lighter, low-hydration dough if used improperly. Compatibility issues can also arise from mixing speed; a too-fast speed may cause stress on the dough, leading to tears, especially if the hook isn’t appropriate for the dough’s consistency. Make sure you’re using the right hook for your dough’s hydration level and adjust your mixing speed accordingly. Using the correct hook and ideal speed helps ensure even kneading without damaging the dough’s structure, preventing tears caused by incompatible equipment.

KitchenAid Stand Mixer Attachment, KSMVSA Fresh Prep Slicer/Shredder
Genuine KitchenAid Stand Mixer Attachment – Designed and engineered by the manufacturers of the KitchenAid Stand Mixer, sold…
As an affiliate, we earn on qualifying purchases.
As an affiliate, we earn on qualifying purchases.
How Hydration and Dough Consistency Affect Kneading

Hydration levels play an essential role in determining dough consistency and how easily it kneads. Higher hydration promotes better gluten development, making the dough more elastic and easier to work with. Conversely, low hydration results in stiffer dough that’s harder to knead, which can lead to tearing. To optimize your dough:
- Adjust hydration levels based on flour type for ideal gluten development.
- Recognize that over-hydrated dough may be sticky but more pliable.
- Understand that under-hydrated dough tends to be dense and resistant.
- Achieve the right consistency by gradually adding water and observing texture.
- Proper hydration also impacts the dough’s strength and elasticity, influencing how well it holds together during kneading.
MEET JUICE C-Shaped K45DH Coated Dough Hook, Attachment for KitchenAid Tilt-Head Stand Mixers Only, Fits 4.5–5 Quart Bowls, Compatible with K45, K45SS, KSM90, KSM150
High Quality】Aluminum material with nylon coated to avoid oxidation.
As an affiliate, we earn on qualifying purchases.
As an affiliate, we earn on qualifying purchases.
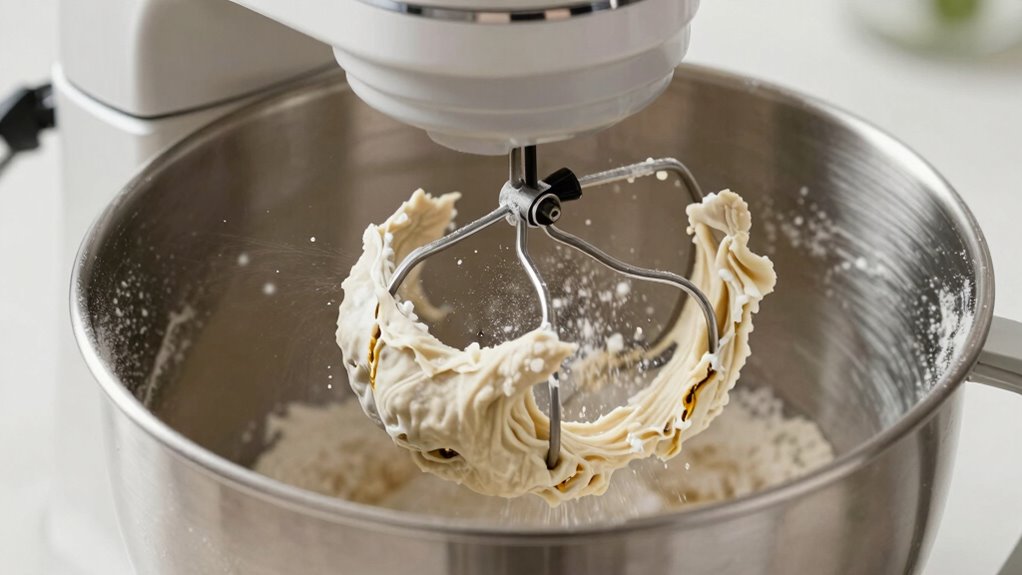
How Speed and Mixing Time Impact Dough Strength
The speed you choose during mixing directly influences how well your dough develops strength. Too fast, and you risk overworking the gluten; too slow, and you might not build enough structure. Finding the right balance in mixing time ensures your dough reaches ideal strength without overmixing. Monitoring paint viscosity can help determine the optimal mixing parameters for consistent results. Additionally, utilizing smart kitchen appliances with built-in sensors can assist in maintaining precise mixing conditions for optimal dough development. Incorporating connected appliances that track mixing progress can further improve consistency and reduce the chances of overmixing, especially when understanding how mixing speed affects gluten formation. Properly calibrated appliances that account for home energy considerations can also help optimize your mixing process while saving energy.
Mixing Speed Effects
While mixing speed might seem like a minor detail, it actually plays an essential role in developing dough strength. The right speed influences how well the gluten network forms, impacting dough elasticity. If you mix too fast, you risk tearing the dough’s structure; too slow, and gluten development may be insufficient. Here’s what you need to regard:
- Low speed allows gradual gluten development, promoting elasticity without overworking the dough.
- Medium speed balances mixing time and dough strength, ideal for most recipes.
- High speed can cause overmixing, leading to tearing or weakening the dough’s structure.
- Extended mixing at any speed may alter dough elasticity, so timing is essential to avoid overworking.
- Utilizing well-designed devices can help monitor and control mixing parameters to optimize dough quality.
Adjusting your mixing speed carefully guarantees ideal dough strength without risking tears.
Optimal Mixing Duration
Balancing mixing duration is crucial because it directly affects dough strength and texture. If you mix too briefly, gluten development remains incomplete, resulting in a weak dough that doesn’t hold its shape. Conversely, overmixing can break down gluten networks, causing the dough to tear or become overly sticky. Proper mixing allows hydration levels to evenly distribute, ensuring all flour particles absorb water properly. This process enhances gluten structure, giving your dough elasticity and strength. Paying attention to mixing time helps you reach the best point where gluten is sufficiently developed without risking damage. Use your senses and dough feel as guides—when it’s smooth, elastic, and passes the windowpane test, you’ve likely hit the ideal balance. Understanding mixing techniques can help you achieve more consistent results and prevent common issues like tearing. Additionally, utilizing appropriate mixing equipment can ensure even and controlled kneading, reducing the chances of overmixing. Being aware of gluten development stages can further refine your mixing process and improve your baking outcomes.
Signs You’re Overworking or Underworking Your Dough

If you notice your dough behaving unexpectedly, it’s a good sign you might be overworking or underworking it. Signs of overworking include a dense texture, excessive elasticity, or dough that resists shaping. Underworking manifests as a sticky, crumbly dough that lacks gluten development. To avoid fermentation pitfalls and ingredient substitution issues, watch for these clues:
- Dough tears easily when stretched—indicating underdeveloped gluten.
- It feels overly elastic or tough—showing overmixing.
- It doesn’t rise well—suggesting underworking or poor fermentation.
- It’s sticky and difficult to handle—often from insufficient kneading or skipped ingredient steps.
- Proper metal tools and techniques can help ensure your dough develops correctly.
- Paying attention to gluten formation is essential for achieving the right dough consistency and elasticity.
- Understanding the fermentation process can also help you better gauge if your dough has been worked appropriately.
Pay close attention to these signs to ensure your dough develops properly without tearing or becoming too tough.
Tips for Using Your Dough Hook Without Tearing Dough
To prevent tearing your dough when using a dough hook, it is vital to start with the right technique. Focus on gradually increasing mixing speed, which helps develop gluten without overworking the dough. Maintaining proper dough elasticity ensures it can handle kneading stress without tearing. Use the lowest speed initially, then increase as the dough becomes more cohesive. Pay attention to the dough’s texture; it should be smooth and elastic. Avoid overmixing, which can weaken gluten structure. Here’s a helpful guide:
| Technique | Why It Matters | Result |
|---|---|---|
| Gradual Speed Increase | Prevents sudden strain on gluten | Even gluten development |
| Proper Hydration | Ensures dough elasticity | Flexible, tear-resistant dough |
| Monitoring Texture | Detects overmixing | Maintains ideal gluten structure |
| Shorter Mixing Intervals | Avoids overworking | Strong, elastic dough |
| Rest Periods | Promotes gluten development | Improved dough resilience |
Quick Fixes for Dough Tearing During Mixing
If your dough keeps tearing during mixing, try adjusting your mixing speed—slower speeds can reduce stress on the dough. Make sure your flour has enough hydration; adding a little more water can improve elasticity. These quick fixes can help you achieve a smoother, tear-free dough every time.
Adjust Mixing Speed
Adjusting the mixing speed can often prevent dough tearing by ensuring the ingredients combine smoothly. If your dough tears, it’s likely due to too high or inconsistent mixing speed affecting dough consistency. To fix this, try these steps:
- Reduce the mixing speed to a low or medium setting to allow ingredients to incorporate gradually.
- Observe how the dough comes together; it should be smooth and elastic without tearing.
- Mix for shorter intervals, giving the dough time to rest between adjustments.
- Gradually increase speed as dough begins to develop, avoiding sudden changes.
Proper Flour Hydration
Proper flour hydration is essential for preventing dough tearing during mixing. When your flour absorbs enough water, it develops ideal dough elasticity, allowing it to stretch without tearing. If the dough isn’t properly hydrated, it becomes stiff and prone to ripping. To improve hydration, add water gradually, ensuring each addition is fully absorbed before adding more. Pay attention to your flour’s absorption capacity, which varies based on its type and age. Proper hydration creates a smooth, cohesive dough with enough elasticity to withstand mixing stresses. If tearing occurs, slightly increasing the water content can restore balance. Remember, consistent hydration fosters better gluten development, resulting in a more resilient dough that’s less likely to tear when using the dough hook.
Choosing the Best Flour for Stronger Dough
Choosing the right flour is essential for creating a stronger, more resilient dough. The key factor is flour protein, which influences gluten development and dough strength. Higher protein flours develop more gluten, giving your dough elasticity and structure. To select the best flour, consider these points:
- Opt for bread flour with 11-14% protein for ideal gluten development.
- Use all-purpose flour for moderate strength, suitable for everyday baking.
- Avoid low-protein flours like cake or pastry flour for recipes requiring sturdy dough.
- Check the label for protein content to ensure you’re choosing the right type for your desired texture.
When to Switch to Manual Kneading or Alternative Tools
While a stand mixer or dough hook can handle most kneading tasks, there are times when switching to manual kneading or alternative tools makes sense. If you notice your dough isn’t gaining enough dough elasticity or the gluten development seems sluggish, it’s a sign to change methods. Manual kneading allows you to better feel the dough’s texture and monitor its progress, ensuring proper gluten formation. Additionally, if your dough is tearing or resisting, using an alternative tool like a bench scraper or a different kneading technique can help. Sometimes, overuse of a dough hook causes excessive gluten tightening or tearing. Switching to manual kneading or specialized tools at these moments can improve dough structure and prevent damage, leading to a better final product.
Common Mistakes That Cause Dough Tearing and How to Avoid Them

Dough tearing often results from common mistakes during kneading or dough handling. To improve dough elasticity and gluten development, avoid these errors:
- Overkneading: Excessive kneading can make the dough too tight, causing tearing. Knead just until the dough is smooth and elastic.
- Using too much flour: Adding excess flour during kneading can dry out the dough, reducing elasticity and increasing risk of tears.
- Applying uneven pressure: Gentle, consistent pressure helps develop gluten evenly. Pressing too hard or unevenly can damage gluten strands.
- Skipping proper resting: Resting allows gluten to relax. Without it, the dough remains tight and prone to tearing during shaping or further kneading.
Frequently Asked Questions
Can Using a Dough Hook Damage My Stand Mixer?
Using a dough hook can damage your stand mixer if you don’t follow proper dough hook maintenance and verify mixer compatibility. Overloading or using the wrong size dough hook strains the motor, risking tears or damage. Always check your mixer’s manual for recommended attachments and maintenance tips. Using the correct dough hook for your model helps prevent tears, extends your mixer’s lifespan, and ensures smooth, efficient kneading every time.
Is It Better to Knead Dough by Hand or With a Machine?
You should consider manual kneading if you want more control and a traditional experience, but machine mixing is faster and more consistent, especially for large batches. Manual kneading lets you feel the dough’s texture and adjust as needed, while a stand mixer with a dough hook streamlines the process. Both methods work well; it comes down to your preference, patience, and the amount of dough you’re working with.
How Do Different Types of Flour Affect Dough Tearing?
Different types of flour impact dough tearing because of their gluten development and protein content. High-protein flours, like bread flour, create stronger gluten networks, making dough more elastic and less prone to tearing. On the other hand, low-protein flours, such as cake flour, produce weaker gluten, increasing the risk of tears. You should choose your flour based on the desired dough texture and elasticity to prevent tearing.
Can Adding More Water Prevent Dough From Tearing?
Ever wondered if more water can stop dough from tearing? Increasing hydration levels can indeed help, but only if done carefully. Adding too much water may weaken gluten development, making dough sticky and hard to handle. Focus on achieving the right balance—enough water to promote elastic gluten, but not so much that it becomes slack. Proper hydration levels make certain the dough stretches smoothly without tearing, giving you better results.
What Are Alternative Tools if My Dough Hook Keeps Tearing Dough?
If your dough hook keeps tearing dough, try manual kneading instead. It gives you better control and reduces tearing risk. You can also use dough scrapers to fold and shape the dough more gently. These tools help you avoid overstressing the dough, ensuring a smoother process. Switching to manual methods or incorporating dough scrapers can make a big difference, especially if your mixer’s dough hook isn’t working well.
Conclusion
Think of your dough as a delicate dance partner—too rough, and it tears; too gentle, and it stalls. By understanding the rhythm of hydration, speed, and consistency, you become the conductor of a perfect performance. When you listen to your dough’s subtle signals, you nurture it into strength and elasticity. Mastering this balance transforms your mixing bowl into a stage where your baked creations flourish like a symphony in harmony.