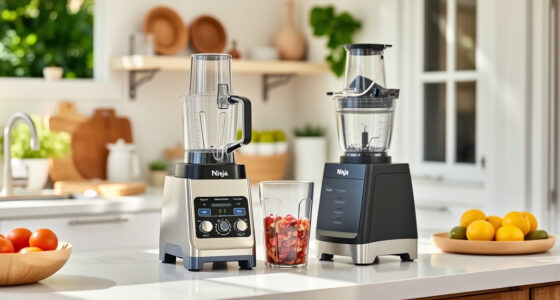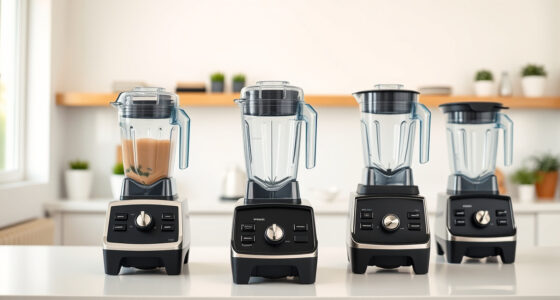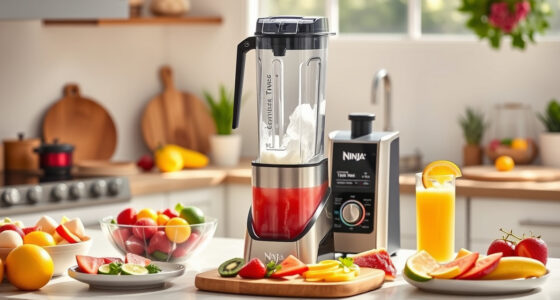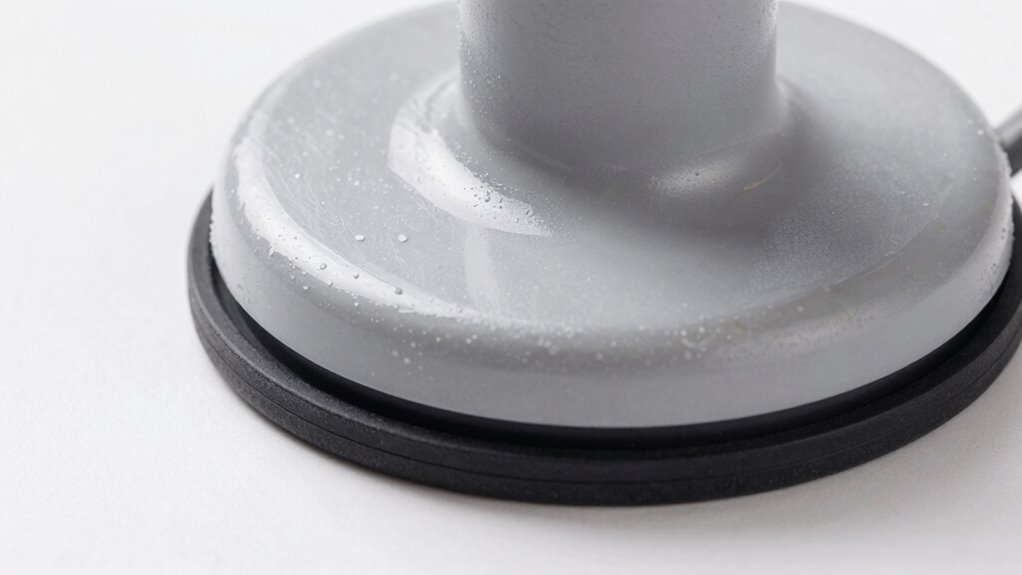

To clean sticky blender lids and gaskets easily, start by disassembling them and soaking the parts in warm, soapy water. Use a soft brush or toothbrush to scrub away residue, focusing on grooves and edges. For stubborn stains or odors, soak plastic lids in a baking soda solution or vinegar, and clean silicone and rubber parts gently. Regular maintenance and proper storage help prevent buildup. Keep going to discover more effective tips for keeping your blender parts spotless.

Get kitchen staples and gadgets delivered free with Prime
- Fast, free delivery on millions of items
- Prime Video, Amazon Music and more included
- Member-only deals all year
Key Takeaways
- Disassemble lids and remove gaskets for targeted cleaning of all crevices and grooves.
- Soak plastic lids in a baking soda-water or vinegar solution to dissolve sticky residues.
- Use a soft brush or toothbrush to scrub silicone lids and gaskets gently.
- Replace worn or moldy gaskets with compatible, silicone replacements to maintain a seal.
- Store lids in a dry, clean place and perform regular deep cleaning for long-lasting freshness.
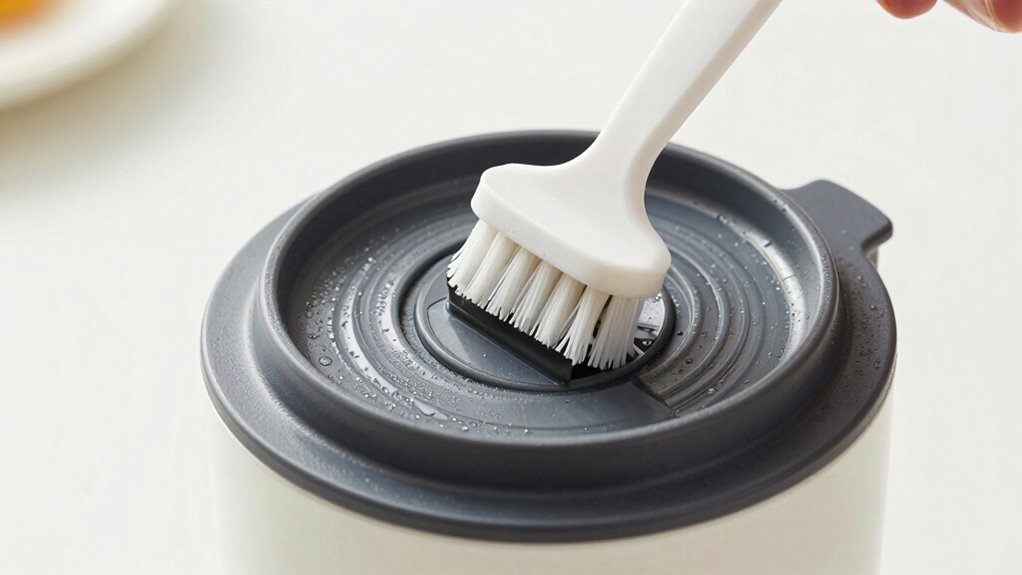
Cleaning blender lids can be a hassle, especially when stubborn residue builds up in the crevices. The key to making this task easier is understanding the materials your blender lid is made of and knowing how to tackle those tricky spots effectively. Blender lid materials vary widely—from plastic and silicone to rubber—each requiring a slightly different cleaning approach. Plastic lids are generally durable and easy to wash, but they can stain or retain odors if not cleaned properly. Silicone lids, on the other hand, are flexible and often dishwasher safe, which makes cleaning a breeze. Rubber gaskets, which are common in many blender lids, can become dirty or sticky over time and may need replacement to guarantee your blender stays airtight and functions properly.
When it comes to cleaning, start by disassembling your lid, removing any gaskets or seals. This allows you to clean all parts thoroughly and reach into the small crevices where residue tends to hide. For the main lid, a quick soak in warm, soapy water usually does the trick. Use a soft brush or an old toothbrush to scrub away any stubborn buildup, especially around the edges and in the grooves. If the lid is made of plastic and has stubborn stains or odors, consider soaking it in a mixture of baking soda and water or white vinegar to help break down residues. Silicone lids can be cleaned with a gentle scrub, and they often tolerate dishwasher cleaning, which considerably speeds up the process. Regular inspection of bacteria buildup and proper maintenance can help prevent more serious issues over time. Using appropriate cleaning techniques can also extend the lifespan of your blender parts. Proper storage practices, such as keeping lids in a dry place, can also prevent dust and dirt from settling on the lids when not in use. Additionally, incorporating regular deep cleaning routines can help maintain your blender’s hygiene and performance. Being aware of material differences ensures you select the best cleaning method for each component, prolonging their usability.
Gasket replacement options are worth considering if you notice persistent leaks or mold buildup. Over time, gaskets can wear out or become damaged, compromising the seal and making your blender less effective. Replacing these rubber or silicone gaskets is usually straightforward—most brands sell compatible replacement gaskets that fit snugly. When replacing gaskets, ensure you select the correct size and material to match your lid. Silicone gaskets are a popular choice because they’re flexible, durable, and dishwasher safe. Regularly inspecting and replacing gaskets not only keeps your blender functioning properly but also prevents mold and bacteria growth in hidden areas.
As an affiliate, we earn on qualifying purchases.
Frequently Asked Questions
Can I Use a Dishwasher to Clean Blender Lids and Gaskets?
Yes, you can use a dishwasher to clean blender lids and gaskets if they are dishwasher safe. Check your blender’s cleaning techniques and manufacturer instructions to guarantee dishwasher safety. Place the lids and gaskets on the top rack, avoiding overcrowding. Use a gentle cycle with warm water and mild detergent. This method keeps your blender parts hygienic and free of sticky residues, making cleaning quick and effective.
How Often Should I Clean Blender Lids and Gaskets?
Clean your blender lids and gaskets regularly to prevent buildup and bacteria. For thorough hygiene maintenance, aim to clean them after every few uses or at least once a week. Consistent cleaning keeps your blender spotless, safe, and smelling fresh. Remember, frequent focus on flushing out food remnants ensures your appliance stays in prime condition, prolonging its lifespan and maintaining peak performance. Prioritize proper cleaning for peace of mind and better blending results.
Are There Natural Alternatives for Cleaning Sticky Residues?
Yes, you can use natural cleaning methods to remove sticky residues from blender lids and gaskets. Try soaking them in a mixture of warm water and white vinegar, which effectively breaks down residue. You can also use baking soda paste for tougher spots—apply it, let it sit, then scrub gently. These residue removal techniques are safe, eco-friendly, and work well without harsh chemicals, leaving your blender clean and fresh.
Can I Use Abrasive Scrubbers on Blender Gaskets?
You shouldn’t use abrasive scrubbers on blender gaskets because they can cause gasket damage. Abrasive cleaning might remove stubborn residues, but it risks damaging the rubber or silicone, leading to leaks or reduced effectiveness. Instead, opt for softer brushes or cloths with gentle cleaning solutions. This way, you clean thoroughly without compromising the gasket’s integrity, ensuring your blender stays safe and functional.
What Should I Do if Mold Develops Inside the Gasket?
Think of mold inside your gasket as a silent invader. To fight back, immediately scrub the area with a mixture of vinegar and baking soda to kill the mold. For ongoing mold prevention, make sure you dry the gasket thoroughly after each use. If mold persists or spreads, gasket replacement becomes your best defense. Regular cleaning and timely gasket replacement keep your blender safe and mold-free, protecting your health.
silicone gasket replacement for blender
As an affiliate, we earn on qualifying purchases.
As an affiliate, we earn on qualifying purchases.
Conclusion
So there you have it—your secret weapon against sticky blender lids and gaskets. No more dread of the gooey mess, just a quick scrub and you’re back to blending like a pro. Who knew that cleaning could be so satisfying? Just remember, with these tips, you’ll never have to wrestle with stubborn gunk again. Happy blending—and even happier cleaning! Now go conquer that kitchen chaos with confidence (and soap).
blender gasket and lid cleaning kit
As an affiliate, we earn on qualifying purchases.
As an affiliate, we earn on qualifying purchases.
As an affiliate, we earn on qualifying purchases.
NFL season / tailgating Picks
team gear
As an affiliate, we earn on qualifying purchases.