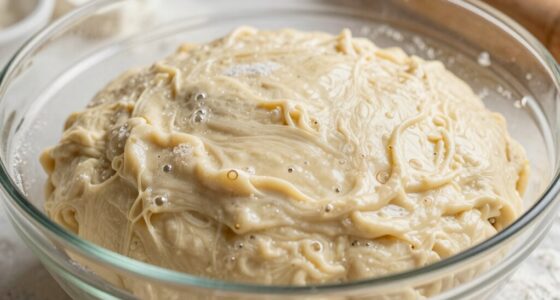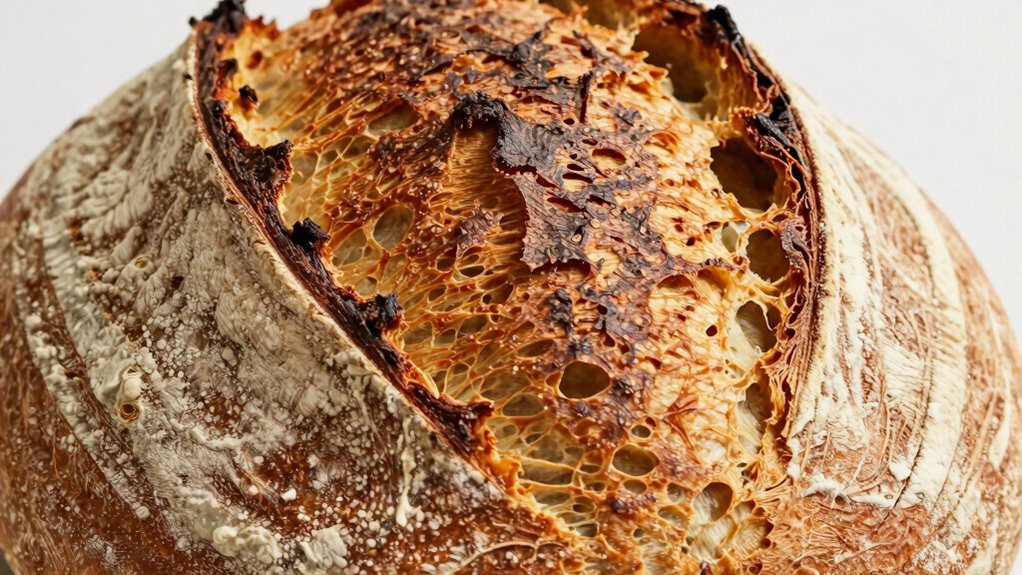
The main proofing mistake that leads to dense bread is overproofing. If you let the dough rise too long, it becomes overly airy and fragile, which causes it to collapse during baking. This traps air and weakens the gluten structure, resulting in a heavy, tight crumb. To avoid this, watch for signs like dough that’s overly soft or doesn’t spring back when poked. Keep improving your technique to discover more tips for perfect bread texture.

Get kitchen staples and gadgets delivered free — and shop member deals
- Fast, free delivery on millions of items
- Access to Prime Big Deal Days deals on October 6–7
- Prime Video, Amazon Music and more included
Key Takeaways
- Overproofing causes dough to weaken, leading to collapse and dense crumb during baking.
- Leaving dough to rise too long results in excessive gas release and fragile gluten structure.
- Overproofed dough loses its ability to expand properly in the oven, creating a dense loaf.
- Signs include dough that is overly soft, bubbly, and doesn’t spring back when poked.
- Proper timing and the finger poke test help prevent overproofing and dense bread.
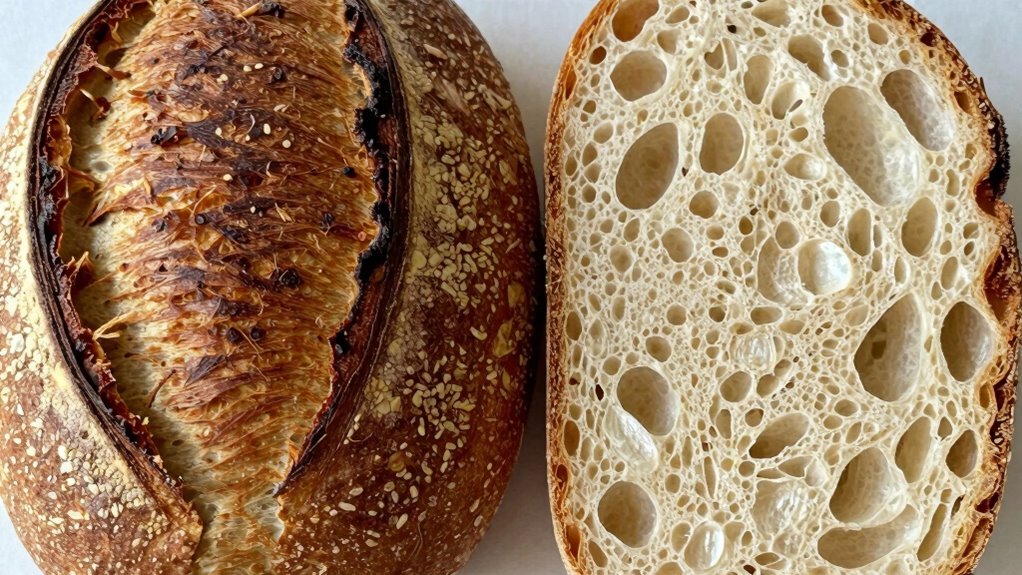
Proofing is an essential step in bread-making that can make or break your final loaf, yet it’s often where mistakes happen. One common mistake that results in dense bread is overproofing. When you leave your dough to rise too long, it surpasses its ideal expansion point, leading to overproofing pitfalls. Overproofed dough becomes overly airy and fragile, causing it to collapse easily during baking. This collapse traps air, but it also weakens the gluten structure, which is key to a light, fluffy loaf. The result is a dense, heavy bread that lacks the desired open crumb. To avoid this, you need to recognize overproofing pitfalls early. Look for signs like overly soft dough that may be sticky or very bubbly, with a slightly sour smell. When you gently poke the dough with your finger, it might leave a slight indentation that doesn’t spring back. This indicates that the dough has expanded too much and is now overproofed. Monitoring fermentation helps ensure your dough is proofed perfectly.
Additionally, factors like room temperature and humidity can influence proofing times, so understanding the proofing environment can help prevent overproofing or underproofing. On the other hand, underproofing is just as problematic, though it often manifests differently. Underproofed dough hasn’t developed enough internal gases, resulting in a dense, compact loaf. The signs of underproofing are more straightforward: the dough feels firm, and it might not have doubled in size. When you press it gently, it quickly springs back, showing that it hasn’t fully risen. If you bake underproofed dough, you’ll notice a tight crumb and a bread that’s heavy and doughy. The key to avoiding underproofing signs is to give your dough enough time to rise until it has roughly doubled in size, with a soft, puffy appearance.
The real trick is knowing when to stop proofing. Both overproofing pitfalls and underproofing signs are clear indicators that you need to adjust your timing. A good rule of thumb is to perform the finger poke test: gently press your finger into the dough, and if the indentation slowly fills back in, you’ve hit the right point. If it remains or the dough collapses, you’ve overproofed. If it springs back immediately, it’s underproofed. Mastering this timing ensures your dough develops the perfect structure, leading to a loaf that’s light, airy, and beautifully textured. Remember, proofing isn’t just about waiting; it’s about reading your dough’s signals and responding accordingly.
As an affiliate, we earn on qualifying purchases.
Frequently Asked Questions
How Does Over-Proofing Affect Bread Density?
Over-proofing reduces fermentation control and causes yeast activity to become excessive. As the dough over-proofs, it weakens the gluten structure, leading to a denser crumb. You might notice the bread collapsing or becoming overly airy before baking. To avoid this, monitor the proofing time carefully, and watch for visual cues like the dough doubling in size, ensuring yeast activity stays balanced for a light, airy loaf.
Can Under-Proofing Cause Dense Bread?
Yes, under-proofing can cause dense bread. When you rush the process, gluten development stalls, leaving the dough tight and unyielding. Yeast activity is still simmering, not fully awakened, so it doesn’t produce enough gas to lift the bread properly. As a result, the dough doesn’t expand enough, trapping less air, and your loaf ends up heavy and compact. Proper proofing allows gluten to stretch and yeast to thrive, creating that airy, light texture.
What’s the Ideal Proofing Time for Different Bread Types?
The ideal proofing time varies based on bread type, but generally, you should allow enough fermentation duration for yeast activity to produce noticeable bubbles and a rise in dough. For enriched breads like brioche, proof for 1-2 hours, while leaner breads like baguettes need 1-1.5 hours. Keep an eye on the dough, aiming for it to double in size, signaling best fermentation duration.
How Do Temperature and Humidity Influence Proofing?
Did you know that proper temperature and humidity can speed up fermentation dynamics by up to 50%? You influence proofing considerably through humidity control, which keeps dough moist and encourages even fermentation. Warm, humid environments promote faster yeast activity, while cooler, dry conditions slow it down. Adjusting these factors helps you achieve the perfect rise, ensuring your bread is light and airy instead of dense.
Are There Signs to Tell When Proofing Is Complete?
You can tell when proofing is complete by observing fermentation indicators like bubbles or a slight rise in the dough. The dough should feel airy and slightly puffy, showing good elasticity without being over-proofed. When you gently poke it, the indentation should slowly spring back, indicating proper fermentation. These signs guarantee your dough has developed enough flavor and structure, preventing dense bread and resulting in a perfect bake.
As an affiliate, we earn on qualifying purchases.
Conclusion
So, next time you’re baking, remember that proofing isn’t just about waiting—it’s about patience and timing. Overproof or underproof, and your bread’s texture suffers. Are you really giving your dough enough time to develop its full potential? Paying close attention to your proofing process can make all the difference between dense, disappointing bread and a perfectly airy loaf. Sometimes, the tiniest mistake can change the whole outcome—so why not get it just right?
As an affiliate, we earn on qualifying purchases.
As an affiliate, we earn on qualifying purchases.
Halloween Picks
halloween
As an affiliate, we earn on qualifying purchases.