
To whip cream to stable peaks without turning it grainy, start with cold, high-fat cream and chill your bowl and beaters beforehand. Use medium-high speed and monitor closely, stopping as soon as peaks are firm and glossy. Incorporate stabilizers or sweeteners carefully once soft peaks form to improve stability. Avoid overwhipping, which causes graininess. For extra tips and techniques to perfect your whipped cream, keep exploring these straightforward steps.
Key Takeaways
- Use chilled heavy cream and cold, grease-free bowls and beaters to promote stable, smooth peaks.
- Whip at medium-high speed until soft peaks form, then add sweeteners and continue to stiff peaks without overwhipping.
- Stop whipping immediately once glossy, firm peaks are achieved to prevent graininess and overwhipping.
- Incorporate stabilizers like gelatin or cornstarch to extend stability and maintain peak firmness longer.
- Monitor the process closely, and serve immediately or refrigerate briefly for best, grain-free results.

Garmin Edge® 1050, Premium Cycling Computer, Vivid Color Touchscreen Display, Built-in Speaker, Advanced Training and Group Ride Features, Road Hazard Alerts
Premium GPS cycling computer with vivid color touchscreen display combines superior navigation, planning and performance tracking, cycling awareness...
As an affiliate, we earn on qualifying purchases.
Why Properly Whipped Cream Matters for Your Desserts
Properly whipped cream can make or break your dessert. It elevates the dessert presentation, giving your dish a professional and appealing look. Smooth, fluffy peaks add a touch of elegance that draws attention and invites bites. Beyond aesthetics, well-whipped cream enhances flavor by adding a light, creamy texture that balances sweetness and richness. When you achieve the right consistency, each spoonful feels indulgent without overpowering the other flavors. Incorrectly whipped cream, however, can look unappealing and taste grainy or overly dense, detracting from your dessert’s overall impression. Taking the time to whip your cream properly guarantees it stays stable, looks beautiful, and amplifies the flavor, making every dessert memorable. Proper whipping often involves controlling the speed, ensuring the cream is whipped evenly without overdoing it. Additionally, understanding Free Floating techniques can help you maintain the perfect texture and stability for your whipped cream. Achieving the ideal stability often requires careful control over the whipping process to prevent over- or under-whipping, and mastering temperature control can further improve results. Using chilled tools can also help you reach the desired peaks more reliably.
Ninja CREAMi Scoop & Swirl Ice Cream Maker, Soft Serve Desserts, Sorbet, Milkshakes, Frozen Yogurt and More, 13-in-1 Programs, Includes Handle and Two 16 oz 2-in-1 Pints, NC701
SCOOP OR SWIRL: Customize flavors and choose between classic scooped or swirled treats. With 13 unique one-touch programs,...
As an affiliate, we earn on qualifying purchases.
How to Choose the Best Cream and Tools for Whipping

Choosing the right cream and tools sets the foundation for perfectly whipped peaks. For best results, use heavy cream or heavy whipping cream with at least 36% fat content, as lower-fat options won’t hold stiff peaks well. If you’re considering cream alternatives like coconut cream or plant-based options, ensure they’re chilled and have a high fat content to achieve stability. When selecting tools, opt for a chilled metal bowl and a sharp whisk or beaters—these help incorporate air efficiently. Hand mixers work well for control, while stand mixers are ideal for larger batches. Mastering whipping techniques—such as starting slow and increasing speed gradually—also plays a crucial role in creating stable, fluffy peaks. Proper temperature control is essential for optimal whipping and preventing the cream from becoming grainy. Additionally, maintaining the right temperature and using proper tools can significantly impact the texture and stability of your whipped cream. Using a clean bowl free from grease and residue is vital, as even small amounts of fat can hinder the whipping process and affect the final texture. The right combination of cream and tools ensures a smooth, grain-free finish.
AeroGarden Harvest Lite in Cream, Soil-Free Indoor Hydroponic Garden with LED Grow Light for Year-Round Gardening of up to 6 Herbs and Vegetables
WARM, INVITING STYLE: The soft Cream finish of the AeroGarden Harvest Lite brings a natural feel to your...
As an affiliate, we earn on qualifying purchases.
What’s the Perfect Temperature for Whipping Cream?
For the best results, you want your cream chilled before whipping. A cold temperature helps it whip up faster and reach stable peaks. Keeping it just right guarantees a smooth texture and perfect consistency. Additionally, starting with the correct temperature is crucial for achieving the ideal whipped cream.
Chill the Cream
Chilling the cream is a crucial step because cold temperatures help the fats in the cream stabilize, making it easier to whip to stiff peaks. When the cream is properly chilled, you’ll notice a significant difference in texture and volume. For the best whipped cream, keep your mixing bowl and beaters in the fridge for about 15 minutes beforehand. This ensures the cream stays cold during whipping, resulting in a smooth, stable peak. Properly chilled cream is essential for creating whipped cream variations that hold their shape, making it perfect for dessert decoration or topping your favorite treats. If the cream warms up too quickly, it can turn grainy or deflate, so always start with cold ingredients for the best results. Additionally, understanding the Gold IRA Markets can help you make informed decisions about your investments once your dessert is complete. Maintaining a consistent cold temperature throughout the process is crucial, especially if you aim for textural stability, which relies heavily on proper chilling techniques.
Ideal Serving Temperature
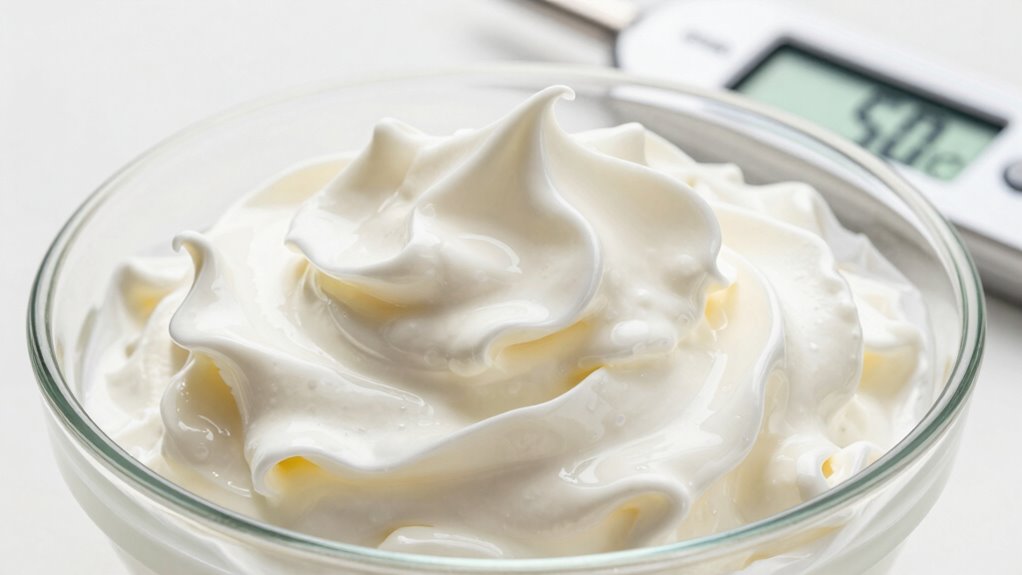
Ever wondered what the ideal temperature is for whipping cream? For perfect, stable peaks, keep your cream cold—around 38°F (3°C)—before whipping. Serving it at this temperature prevents graininess and ensures it whips up smoothly, making it ideal for dessert decoration or a rich beverage topping.
| Temperature Range | Result |
|---|---|
| Below 35°F (1.7°C) | Too stiff, difficult to whip |
| 36-38°F (2-3°C) | Ideal for whipped cream |
| 39-41°F (4-5°C) | Slightly softer, still good |
| 42-45°F (6-7°C) | May be too warm, less stable |
| Above 45°F (7°C) | Likely to turn grainy |
Keep your cream chilled for the best results, whether for dessert or beverage topping.

Oura Ring 4 - Rose Gold - Size 8 - Size Before You Buy
ACCURATE SIZING ESSENTIAL - Oura Ring 4 uses unique sizing different from standard jewelry rings; use the Oura...
As an affiliate, we earn on qualifying purchases.
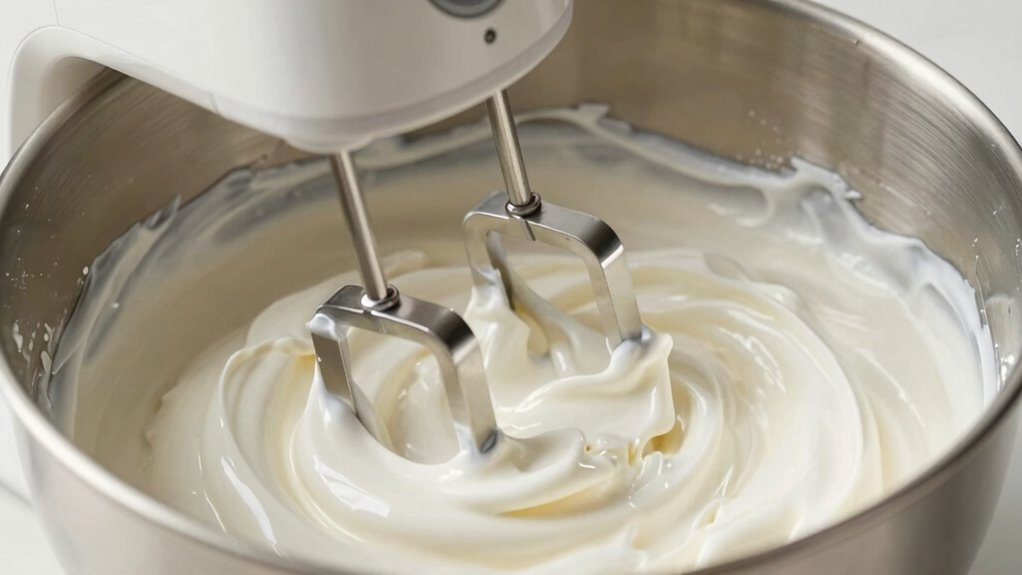
How to Whip Cream to Stable, Glossy Peaks – A Step-by-Step Guide
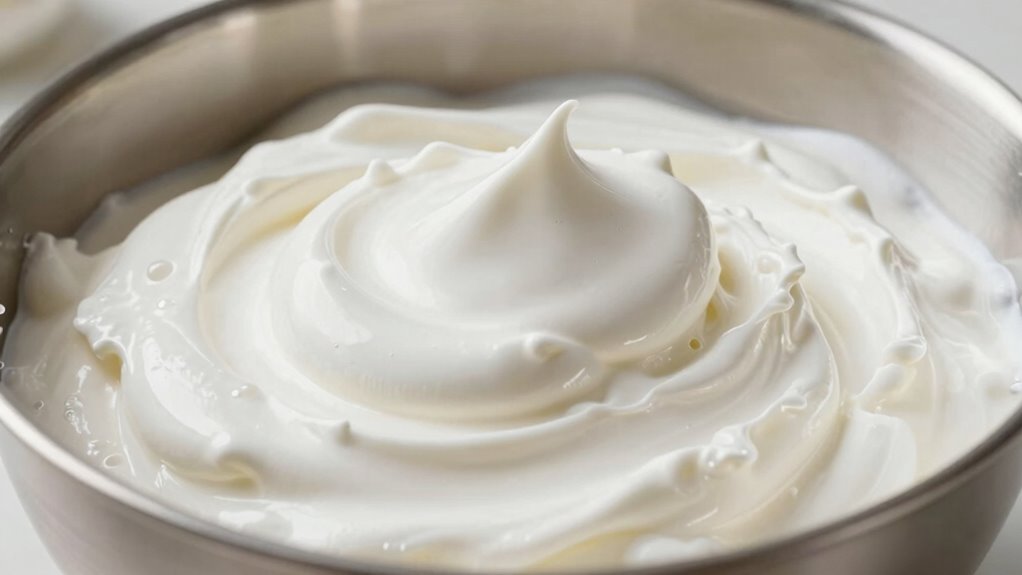
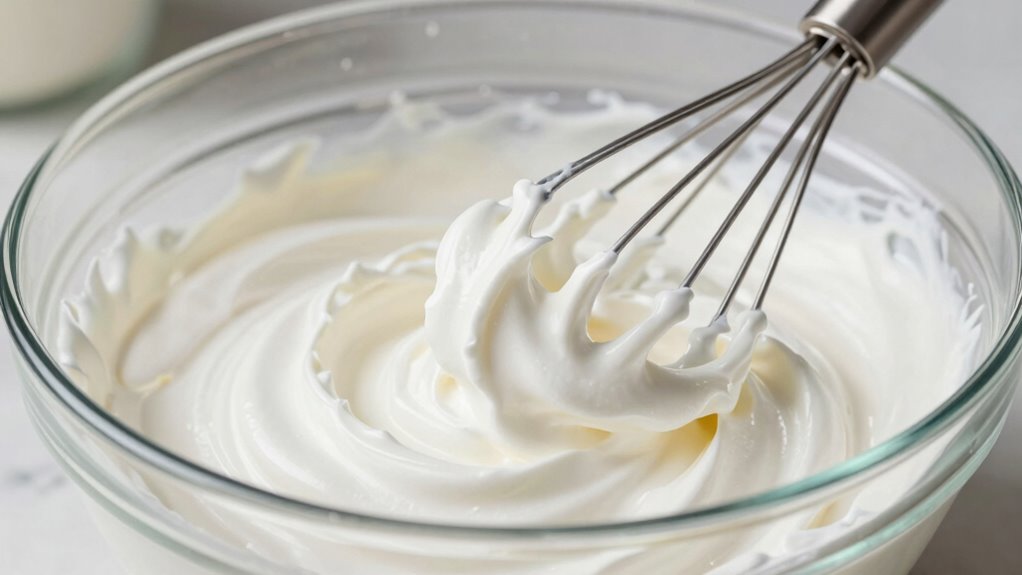
To whip cream into stable, glossy peaks, start with cold heavy cream and a clean mixing bowl. Cold cream improves cream stability, making it easier to achieve firm peaks. Use a whisk or an electric mixer set to medium-high speed. As you whip, watch for the cream to thicken and develop a sheen. When soft peaks form, gently lift the whisk—the peaks should hold their shape but still softly bend. For glossy peaks, stop whipping just as the peaks become firm and shiny, avoiding overwhipping. Properly whipped cream will stay stable longer and look appealing. Keep a close eye during this process to prevent overwhipping, which can lead to grainy texture and loss of stability. Understanding the science of emulsification can help you better grasp why cream thickens and stabilizes during whipping. Recognizing the importance of temperature control can also improve your results. With practice, you’ll master the perfect whipped cream every time.
How to Prevent Grainy or Overwhipped Cream
To prevent grainy or overwhipped cream, start by chilling your mixing bowl and beaters beforehand. Keep a close eye on the cream and stop whipping as soon as soft or stiff peaks form—don’t go beyond that point. Monitoring the process guarantees your cream stays smooth and perfect. Being familiar with the different types of cream can help you choose the best one for whipping and achieve optimal results. Additionally, understanding the auditory cues during whipping can help you better recognize the ideal peak stage without overdoing it. Recognizing the fat content of the cream can also influence how easily it whips and its final texture. Knowing how proper maintenance of your tools can prevent inconsistencies in texture is also beneficial for achieving perfect peaks. Furthermore, understanding the role of AI in tech fields can inspire innovative approaches to kitchen gadgets and tools, enhancing precision in culinary tasks.
Chill Your Equipment
Chilling your mixing bowl and beaters is a simple step that makes a big difference in preventing grainy or overwhipped cream. Cold equipment helps maintain cream stability by keeping the fats and proteins from warming up too quickly, which can cause uneven whipping and a grainy texture. When your tools are chilled, the cream whips more smoothly and reaches stiff peaks faster, giving you better control. This technique is especially helpful when working with cold cream straight from the fridge, as it enhances the overall whipping process and final texture. Additionally, using proper whipping techniques can help you achieve consistently perfect peaks every time. Plus, chilled equipment reduces the risk of overwhipping, so you avoid turning your cream grainy and unspreadable. Keep your tools in the fridge for about 15-20 minutes before whipping to achieve ideal results.
Watch the Whipping Time
Keeping a close eye on your whipping time is essential to prevent overwhipping or a grainy texture. As you whip the cream, monitor the progress carefully—this helps you stop at the perfect peak. Using cream stabilizers can extend the whipping time, giving you more control. Adjust your whipping speed: start slow to incorporate air smoothly, then increase it gradually. Speeding up too quickly can lead to overwhipping, resulting in a grainy consistency. Remember, once soft peaks form, stay attentive to avoid turning the cream into butter. Timing is everything—stopping at the right moment ensures fluffy, stable peaks without graininess. With practice, you’ll recognize the ideal moment to stop for perfectly whipped cream every time.
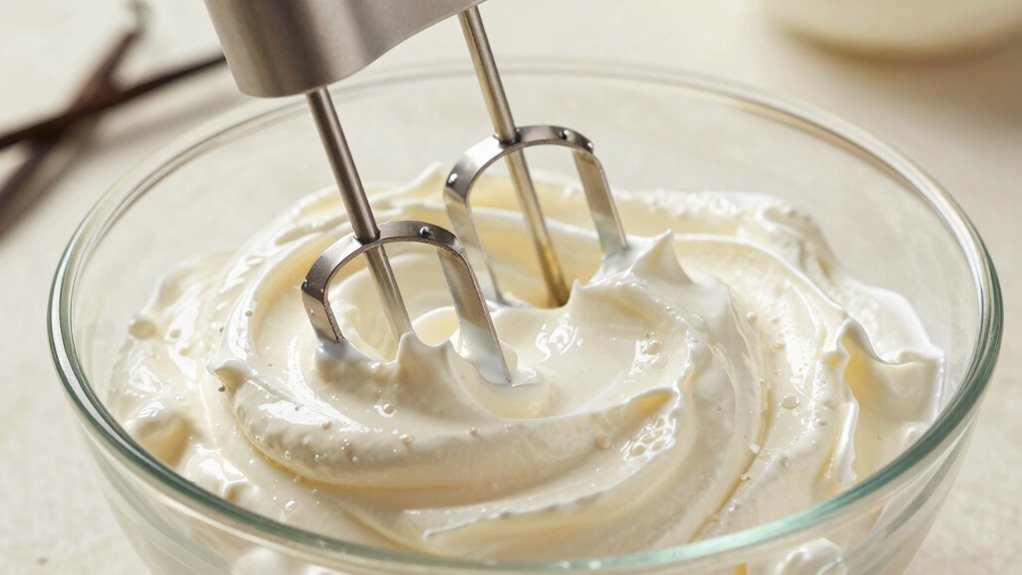
Tips for Achieving Perfect, Firm, Glossy Peaks Every Time

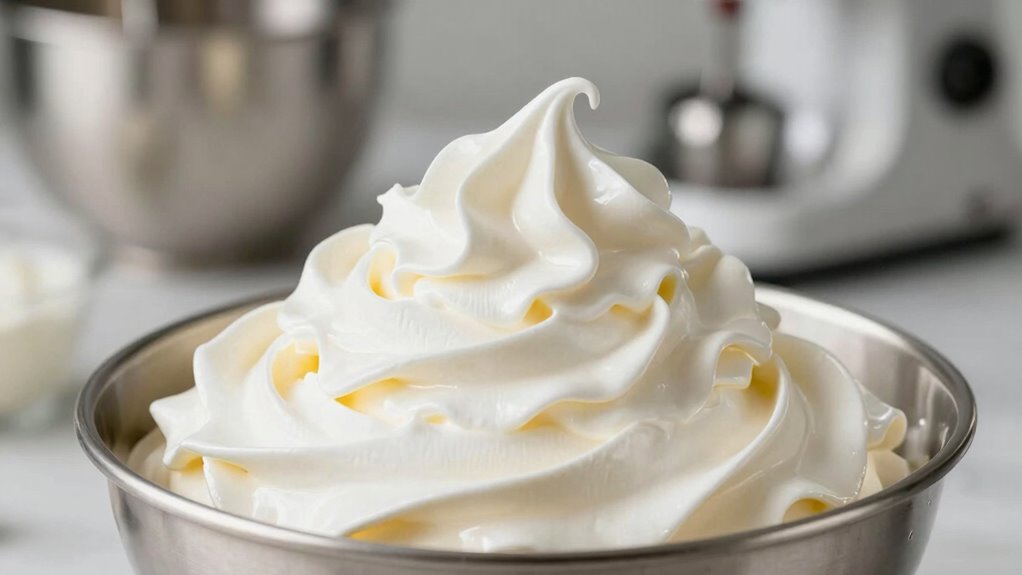
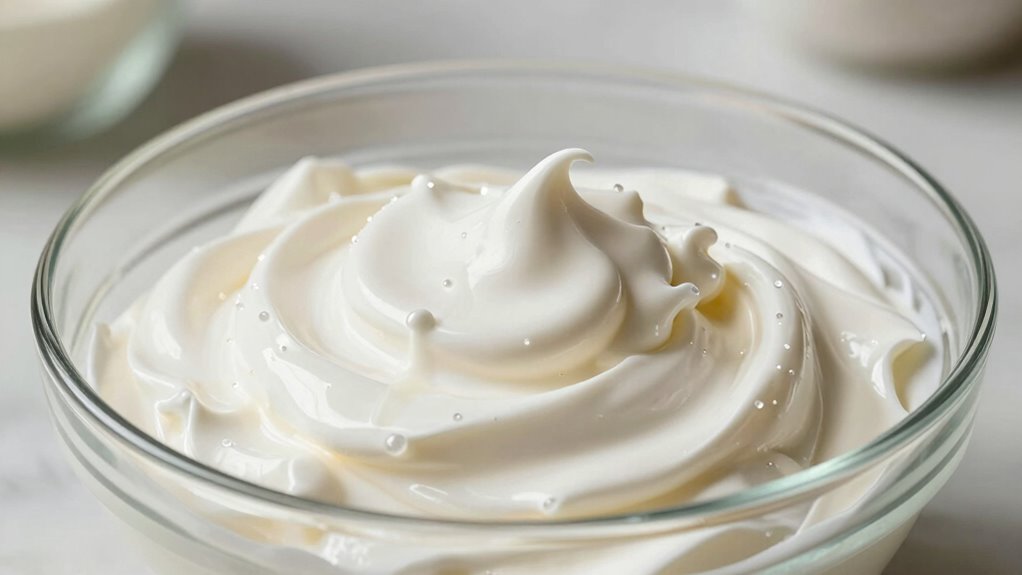
Achieving perfect, firm, glossy peaks with whipped cream depends on a few key techniques. First, use chilled cream and a cold bowl to help the fat whip up efficiently. When adding sweetening options, choose powdered sugar or a small amount of vanilla extract to enhance flavor without deflating the cream. For flavor additions, fold in carefully after soft peaks form to maintain volume and shine. Avoid over-whipping, which can turn cream grainy; stop as soon as stiff, glossy peaks hold their shape. Keep a close eye on the texture, and don’t rush the process. Using these tips, you’ll consistently create whipped cream with a beautiful shine, firm structure, and perfect peaks every time.
Common Troubleshooting Tips When Whipping Cream
Even with the best techniques, you might encounter some common issues when whipping cream. If your cream isn’t thickening, verify it’s cold and use a chilled bowl and beaters. Over-whipping can turn cream grainy or butter-like, so watch closely once soft peaks form. When adding sweetening options or flavor additions, do so gradually at the end of whipping to prevent deflation. If the cream turns runny, it may be due to too high speed or warm ingredients. To fix this, gently fold in more chilled cream or refrigerate the mixture briefly. Remember, patience and proper prep are key, and understanding temperature control can help you achieve perfect peaks every time. Additionally, using a stabilizer like gelatin or cream of tartar can help maintain the structure of whipped cream longer.
Quick Tips for Fluffy, Stable Whipped Cream Every Time
To guarantee your whipped cream turns out fluffy and holds its shape, start with cold ingredients and equipment. Cold cream and beaters help improve cream stability, ensuring your peaks stay firm longer. Use a chilled mixing bowl to prevent warmth from melting the whipped cream prematurely. Add a touch of sugar or a stabilizer like cornstarch or gelatin to enhance stability without compromising texture. Be careful not to overbeat; stop as soon as stiff peaks form to avoid graininess. Incorporating proper stabilizers can further improve the texture and longevity of your whipped cream. For the best dessert presentation, serve immediately or store in the fridge briefly before serving. These quick tips ensure your whipped cream remains light, fluffy, and beautifully shaped, making your desserts look professional and inviting every time.
Frequently Asked Questions
Can I Whip Cream by Hand Without a Mixer?
Yes, you can whip cream by hand without a mixer using a manual technique. Grab a whisk or a fork, and start vigorously whisking the cream in a large bowl. Use whipped cream tools like a balloon whisk for better efficiency. Keep whisking until soft or firm peaks form, which may take several minutes. Consistent motion and patience are key to achieving fluffy, stable whipped cream manually.
How Long Can Whipped Cream Stay Fresh in the Fridge?
You can usually keep whipped cream fresh in the fridge for about 24 hours, but don’t depend on it much longer. If you notice a sour smell, separation, or a slimy texture, spoilage indicators are present, and it’s best to discard it. To extend its storage duration, keep it airtight and cold. Always check for these signs before using leftover whipped cream to ensure safety and quality.
Is It Okay to Add Sugar Before or After Whipping?
It’s best to add sugar during the whipping process, known as sugar timing, to make certain of even sweetening and stable peaks. Incorporate sugar gradually once the cream starts to thicken, which helps create a smooth, glossy texture. If you add sugar after whipping, it may not dissolve properly, resulting in grainy cream. Using sweetening techniques like powdered sugar can also help you achieve the perfect, silky whipped cream.
What Are Alternative Dairy Options for Whipping?
Looking for luscious, luscious alternatives? You can whip plant-based options like coconut cream, cashew cream, or almond milk for dairy-free delights. Chill your cans or cartons beforehand to help achieve fluffy peaks. Coconut cream, especially, whips up beautifully, creating a rich, stable, and smooth texture. These dairy-free options provide perfect plant-based alternatives, giving you the glorious, whipped consistency you crave without dairy’s drawbacks.
How Do I Fix Overwhipped Cream That’s Turned Grainy?
If your whipped cream has a grainy texture, don’t worry – you can try this overwhipped fix. Slowly add a little fresh heavy cream while gently folding to smooth out the graininess. Alternatively, mix in a small dollop of unwhipped cream and gently re-whip until it’s smooth again. For future, watch closely to prevent overwhipped cream, but these grainy texture remedies can save your dessert.
Conclusion
Remember, achieving perfect whipped cream isn’t just about taste—it’s about texture and presentation. Using cold cream and proper tools can make all the difference. Did you know that overwhipping can turn cream grainy in just seconds? Stay attentive and stop as soon as you see firm, glossy peaks. With practice, you’ll consistently create beautiful, stable whipped cream that elevates every dessert—so don’t give up, and enjoy the process!