
Autolyse is a simple step where you mix flour and water and let the mixture rest before adding other ingredients. This rest period activates enzymes that improve gluten formation, making your dough more elastic and easier to handle. It also enhances flavor and helps with even hydration. When done correctly, autolyse simplifies shaping and results in a lighter, airier loaf. Keep going to uncover how to master this technique for perfect bread every time.
Key Takeaways
- Autolyse involves mixing flour and water, then resting to activate enzymes that improve gluten development and dough elasticity.
- Resting during autolyse simplifies gluten formation, resulting in a stronger, more extensible dough with better rise.
- Proper autolyse timing (typically 20-30 minutes) enhances dough texture, flavor, and fermentation without over-weakening gluten.
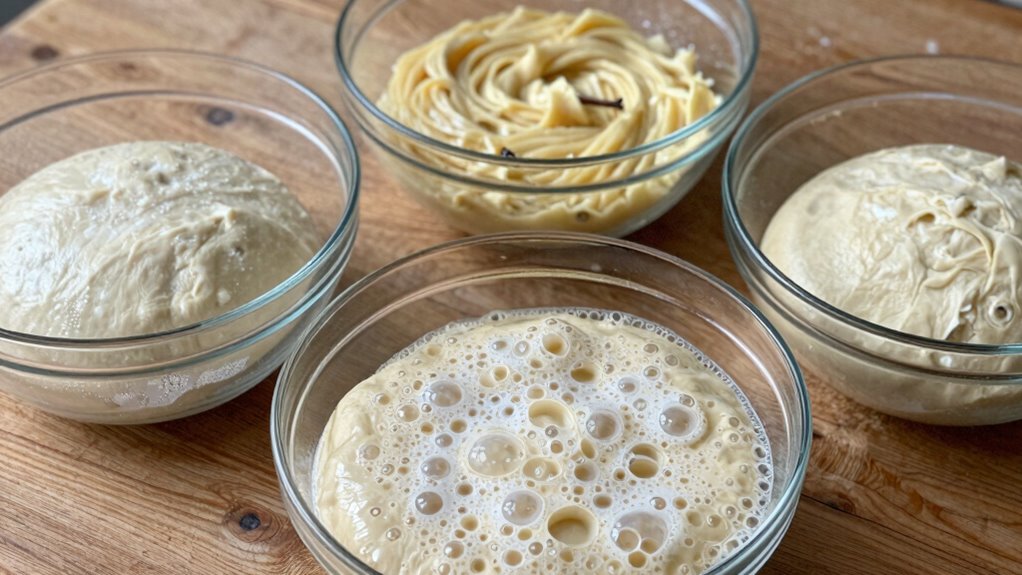
- Signs of readiness include dough becoming smooth, elastic, glossy, and holding shape without sticking.
- Hydration and ingredient freshness influence autolyse duration, optimizing dough behavior and overall baking results.

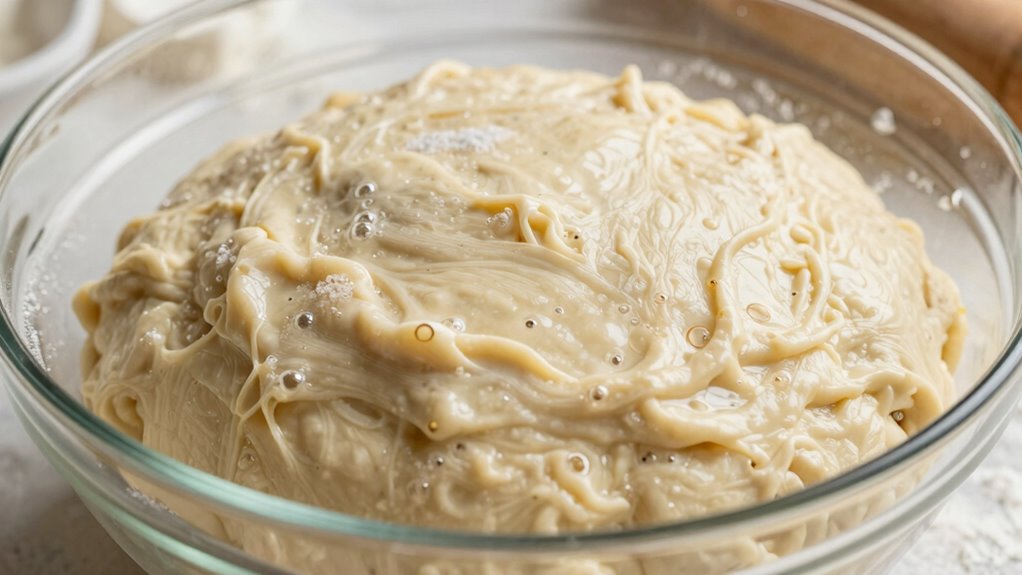
Ajrwiiy Large Glass Bowl for Sourdough Bread Making, 4.7 Quart Glass Mixing Bowl for Sourdough Bread with Lid, Clear Breads Proofing Bowl with Covers, Ideal for Kitchen, Storage
High-Quality Glass: This large glass mixing bowl is made of durable glass, which is heat and freeze-resistant, ensuring…
As an affiliate, we earn on qualifying purchases.
As an affiliate, we earn on qualifying purchases.
What Is Autolyse and Why Is It a Bread Baking Game-Changer?
Autolyse is a simple yet transformative step in bread baking that involves mixing flour and water and letting them rest before adding other ingredients. This rest period helps improve fermentation timing by activating enzymes that begin breaking down starches and proteins, making your dough easier to work with. This process also enhances gluten development, resulting in a stronger dough structure. You can experiment with ingredient substitutions during autolyse, such as using different types of flour, to alter flavor and texture. Because it simplifies gluten development, autolyse reduces kneading time and creates a more extensible dough. It also ensures even hydration, which is especially helpful when adjusting recipes or working with alternative ingredients. Additionally, understanding the science of fermentation can help bakers optimize the benefits of autolyse and improve their bread outcomes. Incorporating hydration balance during autolyse can further enhance dough elasticity and crumb structure. Overall, autolyse streamlines your baking process and enhances dough quality, making your bread more consistent and flavorful.

KitchenAid Gourmet Bowl Scraper, Set of 2, Aqua Sky and Storm Grey
FLEXIBLE SILICONE BOWL SCRAPER : The silicone bowl scraper conforms to the inside of the bowl for maximum…
As an affiliate, we earn on qualifying purchases.
As an affiliate, we earn on qualifying purchases.
How Does Autolyse Improve Gluten Development and Dough Quality?

By allowing flour and water to rest together, the autolyse process activates enzymes that break down starches and proteins, which considerably enhances gluten development. This improved gluten network gives your dough better elasticity, strength, and extensibility, making it easier to shape and rise. During autolyse, gluten bonds form more uniformly, resulting in a finer crumb and improved dough handling. Additionally, autolyse kickstarts yeast activity subtly, supporting sourdough fermentation without overproofing. The table below highlights key benefits:
| Benefit | Effect | Impact |
|---|---|---|
| Enhanced Gluten Structure | Stronger dough, better rise | Better loaf volume |
| Improved Dough Extensibility | Easier shaping | Smoother crumb |
| Faster Fermentation | Increased yeast activity | Richer flavor development |
Incorporating autolyse into your baking routine leverages enzymatic activity, which helps optimize the dough’s performance and final texture.

Dimpola Banneton Bread Proofing Basket – 9 inch Banneton Basket Set of 2 Sourdough Proofing Basket Round Proofing Bowls Handmade Rattan Baskets and Liners
PERFECT FOR THE BAKER IN YOUR HOME: You will be impressed with our bread proofing baskets' quality and…
As an affiliate, we earn on qualifying purchases.
As an affiliate, we earn on qualifying purchases.
How to Properly Perform Autolyse for Perfect Bread?
Start by measuring your ingredients precisely to guarantee consistent results. Mix the flour and water thoroughly to develop gluten, then let the dough rest before shaping. This process helps create a strong, elastic dough for perfect bread.
Measure Ingredients Precisely
Have you ever wondered why precise measurement matters when preparing your ingredients? It’s because ingredient accuracy directly impacts your dough’s consistency and fermentation. Using the right measurement tools, like a digital scale or measuring cups, ensures you add the correct amount of flour and water. Accurate measurements help you avoid dough that’s too sticky or too stiff, which can hinder autolyse and gluten development. When you measure exactly, you create the perfect foundation for a well-hydrated, elastic dough. Even small deviations can affect the final bread’s texture and rise. So, invest in good measurement tools and take the time to measure each ingredient carefully. Precise measurement is also essential for achieving the ideal dough consistency and ensuring a successful autolyse process. Paying attention to ingredient ratios helps optimize fermentation and gluten development, leading to better bread texture. Consistently accurate measurement supports better control over the entire baking process. Proper measurement techniques can prevent common baking issues and improve overall results. Detecting passive voice in your writing can help improve clarity and engagement. Precision in this step sets the stage for a successful autolyse and a beautifully baked loaf.
Mix to Develop Gluten
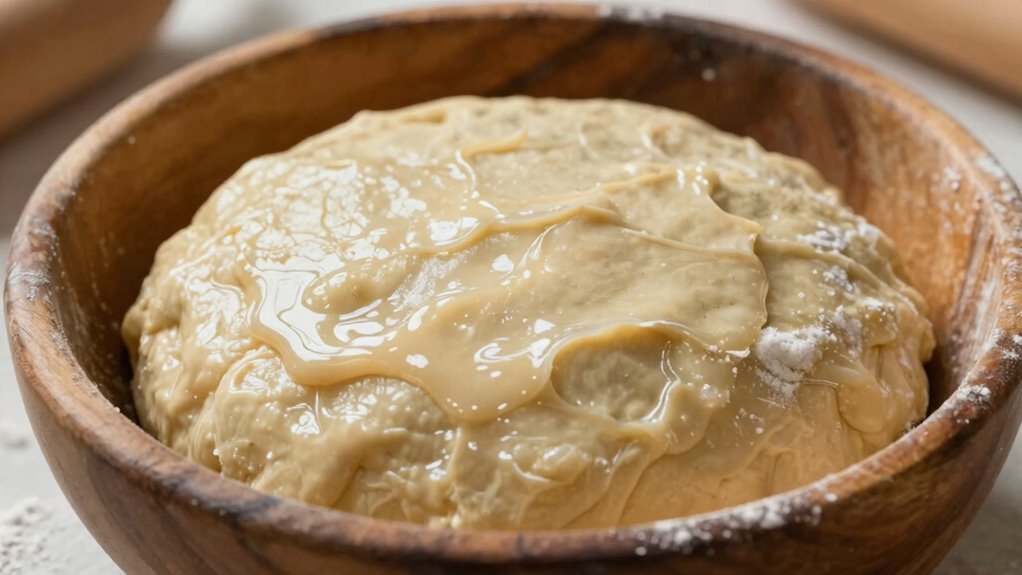
To properly develop gluten during autolyse, you should gently mix the flour and water until they are just combined and form a rough, shaggy dough. This initial step allows gluten strands to begin forming naturally, setting the stage for ideal fermentation timing and flavor development. Keep these points in mind:
- Mix until no dry flour remains, avoiding overworking the dough.
- Cover and let it rest, allowing gluten to develop gradually.
- Use a gentle fold if needed to reinforce gluten without disrupting hydration.
- Recognizing the benefits of autolyse can motivate proper execution, as it enhances dough elasticity and extensibility, improving fermentation efficiency and flavor complexity. Proper mixing during autolyse ensures your bread will rise well and develop a richer taste, all while making handling easier. Incorporating hydration levels can further optimize gluten formation and dough performance, especially when considering gluten development techniques. Being mindful of flour quality can also significantly impact the success of your autolyse process. Additionally, understanding the role of enzymes in flour can help maximize gluten network development during this resting period.
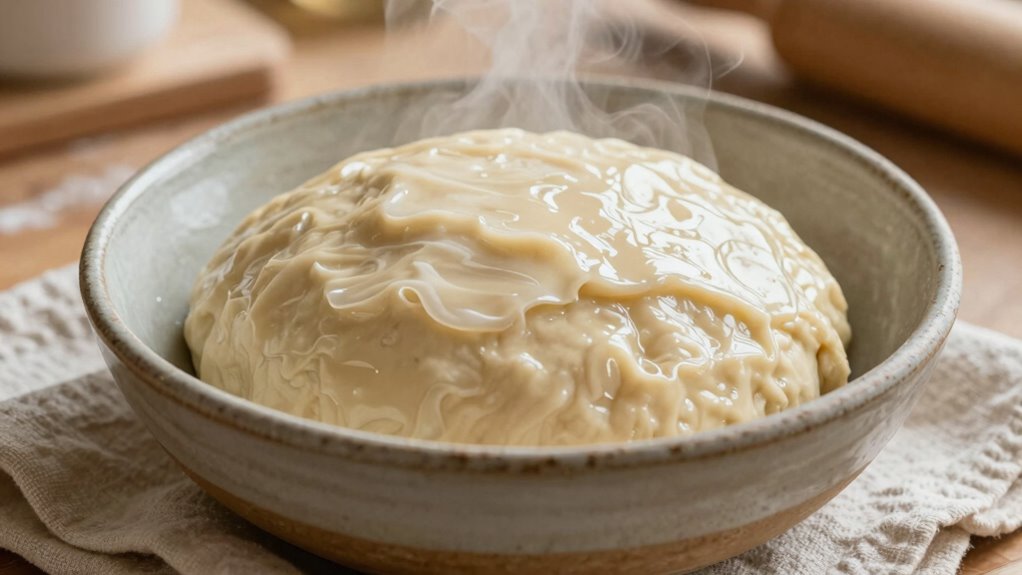
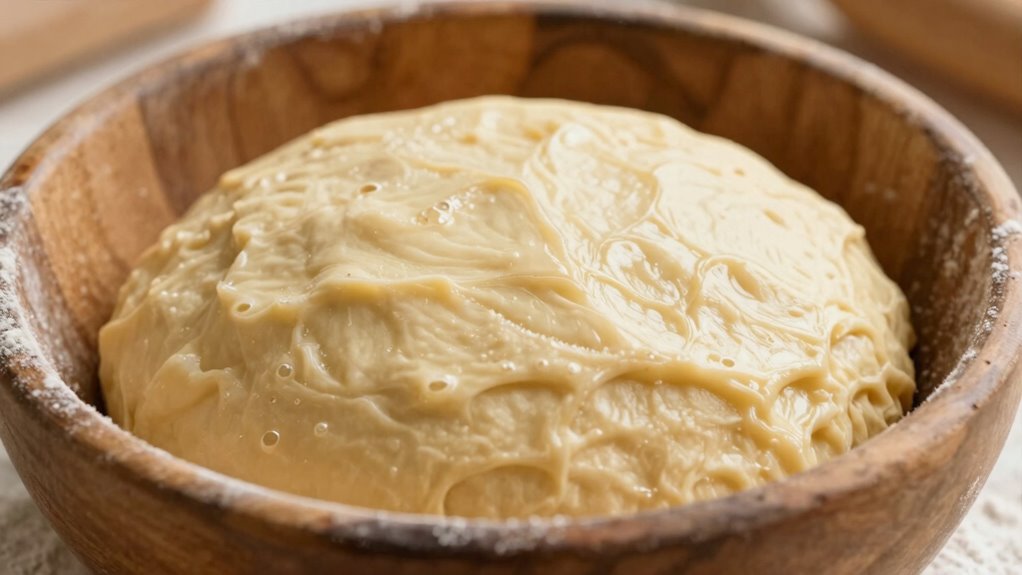
Rest Before Shaping
Once you’ve mixed your flour and water to form a rough, shaggy dough and let it rest, the next step is to allow the dough to continue autolyse before shaping. During this rest, the dough develops better dough elasticity, making it easier to handle and shape later. This period also benefits fermentation timing, as enzymes work to break down starches and proteins, enhancing flavor and texture. Avoid rushing into shaping too soon, as the autolyse process allows gluten to relax and strengthen naturally. Keep the dough covered to prevent drying out, and monitor its rise. Properly resting before shaping ensures your dough has ideal elasticity, leading to a more open crumb and a well-developed crust in the final bread. Understanding gluten development is essential for achieving the perfect texture in bread baking. Additionally, maintaining proper resting conditions can significantly influence the final outcome by promoting optimal enzyme activity, which supports flavor and texture enhancement. Ensuring consistent temperature and humidity during autolyse can further improve dough quality.
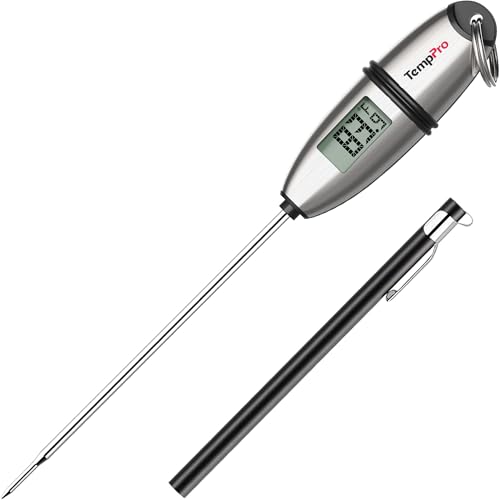
TempPro TP02S Digital Food Thermometer for Cooking Bread Baking Sourdough Liquids, Meat Thermometer Digital with Super Long Probe for Kitchen BBQ Yogurt Candy Making Accessory (Previously ThermoPro)
Fast and Accurate Reading: Kitchen thermometer for cooking features a 1 to 3 second readout speed and high…
As an affiliate, we earn on qualifying purchases.
As an affiliate, we earn on qualifying purchases.
How Long Should You Autolyse? Timing Tips for Best Results

The ideal rest duration for autolyse depends on your dough and baking goals, but generally, it’s between 20 to 60 minutes. Factors like flour type, temperature, and humidity can influence how long you should wait, so watch for signs of proper hydration. When your dough looks smooth and feels elastic, you’ve likely achieved the right autolyse. Additionally, using hydration techniques such as blending or straining can help improve the hydration process by ensuring even moisture distribution. Understanding dough consistency during autolyse can also guide you to optimal timing for your specific recipe. Incorporating large number conversions can help bakers better understand ingredient quantities in different measurement systems, especially when scaling recipes. Temperature control during autolyse can also impact enzyme activity and gluten development, making it an important factor to monitor.
Ideal Rest Duration
Determining the ideal rest duration for autolyse depends on your dough’s specific needs, but generally, 20 to 30 minutes works well for most bread recipes. During this time, fermentation timing and ingredient freshness play vital roles. If your ingredients are very fresh, a shorter autolyse may suffice, as the flour’s enzymes are more active. Conversely, older flour might benefit from a slightly longer rest to fully hydrate and develop gluten. Consider these tips:
- Stick to 20-30 minutes for typical recipes, adjusting based on flour and ambient conditions.
- Shorter autolyse favors quicker fermentation timing for sourdoughs.
- Longer rest enhances gluten development when ingredients are less fresh or harder to hydrate.
- Recognizing angel number meanings can provide spiritual guidance during your baking journey.
Factors Influencing Timing
Several factors influence how long you should autolyse your dough, and understanding these can help you maximize the process. Fermentation timing is key—shorter autolyse periods suit quick fermentation, while longer ones benefit slow fermentation for better gluten development. Ingredient variations also matter; flours with higher protein content may require a longer rest to fully hydrate. Conversely, softer or pre-hydrated ingredients can reduce autolyse time. Humidity and temperature impact hydration and enzymatic activity, affecting how quickly the dough reaches the most favorable consistency. Keep in mind that over-autolyzing can weaken gluten structure, so adjusting timing based on these factors ensures your dough develops properly without becoming overly relaxed. By considering these influences, you can tailor autolyse duration for consistent, high-quality results.
Signs of Proper Autolyse
Knowing when your autolyse is complete guarantees you get the best gluten development and dough consistency. Look for these signs:
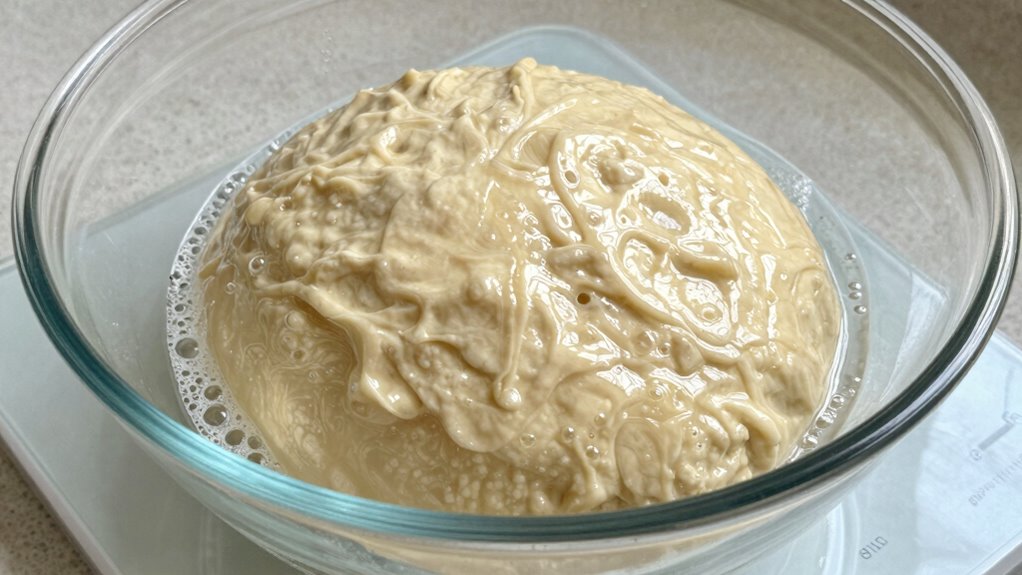
- The dough becomes smooth and slightly elastic, indicating proper hydration and gluten formation.
- It develops a glossy appearance and begins to hold its shape without sticking excessively.
- You notice a subtle increase in fermentation enhancement and improved flavor development, as enzymes activate during autolyse.
Timing varies, but typically 20 to 60 minutes suffices. Longer autolyse can deepen flavor and boost fermentation, while shorter periods still improve dough workability. Monitoring these signs ensures you ascertain you optimize autolyse for the best dough performance and taste, making your baking process more predictable and rewarding.
Benefits of Autolyse: Easier Handling and Better Texture

Autolyse makes handling dough much easier and results in a better texture. When you allow the flour and water to rest, the dough becomes more elastic and less sticky, which simplifies shaping and kneading. This process also enhances fermentation control, giving you more consistent rise and improved dough structure. Additionally, autolyse promotes flavor development by enabling enzymes to break down starches and proteins, enriching the dough’s taste. The improved gluten formation from autolyse creates a stronger, more extensible dough that’s easier to work with and yields a lighter, airier crumb. Overall, incorporating autolyse into your baking routine helps you achieve better handling, a more desirable texture, and deeper flavor without extra effort or complexity.
Different Autolyse Variations: Cold, Warm, and Extended Rest
Cold autolyse allows dough to ferment slowly, which can improve flavor development and gluten structure without risking overproofing. Extended rest times give you even more flexibility to enhance dough strength and texture over a longer period. Understanding these variations helps you customize your baking process for ideal results.
Cold Autolyse Advantages
One significant benefit of cold autolyse is that it allows dough to develop gluten strength with minimal fermentation activity, making it ideal for bakers who want more control over fermentation timing. This method slows enzymatic activity, helping preserve ingredient freshness while enhancing dough structure. Here are three key advantages:
- You gain better control over fermentation timing, preventing over-proofing.
- It preserves the delicate flavors of fresh ingredients by limiting early fermentation.
- Cold autolyse reduces the risk of overhydration, maintaining dough consistency.
Extended Rest Benefits
Have you considered how extending the rest period in autolyse can further improve your dough’s quality? Longer autolyse times allow enzymes to develop more fully, enhancing gluten structure and flavor. Modern tech innovations now enable precise temperature control, making extended rests more effective regardless of your environment. This flexibility benefits ingredient sourcing by accommodating different flours and water qualities, ensuring ideal hydration and enzyme activity. An extended rest helps break down starches and proteins more thoroughly, resulting in a dough that’s easier to handle and yields better fermentation. Plus, it can improve crust coloration and crumb texture. By embracing longer autolyse periods, you give your dough more time to develop complex flavors and improved extensibility, leading to superior baking results with consistent quality.
Incorporating Autolyse Into Your Favorite Bread Recipes
To successfully incorporate autolyse into your favorite bread recipes, start by mixing just the flour and water and letting the mixture rest before adding other ingredients. This step taps into fermentation science, enhancing gluten development and flavor. To optimize your autolyse process:
- Use high-quality ingredients sourced for freshness and consistency.
- Adjust resting times based on flour type and hydration level, typically 20-60 minutes.
- Keep the mixture covered and at a consistent temperature to encourage enzyme activity.
Incorporating autolyse improves dough extensibility and flavor, making your bread more resilient and flavorful. Understanding these principles helps you refine your technique and adapt recipes to your preferences, ensuring consistent results with each bake.
Troubleshooting Autolyse: Why Your Bread Isn’t Rising?

Even when you’ve properly prepared your autolyse, your bread might still not rise as expected. Poor fermentation control can cause this, as yeast activity depends on temperature and time. If the environment is too cold or too warm, fermentation slows or stalls, preventing proper gluten development and rising. Additionally, ingredient substitutions can disrupt the autolyse process; for example, replacing flour with low-protein or highly processed alternatives may weaken gluten formation. Make sure you’re using the right flour and maintaining consistent conditions. Overly long autolyse periods can also exhaust the flour’s enzymes, hindering fermentation. Adjust your process by monitoring dough temperature, sticking to recommended fermentation times, and using authentic ingredients to troubleshoot why your bread isn’t rising as it should.
Optimizing Hydration: Water-Flour Ratios for Effective Autolyse
Achieving the right hydration level is key to a successful autolyse, as water facilitates gluten development and enzyme activity. To optimize hydration, focus on balancing water and flour to achieve ideal dough consistency. Here are three tips:
- Use a hydration ratio of 60-70%, adjusting based on flour type and climate.
- Add water gradually, mixing until the dough reaches a smooth, tacky texture.
- Monitor dough consistency; it should be moist but not sticky, allowing gluten to form without becoming overly wet.
Maintaining proper hydration balance ensures the dough develops strength and extensibility during autolyse. Too little water results in insufficient gluten formation, while too much can make the dough overly slack. Find the right water-flour ratio for a well-behaved, resilient dough.
Autolyse Planning: Does It Save Time or Require Extra Prep?

Autolyse planning often prompts bakers to wonder whether it truly saves time or adds extra steps to their process. The key lies in understanding autolyse timing and how it fits into your schedule. While it does require some extra prep upfront, it can streamline the overall process by improving dough hydration and gluten development early on. If you’re tight on time, shorter autolyse periods can still offer benefits without significant delay. Conversely, longer autolyse allows for better flour hydration and easier handling later. By carefully planning when to start your autolyse, you balance the potential time savings with the dough’s improved behavior. Ultimately, proper autolyse planning can enhance your baking without adding unnecessary complexity.
Frequently Asked Questions
Can Autolyse Be Skipped Without Affecting Bread Quality?
You can skip autolyse, but it may affect gluten development and flour hydration. Without this resting period, your dough might not develop enough strength, leading to a less elastic and airy loaf. Autolyse helps hydrate the flour fully and kickstarts gluten formation, making kneading easier. If you skip it, be prepared for potentially tougher dough and a difference in the final bread’s texture and crumb structure.
How Does Autolyse Influence Sourdough Bread Differently?
Think of autolyse as a gentle awakening for your sourdough. It enhances gluten development quietly, creating a stronger, more elastic dough that traps gas better. This resting period also boosts flavor, allowing natural enzymes to work their magic. Without autolyse, your bread might lack some of that delightful chew and complex taste. Embracing this step guarantees your sourdough achieves a harmonious balance of texture and flavor.
Is Autolyse Suitable for All Types of Bread Doughs?
Autolyse isn’t suitable for all bread doughs, especially those requiring minimal gluten development or specific textures. It’s ideal for recipes needing better flour hydration and gluten formation, like rustic loaves and sourdoughs. If you’re making quick-breads or doughs with added fats or sugars, skipping autolyse might be best. Use it when you want improved dough extensibility and easier kneading, but avoid if delicate or enriched doughs are your goal.
What Are Common Mistakes to Avoid During Autolyse?
You can’t afford to make rookie mistakes during autolyse; they’re as disastrous as a sinking ship! Avoid overmixing the dough, which can develop gluten prematurely and ruin texture. Also, don’t skip or rush the resting period—insufficient resting prevents proper hydration and gluten formation. Keep the dough covered and at the right temperature to guarantee the autolyse works its magic, making your bread rise beautifully.
Does Autolyse Impact Fermentation Time?
Yes, autolyse impacts fermentation time by speeding up dough maturation. When you let the flour and water rest, enzymes activate, improving gluten development and enzyme activity. This process makes the dough more extensible, which allows fermentation to proceed more efficiently. As a result, your dough ferments faster and more evenly, reducing overall proofing time and enhancing flavor and texture. So, autolyse can help you achieve better fermentation speed and improved dough quality.
Conclusion
Think of autolyse as the secret lullaby that soothes your dough into perfect harmony. When you give it time to rest, you’re revealing a treasure chest of gluten magic, making your bread rise like a symphony. Embrace this simple step, and watch your baking transform from ordinary to extraordinary. With patience and a gentle touch, you’re crafting not just bread, but a masterpiece that rises beautifully, whispering stories of your skill with every airy bite.