
To tell if your flour has gone rancid, check for sour or stale smells, which indicate spoilage. Look for discoloration, mold, or dark spots, and feel if it’s damp, sticky, or clumpy—these are signs of moisture exposure and deterioration. Proper storage in airtight containers in a cool, dark place can help keep it fresh longer. For more tips on ensuring your flour stays good, keep exploring the details below.
Key Takeaways
- Smell the flour; a sour or stale odor indicates it has gone rancid.
- Check for discoloration, mold, dark spots, or uneven patches on the flour’s surface.
- Feel the flour; if it’s damp, sticky, or clumpy, it may be spoiled.
- Look for visual cues like yellowing or a grayish tint, signaling deterioration.
- Conduct a water test: if water forms a paste and smells sour, discard the flour.

PrepSolutions Flour Keeper – Airtight Storage Container for Flour, Sugar & Dry Goods, 5 lb Capacity, BPA-Free, Easy Pour Design
Contains (1) PrepSolutions Flour Keeper
As an affiliate, we earn on qualifying purchases.
As an affiliate, we earn on qualifying purchases.
What Are the Signs That Flour Has Gone Rancid?
Have you ever wondered how to tell if your flour has gone bad? One key sign is a change in its smell or appearance, which can affect its nutritional impact. Rancid flour may develop a sour or stale odor, indicating fats have started to break down. This breakdown reduces the flour’s nutritional value and can negatively impact your baked goods. Proper storage longevity plays a big role here; if stored in a cool, airtight container, flour stays fresh longer. Additionally, storage conditions can help extend its freshness and prevent rancidity. If you notice any moisture exposure, it’s best to discard the flour to maintain quality and safety. Contamination from moisture or pests can accelerate spoilage, making it important to keep flour dry and well-sealed. Regularly inspecting flour for quality deterioration helps prevent using compromised product, which could pose health risks. Always check for signs like discoloration, clumping, or an off smell, as these clues help you determine if your flour is still good to use or needs replacing to preserve its nutritional benefits.

ZOEYEC TK100GF Professional Grain Flour Digital Moisture Meter for Corn Wheat Flour Moisture Analyzer Tester Meter
It is portable, compact, easy to use and the readings are instant.
As an affiliate, we earn on qualifying purchases.
As an affiliate, we earn on qualifying purchases.
How Can You Detect Rancidity in Flour by Smell and Appearance?
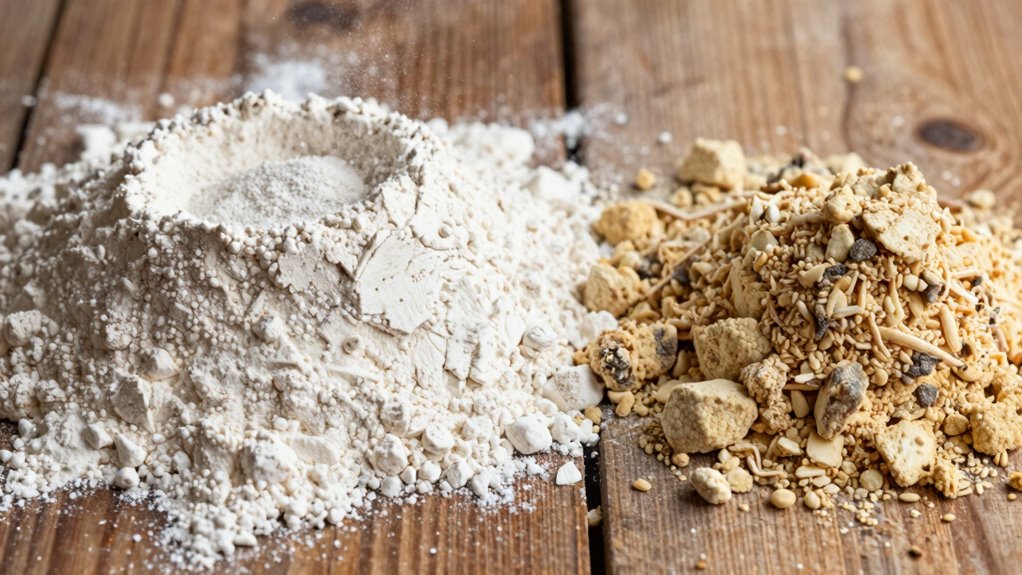
You can often detect rancidity in flour by paying close attention to its smell and appearance. Smell detection is a quick way to identify spoilage; fresh flour has a neutral, mild scent, while rancid flour emits a sour or stale odor. During visual inspection, look for discoloration or clumping, which can indicate moisture absorption and spoilage. Also, check for any mold or unusual spots on the surface. If the flour smells off or shows signs of visual deterioration, it’s best to discard it. Rancidity affects both smell and appearance, making these simple checks effective. Regularly performing smell detection and visual inspection helps ensure your flour remains fresh and safe for baking. Additionally, understanding fundamentals like proper storage can help prevent rancidity and maintain freshness longer.

ComSaf Airtight Glass Storage Canister with Lids (0.7Qt/1.2Qt/1.6Qt) Set of 6, Food Storage Container Kitchen Pantry Storage Jar, Glass Jars for Flour Cereal Sugar Tea Coffee Beans Snacks, Square
Versatile Glass Canisters: Experience the versatility of our glass pantry storage containers; ideal for storing cereals, cookie, snacks,…
As an affiliate, we earn on qualifying purchases.
As an affiliate, we earn on qualifying purchases.
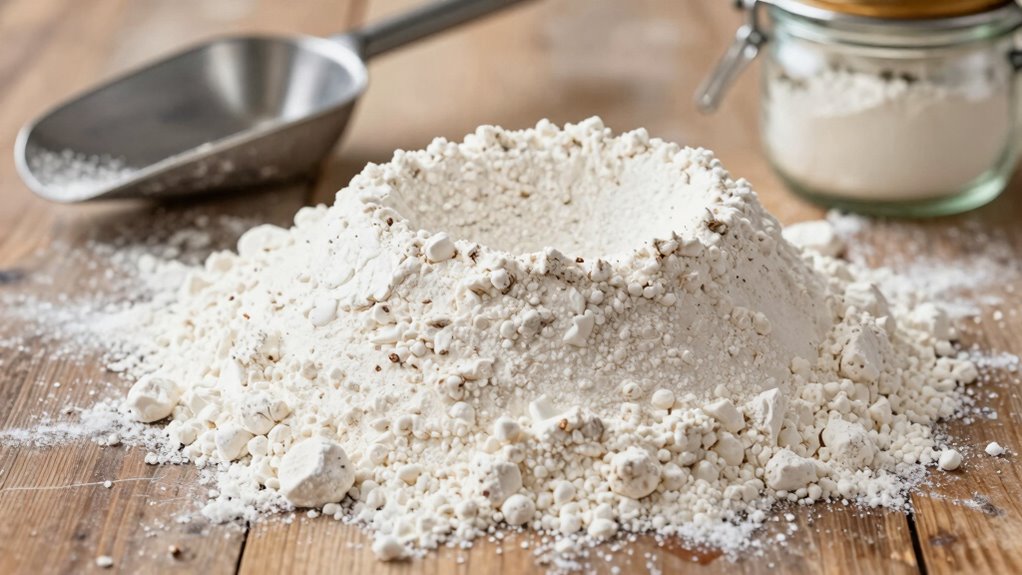
How to Check Flour’s Texture and Color for Spoilage?
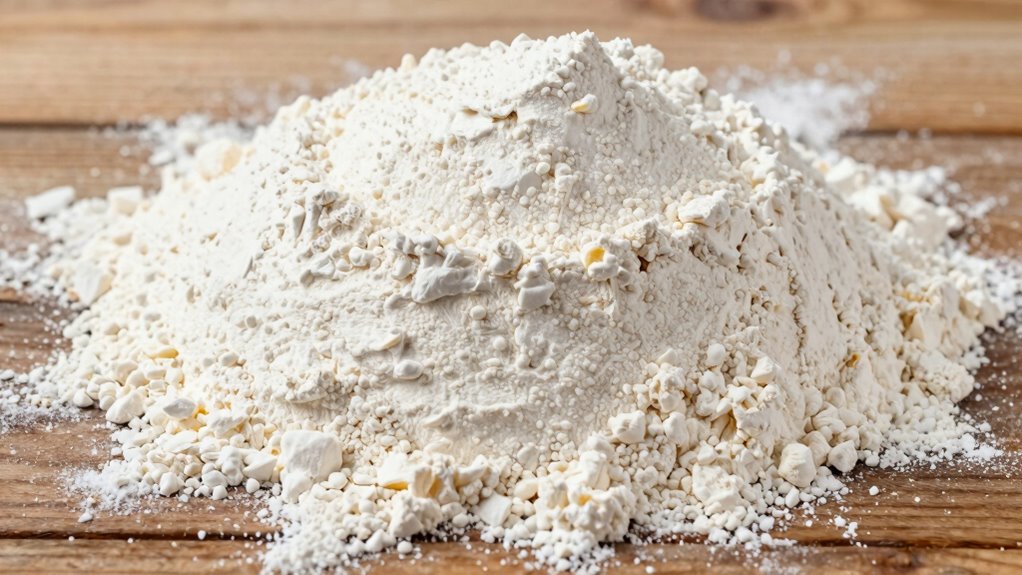
Start by observing the flour’s color; any dullness or uneven discoloration can signal spoilage. Next, feel its texture—fresh flour should be soft and powdery, not clumpy or hard. Additionally, storage methods can influence flour’s longevity and quality—proper storage in airtight containers helps prevent spoilage. Proper airtight storage also minimizes exposure to moisture and pests that can accelerate deterioration. Maintaining optimal humidity levels in storage areas further extends flour’s freshness and prevents mold growth. Regularly checking for pests or insects can help detect early signs of contamination before the flour is compromised. It’s also helpful to be aware of common spoilage signs, such as off-odor or the presence of mold, which indicate the flour should be discarded. Finally, look for signs of discoloration, like dark spots or stains, which indicate it’s no longer good to use.
Observe Color Changes Clearly
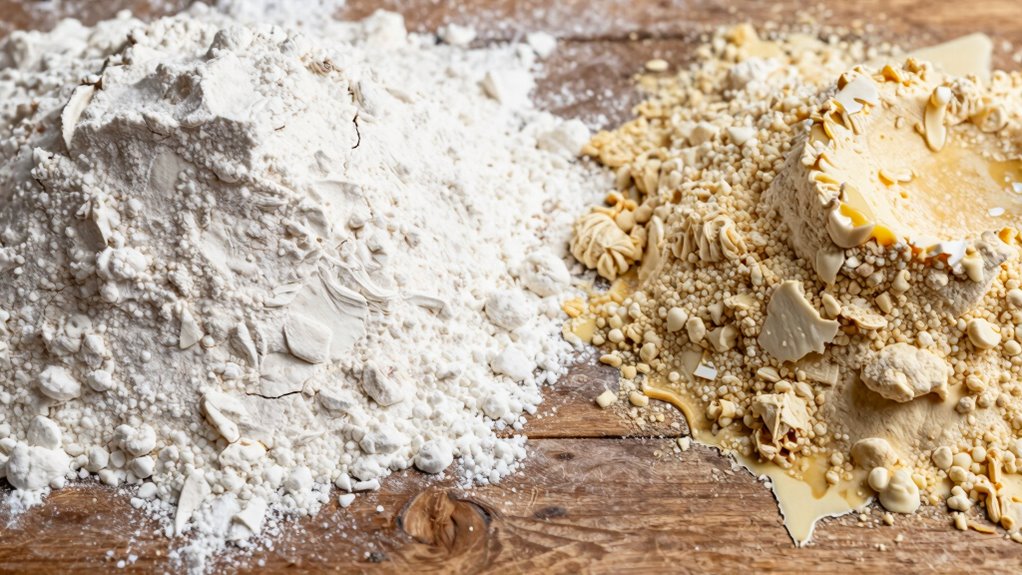
Changes in flour’s color can be quick clues to spoilage, so it’s important to observe it carefully. Look for any color change that deviates from its usual pale, creamy hue. Visual cues like dark spots, yellowing, or a dull appearance indicate potential spoilage. Use the table below to compare typical flour colors with signs of spoilage:
| Normal Color | Abnormal Color | Possible Cause |
|---|---|---|
| Pale, creamy | Dark spots | Mold or pests |
| Uniform | Yellowish | Oxidation or old flour |
| Bright white | Dull or gray | Rancidity or contamination |
| Light beige | Discolored patches | Bacterial growth |
| Consistent hue | Uneven color | Spoilage or contamination |
Pay close attention to any visible color change, as these visual cues are essential indicators of flour’s freshness.
Feel for Texture Firmness
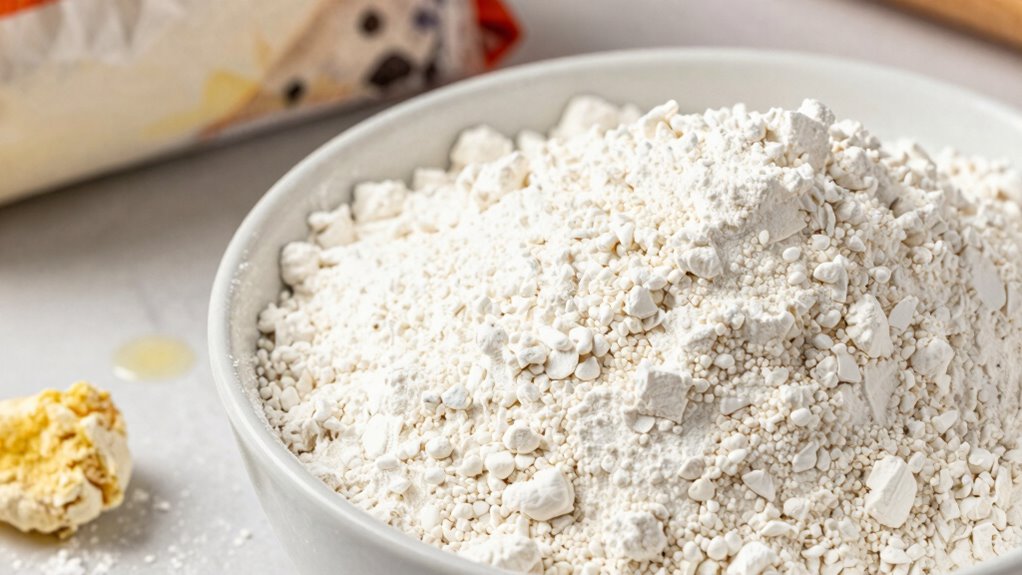
Feeling the texture of flour is a simple yet effective way to detect spoilage. Fresh flour should feel dry, light, and powdery, with a consistent, fine grain aroma. If it feels clumpy or damp, moisture content has increased, which encourages mold and bacteria growth. Gently squeeze a small amount between your fingers—if it’s sticky or feels pasty, it’s a sign of spoilage. Properly stored flour remains firm but not hard or compacted; if it’s overly dense or crumbly, it may have deteriorated. Pay attention to any off smells or grain aroma deviations, which often accompany texture changes. When texture feels off or moisture seems high, it’s best to discard the flour to avoid potential health risks.
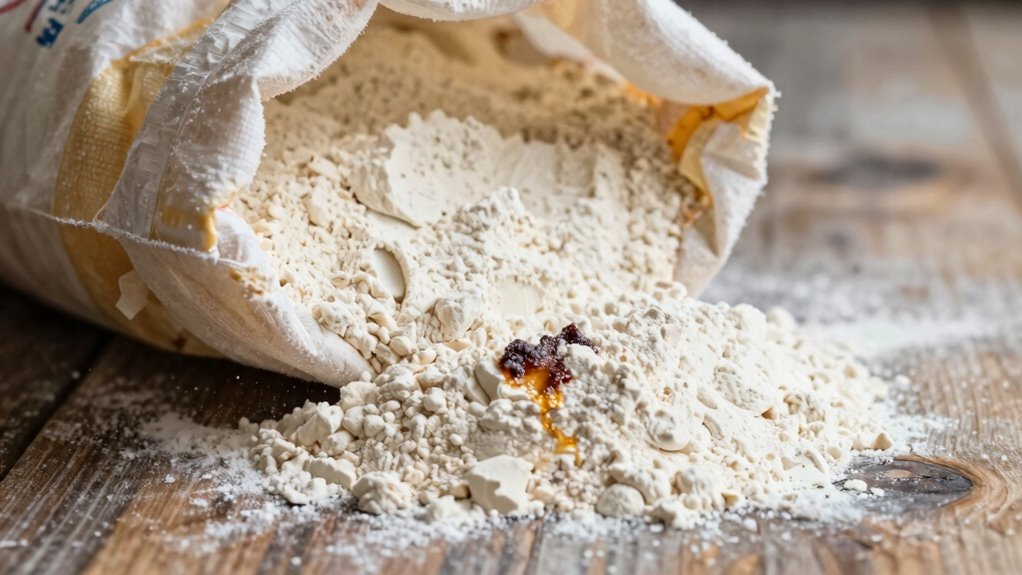
Identify Discoloration Signs
How can you tell if flour has gone bad by its color? During your visual inspection, look for discoloration patterns that differ from its usual pale hue. Fresh flour should be uniformly light, with no dark spots, yellowing, or grayish tint. Any uneven coloring or unexpected stains indicate spoilage. Discoloration signs often include spots or patches that stand out, suggesting mold or contamination. Use your eyes carefully to detect these changes, as they’re key indicators of spoilage. If the flour’s color appears dull, tarnished, or shows unusual discoloration, it’s time to discard it. Additionally, proper storage conditions play a crucial role in maintaining flour’s freshness and preventing spoilage. Proper storage in a cool, dry, and airtight container helps inhibit the growth of mold and bacteria that cause discoloration. Contamination risks can also contribute to visual signs of spoilage, so inspecting flour regularly is essential. Remember, visual inspection is a quick way to identify signs of deterioration, helping you avoid using compromised flour in your recipes. Regularly checking the moisture content of your flour can also prevent mold growth and spoilage.

Mauts-inus 2 Pack Chocolate Shaker Powdered Sugar Shaker Duster 16 Coffee templates Set for Cream,Powdered Sugar,Cocoa,Cappuccino,for Kitchen,Drinks,Baking (18)
The perfect chocolate Shaker set: 2 dusting tins and 16 pieces of coffee mold, This set is perfect…
As an affiliate, we earn on qualifying purchases.
As an affiliate, we earn on qualifying purchases.
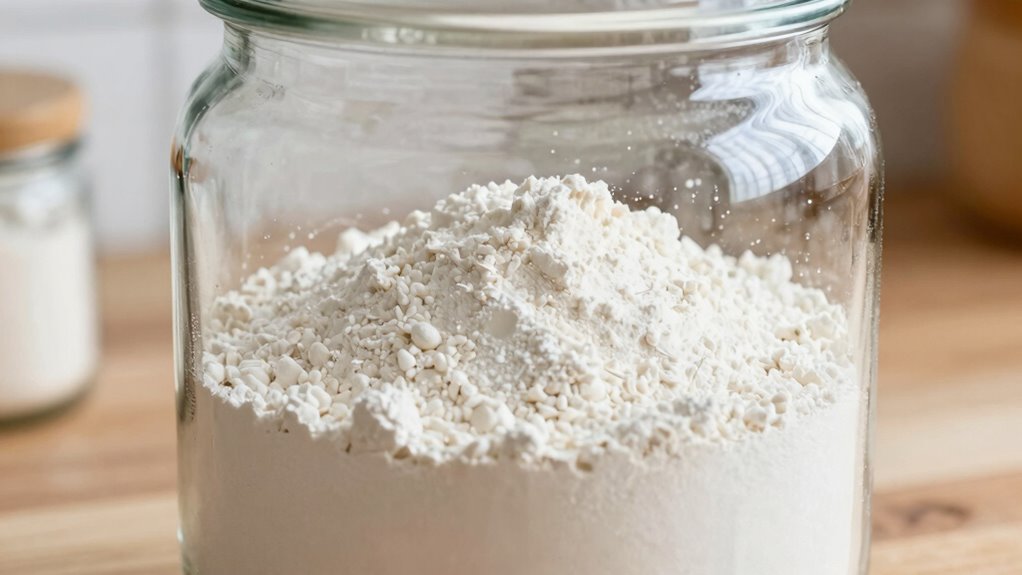
How Should You Store Flour to Keep It Fresh Longer?
To keep your flour fresh longer, store it in an airtight container to prevent moisture and pests. Place it in a cool, dark spot away from sunlight to slow down spoilage. Proper storage techniques, such as avoiding exposure to heat and humidity, can further help preserve its freshness. Additionally, monitoring storage temperature ensures your flour remains in optimal conditions for longer shelf life. Using an air purifier in your storage area can also help reduce airborne contaminants that may accelerate spoilage. Incorporating smart home technology for monitoring humidity and temperature can optimize storage conditions even further, making it easier to maintain ideal food storage conditions at home.
Use Airtight Containers
Using airtight containers is one of the best ways to preserve flour’s freshness. They help prevent exposure to air, moisture, and pests, which can cause flour to spoil quickly. When choosing containers, make certain they provide proper sealing to keep your flour fresh longer. Look for containers with tight-fitting lids that lock in freshness and prevent leaks. Proper sealing also helps maintain the quality of the flour by preventing moisture infiltration, which is essential for keeping it from going rancid. Additionally, selecting containers with appropriate material properties can help maintain the flour’s optimal condition over time. Using containers made from food-grade materials ensures that no harmful chemicals leach into the flour, further extending its shelf life. Moreover, storing flour in airtight containers can significantly reduce the risk of contamination from pests or environmental factors. Ensuring the correct storage environment further supports the longevity of your flour.
Store in Cool Place
Storing flour in a cool place plays an essential role in maintaining its freshness. A cooler environment helps slow down the natural fats that can turn rancid, extending its shelf life. To maximize freshness, keep flour away from heat sources like ovens or radiators. Store it in an airtight container and place it in a pantry or cupboard away from moisture and heat. Proper storage tips also include avoiding frequent temperature fluctuations, which can cause condensation and spoilage. If you live in a warm or humid climate, consider storing flour in the refrigerator or freezer for even longer shelf life. Keeping flour in a cool, dark place preserves its quality and prevents premature rancidity, ensuring it remains fresh for as long as possible.
Keep Away From Light
Light exposure can quickly degrade the quality of flour, causing it to lose freshness and develop off-flavors. To preserve its shelf life, keep your flour away from direct light sources. Exposure to light can break down fats and compromise packaging integrity, leading to spoilage. Store your flour in a dark, cool place, away from windows and artificial lighting. Use airtight containers to prevent light from penetrating through packaging. Consider opaque or tinted containers that block UV rays. Keeping flour in a sealed, light-proof container helps maintain its freshness and prevents the development of rancid flavors. Proper storage not only preserves quality but also extends shelf life, saving you money and ensuring your baked goods taste their best.
How Do You Test If Flour Is Still Good Before Baking?
Before you start baking, it’s important to check if your flour is still good. To verify quality assurance and ingredient safety, begin by inspecting its appearance. Fresh flour should be uniform in color and free of clumps or discoloration. Next, smell it—if it has a sour or off odor, it’s likely gone rancid. You can also perform a simple test by placing a small amount of flour in a bowl and adding a few drops of water; if it forms a paste and smells sour, discard it. Additionally, conducting a quick taste test can reveal off-flavors. These steps help you determine if your flour maintains its freshness and safety before baking, reducing the risk of spoiled ingredients ruining your baked goods.
When Is It Time to Discard and Replace Rancid Flour?
Knowing when to discard and replace flour that has gone rancid is key to maintaining the quality of your baked goods. Rancid flour typically has a sour smell, off taste, or visible discoloration. Pay attention to its shelf life—most flours last about 6-8 months when stored properly. If your storage tips include keeping flour in an airtight container in a cool, dark place, it can last longer. However, if it develops a bitter smell or strange flavor, it’s time to discard it. Additionally, clumping or mold indicates spoilage. Regularly check your flour’s smell and appearance to avoid using rancid flour in recipes, which can affect taste and texture.
- Sour or stale smell
- Discoloration or mold
- Clumping or hard texture
- Off taste during testing
Frequently Asked Questions
Can Flour Still Be Used After It Shows Minor Signs of Spoilage?
You can often still use flour after minor signs of spoilage, but you should check for subtle spoilage signs first. Smell the flour carefully—if it has a sour or rancid odor, it’s best to discard it. If the odor detection is subtle and the flour appears unchanged, it may still be safe for baking. However, trust your senses; when in doubt, it’s safer to replace questionable flour.
Does the Type of Flour Affect How Quickly It Goes Rancid?
Yes, the type of flour affects how quickly it goes rancid because different grains have varying fat content, impacting shelf life. For example, nut flours spoil faster than wheat flour. Proper grain storage is essential to maintain freshness and gluten stability, especially for whole grain or specialty flours. Keep flour in airtight containers in cool, dark places to slow rancidity and preserve its quality longer.
Are There Specific Brands With Longer Shelf Lives?
Ever wonder if some brands are better guardians of freshness? You’ll find that brands with higher brand longevity often have superior shelf stability, helping your flour stay fresh longer. Look for reputable labels that emphasize quality control. While no brand guarantees eternal shelf life, choosing well-known, high-quality brands enhances your chances of keeping flour fresh and avoiding rancidity. Always store in a cool, dark place to maximize its lifespan.
How Does Humidity Influence Flour Spoilage?
Humid conditions speed up flour spoilage by increasing moisture absorption, which creates an environment conducive to mold development. When humidity rises, flour easily absorbs moisture from the air, making it prone to clumping and mold growth. To prevent this, store flour in airtight containers in a cool, dry place. Keeping humidity low minimizes moisture absorption, helping your flour stay fresh longer and reducing the risk of mold and spoilage.
Can Homemade Storage Solutions Extend Flour’s Freshness?
Think of your homemade storage as a fortress for your flour. Yes, it can extend freshness if you use airtight containers and keep them in cool, dark places. These barriers protect against humidity and pests, much like a shield. By avoiding direct sunlight and maintaining consistent low temperatures, you preserve the flour’s quality longer, ensuring your baked goods stay fresh and flavorful.
Conclusion
If your flour smells off, looks greasy, or feels clumpy, don’t ignore those warning signs—they’re your kitchen’s red flags. Rancid flour can ruin your baked goods faster than a tornado in a trailer park. Always check its smell, appearance, and texture before using, and store it properly to keep it fresh. When in doubt, discard it—your baking deserves first-rate ingredients, not a trip to flavor disaster!