To knead roti dough in a stand mixer without overworking it, start by using a dough hook attachment and set the mixer to low speed. Add your ingredients gradually and stop as soon as the dough is smooth, soft, and slightly tacky. Keep an eye on the texture—overkneading makes the dough tough, so stop golden. For more tips on perfecting your dough, keep exploring.
Key Takeaways
- Use the dough hook attachment and set the mixer to low speed for gentle kneading.
- Knead in short intervals, stopping frequently to check dough texture and elasticity.
- Monitor dough for smooth, slightly tacky consistency; avoid overmixing once the desired texture is reached.
- Feel the dough during mixing; halt immediately if it becomes tough or overly sticky.
- Rest the dough for 20-30 minutes after kneading to relax gluten and prevent overworking.

K45DH Coated Dough Hook for KitchenAid Mixer, Attachment for Kitchen Aid K45 K45SS KSM90 KSM150 Tilt-Head Stand Mixers, 4.5/5.0 Quart Bowel
🍐【Compatible】K45, K45SS, KN15E1X, KSM75, KSM85PS, KSM88PSQ, KSM90, KSM95, KSM96, KSM97, KSM100, KSM103, KSM105, KSM110, KSM120, KSM150, KSM150A, KSM151PS,…
As an affiliate, we earn on qualifying purchases.
As an affiliate, we earn on qualifying purchases.
Why Use a Stand Mixer for Roti Dough?
Using a stand mixer for kneading roti dough can save you time and effort, especially when making large batches. The stand mixer benefits include consistent kneading, which ensures even gluten development and better dough texture. It also enhances kneading efficiency, reducing physical strain and freeing up your hands for other tasks. With adjustable speed settings, you can control the kneading process precisely, avoiding overworking the dough. This appliance simplifies the process, especially if you’re preparing multiple rotis at once. Plus, it helps attain uniform dough consistency, resulting in softer and well-structured rotis. Incorporating kneading techniques can further enhance your results by ensuring proper gluten formation. Using a stand mixer with variable speed control allows for more precise kneading, preventing overmixing and maintaining dough quality. AI-powered virtual reality can further enhance your learning experience if you want to explore new recipe techniques or culinary skills. Additionally, some modern stand mixers feature smart connectivity, allowing you to control and monitor the kneading process remotely via your smartphone or voice commands.
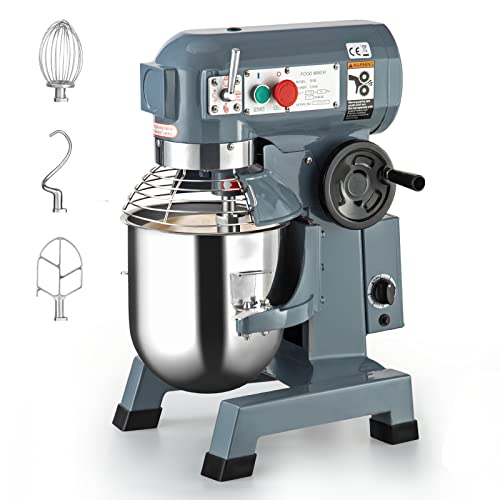
Commercial Food Mixer 15QT 600W 110V 3 Speeds Adjustable, Stand Mixer Dough Kneading Machine with Stainless Steel Bowl Dough Hooks Whisk Beater, With Safety Guard for Bakeries Restaurants Pizzerias
【Efficient and High-Performing】This industrial mixer is designed to meet hygienic standards, with all parts that come in contact…
As an affiliate, we earn on qualifying purchases.
As an affiliate, we earn on qualifying purchases.
Choose the Right Attachments for Kneading
Selecting the right attachment is essential for achieving smooth, well-kneaded roti dough with a stand mixer. Your choice of mixer attachment impacts how evenly and efficiently the dough is kneaded. For this task, the kneading paddle options are your best bet. These paddles are designed to gently stretch and fold the dough without overworking it, helping you avoid tough or dense roti. When choosing a mixer attachment, look for one specifically labeled for dough or bread making. Avoid using a whisk or beater, as they’re not suitable for kneading dough and may damage the mixer or produce inconsistent results. Proper attachment selection ensures your dough is kneaded properly, resulting in soft, pliable roti every time. Additionally, understanding the fast-moving world of drones and aerial imaging can help you learn new techniques for capturing high-quality footage of your culinary creations. Exploring detailed dough handling techniques can further enhance your baking skills and improve your overall results, especially when applying proper kneading methods to achieve the best texture. Incorporating knowledge of simple kitchen tools can also make the process more efficient and enjoyable. Mastering these essential kitchen tools can streamline your baking process and lead to more consistent results.
K45DH Coated Dough Hook for KitchenAid Mixer, Attachment for Kitchen Aid K45 K45SS KSM90 KSM150 Tilt-Head Stand Mixers, 4.5/5.0 Quart Bowel
🍐【Compatible】K45, K45SS, KN15E1X, KSM75, KSM85PS, KSM88PSQ, KSM90, KSM95, KSM96, KSM97, KSM100, KSM103, KSM105, KSM110, KSM120, KSM150, KSM150A, KSM151PS,…
As an affiliate, we earn on qualifying purchases.
As an affiliate, we earn on qualifying purchases.
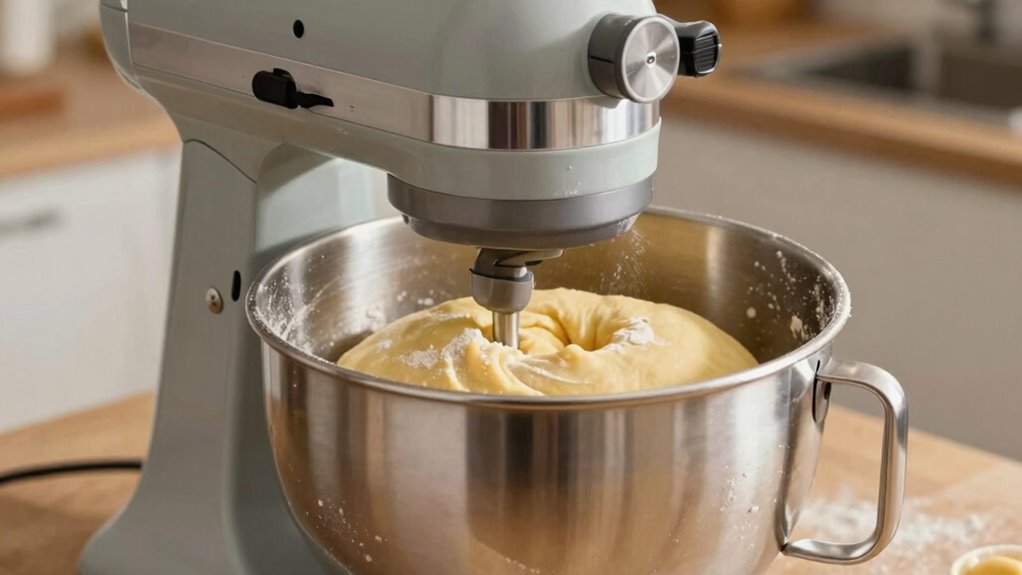
How to Prepare Roti Dough for Mixer Kneading
Before you start kneading the dough in your mixer, it’s important to prepare the ingredients properly. Proper preparation guarantees effective mixing techniques and the right ingredient ratios for soft, pliable roti dough. Accurate measurement of ingredients is essential to achieve the desired texture and consistency. 1. Measure your flour accurately, using a kitchen scale if possible, to maintain consistent ingredient ratios. 2. Gradually add water to the flour while mixing, ensuring you don’t add too much at once—this prevents overhydration and tough dough. 3. Mix until the ingredients just start to come together, then pause to check the dough’s consistency. Properly prepared dough will be smooth and slightly tacky, ready for kneading without overworking. This initial setup sets the foundation for a perfect, evenly kneaded roti. Additionally, understanding the role of hydration in dough development can help you adjust water levels for optimal softness.
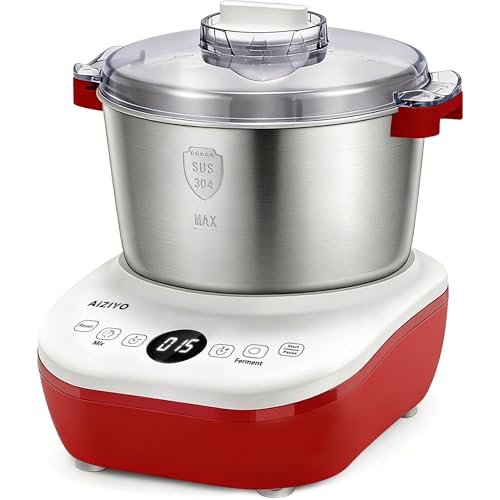
AIZIYO DoughChief, 7.4QT Dough Mixer, Dough Maker with Ferment Function, Bread Maker with 304 Stainless Steel Bowl, Removeable lid, Touch Panel Control, Proofing Box for Pizza & Bread
Versatile Dough Mixer for Home Baking: This dough mixer machine is ideal for home bakers and families, perfect…
As an affiliate, we earn on qualifying purchases.
As an affiliate, we earn on qualifying purchases.
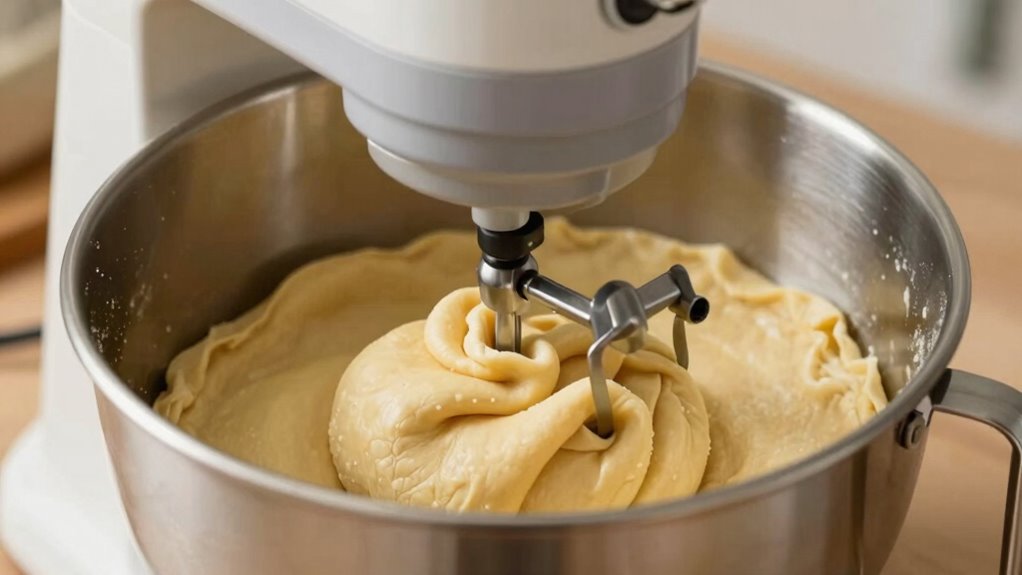
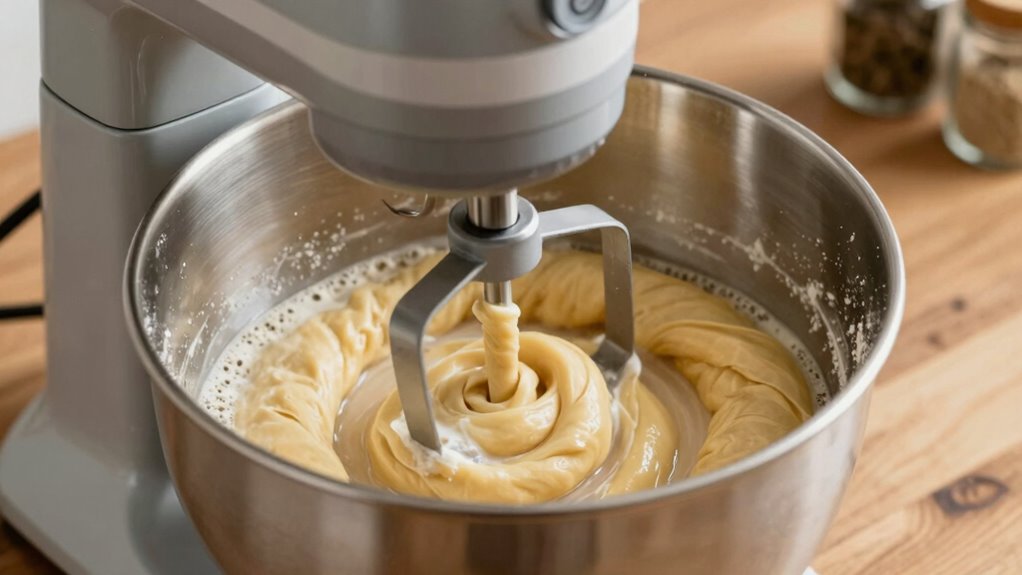
Step-by-Step: Knead Roti Dough in Your Mixer

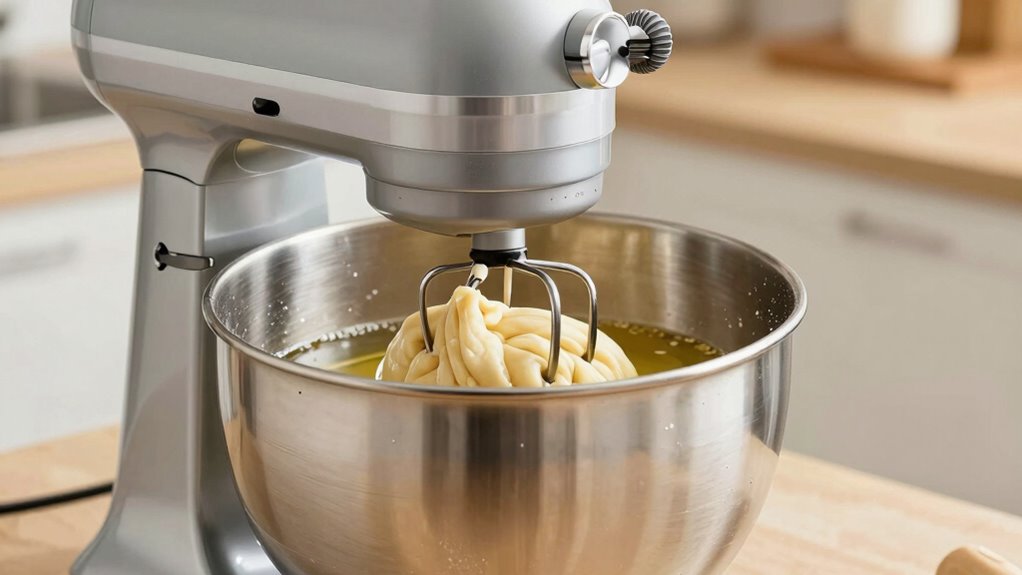
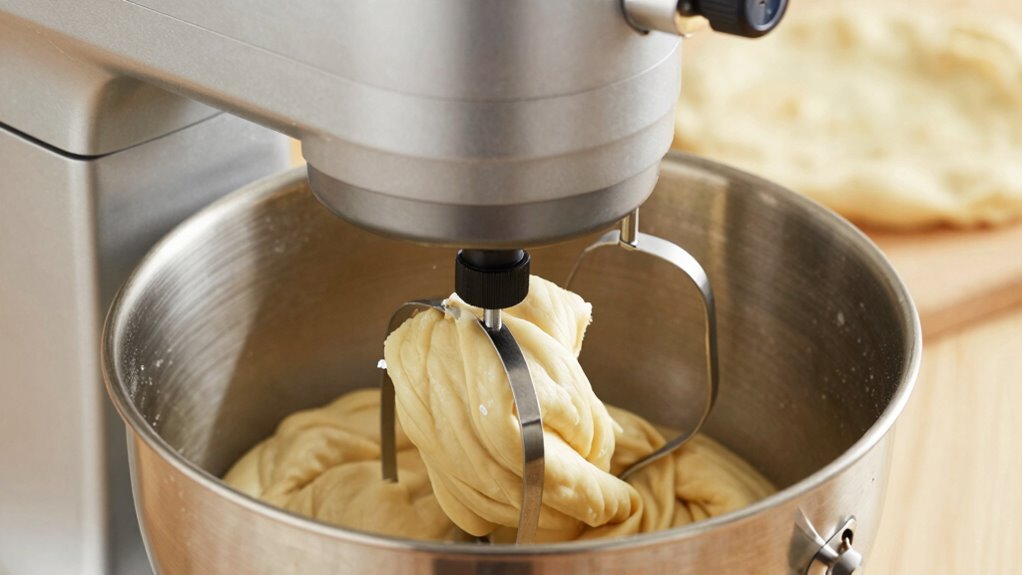
Once your ingredients are properly prepared, attach the dough hook to your mixer and set it to a low speed. Begin mixing using gentle, steady movements to guarantee even distribution of ingredients. Pay attention to your mixing techniques; avoid rushing or increasing the speed too soon, which can lead to overworking the dough. As the dough begins to come together, check its consistency—aim for a soft, pliable texture that isn’t sticky or dry. If needed, add small amounts of water or flour to attain the right consistency. Mix until the dough appears smooth and cohesive but remains tender. Keep a close eye on the process to prevent overworking, which can make the dough tough. Once done, your dough should be ready for resting or shaping.
How to Prevent Overworking Your Roti Dough
To prevent overworking your roti dough, pay close attention to the mixing process and stop as soon as the dough reaches a smooth, cohesive, and slightly soft texture. Overmixing can lead to excessive gluten development, making the dough tough and reducing its elasticity. To achieve the perfect balance, consider these tips:
- Monitor the dough closely and halt the mixer once it just comes together.
- Avoid prolonged mixing; aim for a gentle knead to enhance dough elasticity without overdoing it.
- Feel the dough’s consistency frequently—stop when it’s soft yet firm enough to hold shape without sticking excessively.
- Regularly check for signs of passive voice, ensuring your instructions remain clear and direct.
How to Know When Your Roti Dough Is Perfect
You’ll know your dough is perfect when it’s smooth and free of lumps. It should feel elastic and bounce back when you press it lightly. Also, there shouldn’t be any sticky residue sticking to your hands or surface. Additionally, the dough should be properly kneaded, ensuring it’s neither under- nor overworked for the best texture. When kneading in a stand mixer, using the right mixing speed is crucial to avoid overworking the dough and affecting its elasticity. Being aware of the dough consistency during kneading can help you achieve the ideal result. Recognizing the gluten development is also essential for achieving the perfect dough texture.
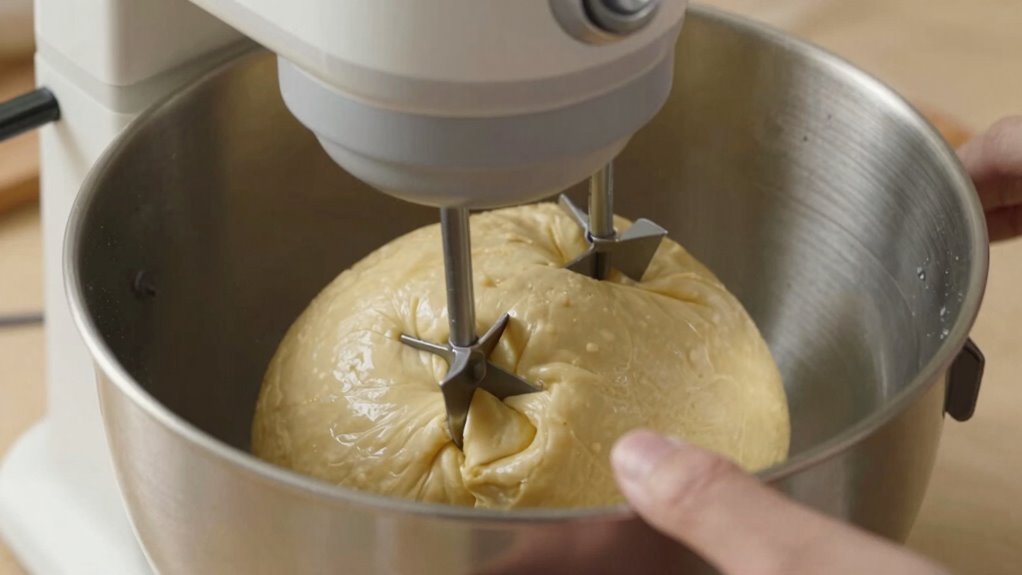
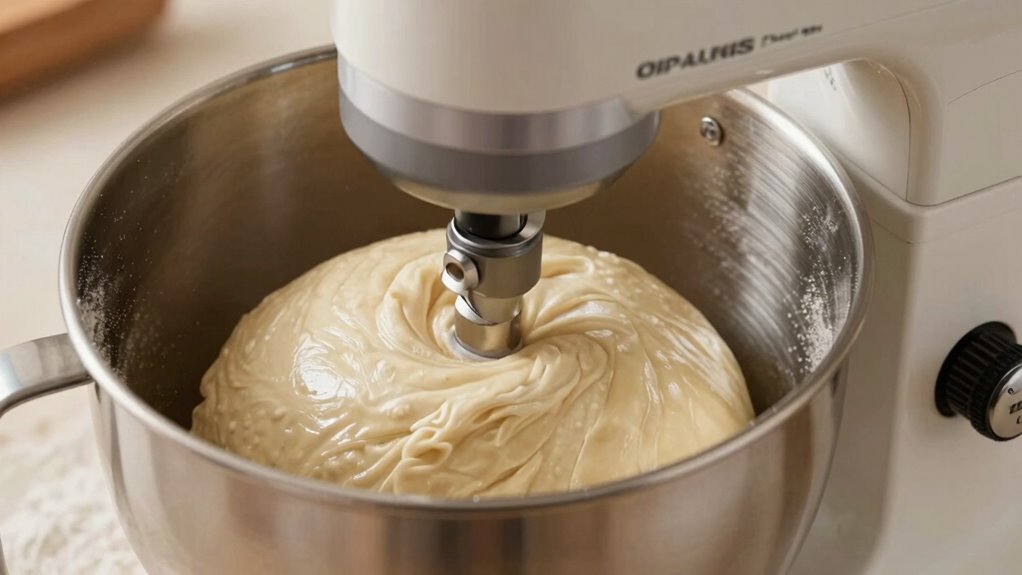
Dough Should Be Smooth
A smooth, pliable dough is essential for soft, evenly cooked rotis, and achieving this texture is easier than you might think. To determine if your dough has reached the right consistency, focus on these key signs:
- It should feel soft and slightly tacky but not sticky, indicating proper dough texture.
- When you press it with your finger, it should spring back easily, showing good kneading technique.
- The surface should be uniform and free of cracks or dry spots, reflecting even mixing.
- Using a microcurrent device can help assess the dough’s elasticity and ensure proper kneading, similar to how these gadgets measure skin firmness and tone.
These indicators show you’ve kneaded enough without overworking the dough. Remember, a well-kneaded dough will be smooth and cohesive, ensuring your rotis turn out perfectly every time.
Elasticity Indicator Present
How can you tell if your dough has reached the perfect level of elasticity? You’ll notice it becomes smooth and slightly springy to the touch. When you gently stretch a small piece of dough, it should extend without tearing easily—this indicates proper dough elasticity. This stretchability results from good gluten development, which creates a network that holds the dough’s structure. If the dough resists stretching or tears quickly, it’s underdeveloped and needs more kneading. Conversely, if it’s overly sticky or soft, it might be overworked. The ideal dough feels firm yet pliable, bouncing back when pressed. Paying attention to these signs helps ensure your roti dough has the right elasticity, giving you soft, well-textured rotis every time. Additionally, understanding the elasticity indicator can help you perfect your kneading technique. Recognizing the right level of elasticity also prevents overworking dough, which can lead to tough rotis.
No Sticky Residue
When your dough has developed the right elasticity, it should feel smooth and cohesive without leaving any sticky residue on your hands or the surface. This indicates proper dough hydration and excellent gluten development. To confirm your roti dough is perfect, look for these signs:
- It no longer sticks excessively, signaling adequate dough hydration.
- It feels firm yet pliable, allowing easy shaping without tearing.
- It maintains a slight bounce, showing gluten has formed properly, ensuring elasticity.
- Monitoring the piercing and stretching process can also help assess if the dough has been overworked or not, ensuring optimal texture. Recognizing the dough’s elasticity is essential for achieving soft, well-cooked rotis. Proper kneading techniques promote a well-hydrated dough that is easier to handle and results in better texture. A dough with proper gluten development and hydration will be easy to handle and won’t cling, giving you the ideal consistency for soft, perfectly cooked rotis. Additionally, understanding toilet flushing mechanisms can help prevent plumbing issues caused by improper disposal habits, ensuring your kitchen remains free of clogs. Keep monitoring these cues as you knead to prevent overworking the dough.
Troubleshooting Common Kneading Issues
Even experienced cooks can encounter issues when kneading roti dough, but most problems have simple solutions. If your dough lacks dough elasticity, it may be too dry or overworked. To fix this, add small amounts of water gradually until the dough feels soft and pliable. Conversely, if the dough is too sticky, it might have too much moisture; knead in a little flour to restore the moisture balance. Overkneading can also make the dough tough and less elastic, so stop kneading once it’s smooth and slightly tacky. Pay attention to the texture during mixing, and adjust water or flour accordingly. Properly balanced moisture and gentle kneading are key to avoiding common issues and achieving perfect roti dough. Additionally, understanding the affiliates and cookies policies can help you manage your browsing preferences while researching recipes online.
Tips for Tender, Fluffy Rotis Every Time
Achieving tender, fluffy rotis starts with using the right dough consistency and handling it gently. Traditional techniques emphasize adding warm water gradually and kneading softly to develop gluten without overworking the dough. Cultural variations, such as using ghee or milk, can enhance softness and flavor. To guarantee perfect rotis every time, consider these tips:
For soft, fluffy rotis, gently knead with warm water and rest the dough.
- Rest the dough for at least 20-30 minutes, allowing gluten to relax, resulting in softer rotis.
- Use the right flour—preferably whole wheat or atta with good protein content—for better elasticity.
- Handle the dough gently during rolling and cooking to avoid tough rotis, respecting traditional methods while adapting for your kitchen.
Frequently Asked Questions
Can I Use a Stand Mixer for Gluten-Free Roti Dough?
Yes, you can use a stand mixer for gluten-free roti dough. The stand mixer benefits include even kneading and saving you effort, but be cautious not to overmix, which can make the dough tough. For gluten-free alternatives, use a paddle attachment and knead just until combined. This way, you maintain the dough’s texture without overworking it, ensuring soft, pliable roti every time.
How Do I Adjust Kneading Time for Different Flour Types?
If you’re using whole wheat flour, you might need to increase the kneading duration because of its lower hydration compared to all-purpose flour. For example, with higher hydration flours, you should reduce kneading time to prevent overworking the dough. Adjust based on flour hydration levels, and monitor the dough’s texture. Typically, lighter flours need less kneading, while denser flours benefit from a slightly longer kneading process.
Is It Necessary to Rest the Dough After Mixing in a Stand Mixer?
Yes, resting the dough after mixing in a stand mixer helps improve gluten development, making your roti softer and easier to roll out. Resting allows the gluten strands to relax, preventing toughness. Cover the dough with a damp cloth and let it rest for about 15-30 minutes. This step guarantees ideal texture and elasticity, resulting in perfectly tender rotis that are easier to handle and cook.
Can I Use a Stand Mixer for Large Batches of Roti Dough?
Yes, you can use a stand mixer for large batches of roti dough, but think of your mixer as a mighty vessel, not an endless dough factory. Check its capacity to match your batch size—overloading risks uneven kneading or motor burnout. For big batches, use the paddle attachment on low speed, dividing dough into manageable portions. This way, you get perfectly kneaded dough without straining your mixer’s strength.
How Do I Store Leftover Dough Made in a Stand Mixer?
To store leftover dough made in a stand mixer, you should preserve its freshness through proper dough preservation. Wrap the dough tightly in plastic wrap or place it in an airtight storage container to prevent it from drying out. Keep the container in the refrigerator for up to 24 hours. Before use, let the dough come to room temperature, ensuring it remains soft and pliable for perfect roti.
Conclusion
With your stand mixer, you hold the key to perfectly tender rotis, like a skilled conductor guiding a symphony. By choosing the right attachments and stopping before overworking, you guarantee each batch sings with softness and flavor. Think of your dough as a delicate dance partner—gentle, attentive, and respectful of its nature. Master these steps, and every roti you make will be a harmonious creation, delighting taste buds and warming hearts with each bite.