
The main reason dough won’t rise in winter kitchens is cold temperatures that slow down or stop yeast activity. Yeast needs warmth to produce the gases that make dough expand. If your environment is too chilly, your dough stays flat and dense. To fix this, you should create a warm proofing space or use gentle heat sources. Want to know how to optimize your approach? Keep exploring for simple tips to get perfect rises year-round.
Key Takeaways
- Cold temperatures slow yeast activity, preventing dough from producing enough gas to rise properly.
- Using cold water or ingredients reduces yeast activation, hindering fermentation during winter.
- Insufficient warmth or drafty environments cause yeast dormancy, blocking dough expansion.
- Not creating a warm proofing environment delays or stops dough rising altogether.
- Expired or inactive yeast fails to produce the necessary gases for proper fermentation in cold conditions.

Garmin Edge® 1050, Premium Cycling Computer, Vivid Color Touchscreen Display, Built-in Speaker, Advanced Training and Group Ride Features, Road Hazard Alerts
Premium GPS cycling computer with vivid color touchscreen display combines superior navigation, planning and performance tracking, cycling awareness...
As an affiliate, we earn on qualifying purchases.
Why Does Cold Weather Slow Down Yeast Activity?
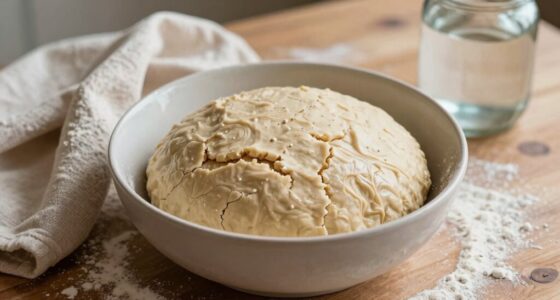
Cold weather slows down yeast activity because yeast is a living organism that relies on warmth to function ideally. When temperatures drop, yeast vigor decreases, making it harder for the yeast to produce the gases needed for rising dough. As a result, the dough’s consistency remains denser and less airy. Cooler conditions hinder the fermentation process, causing the yeast to become sluggish. This slowdown affects how quickly and effectively the dough rises, leading to flat or misshapen baked goods. To combat this, you need to maintain a warm environment that encourages yeast vitality. Proper temperature control ensures your dough develops the right texture and rises as expected, even during chilly winter months. Creating a warm environment techniques can help you create a cozy, warm space that supports your baking efforts, especially since yeast activity is highly sensitive to temperature changes. Additionally, using insulating covers can help retain heat and promote consistent fermentation.
Ninja CREAMi Scoop & Swirl Ice Cream Maker, Soft Serve Desserts, Sorbet, Milkshakes, Frozen Yogurt and More, 13-in-1 Programs, Includes Handle and Two 16 oz 2-in-1 Pints, NC701
SCOOP OR SWIRL: Customize flavors and choose between classic scooped or swirled treats. With 13 unique one-touch programs,...
As an affiliate, we earn on qualifying purchases.
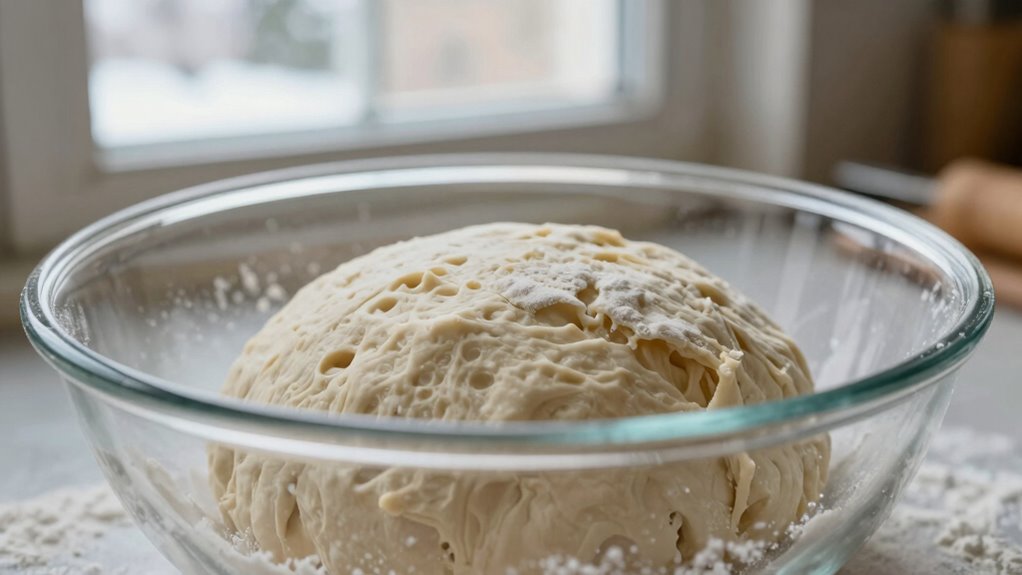
How Can You Tell If Your Yeast Isn’t Rising in Winter?
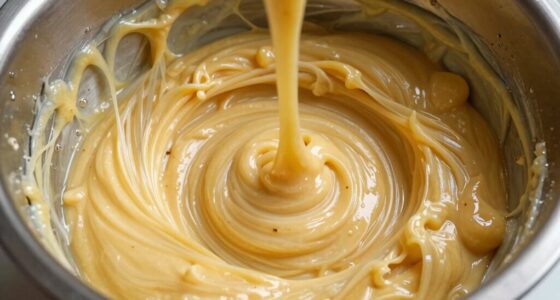
You can tell your yeast isn’t rising in winter if the dough remains flat and doesn’t develop the expected volume after proofing. This indicates poor yeast activation, often caused by cold temperatures or inactive yeast. Additionally, low-quality flour can hinder gluten development, making it harder for dough to rise even if the yeast is active. Check if your yeast bubbles or forms foam when mixed with warm water; if it doesn’t, the yeast may be dead. Also, consider the flour’s freshness—expired or low-quality flour can impact dough rise. Proper yeast activation involves warm liquids and fresh ingredients. If your dough stays flat despite these efforts, it’s likely the yeast or flour quality is to blame, especially during winter’s chill. Understanding the role of temperature in yeast activity can help improve your baking results. Recognizing how temperature control influences fermentation can make a significant difference in winter baking success, especially when using fresh, active yeast.
AeroGarden Harvest Lite in Cream, Soil-Free Indoor Hydroponic Garden with LED Grow Light for Year-Round Gardening of up to 6 Herbs and Vegetables
WARM, INVITING STYLE: The soft Cream finish of the AeroGarden Harvest Lite brings a natural feel to your...
As an affiliate, we earn on qualifying purchases.
How to Adjust Dough Temperature for Better Rise in Cold Conditions
To get your dough to rise better in cold weather, start by warming it slightly before mixing. You can do this by letting your ingredients sit at room temperature or gently warming the water. Also, place your dough in a warm spot, like near a radiator or inside an oven with the light on, to encourage ideal fermentation. Incorporating warm environment setup can make a noticeable difference in achieving a better rise. Additionally, understanding auditory processing can help you better interpret signs of proper fermentation, such as the dough’s texture and bubble formation. Monitoring fermentation cues can further optimize your baking results in winter conditions. Utilizing electric heating options can provide more consistent warmth to support fermentation.
Warm Dough Before Mixing
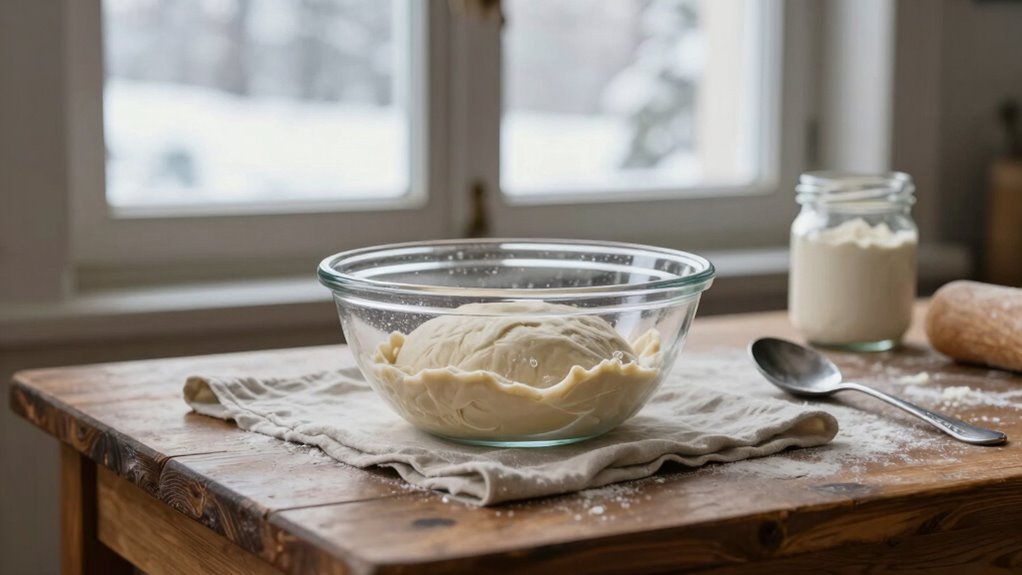
When working in winter kitchens, warming your dough before mixing can make a significant difference in its ability to rise properly. Properly warmed dough promotes better yeast nutrition, encouraging active fermentation. To achieve ideal dough elasticity, aim for a temperature between 75-80°F before mixing. Use a bowl of warm water or gently warm your ingredients to avoid shocking the yeast. Here’s a quick reference:
| Tip | Effect |
|---|---|
| Warm water for mixing | Boosts yeast activity and dough elasticity |
| Pre-warming ingredients | Ensures consistent dough temperature |
| Avoid hot water | Prevents killing yeast |
| Use a thermometer | Maintains precise temperature |
Warming your dough ensures better rise and improved texture, especially in cold conditions. Additionally, monitoring dough temperature can help achieve consistent results across different baking sessions.
Use Warm Environment
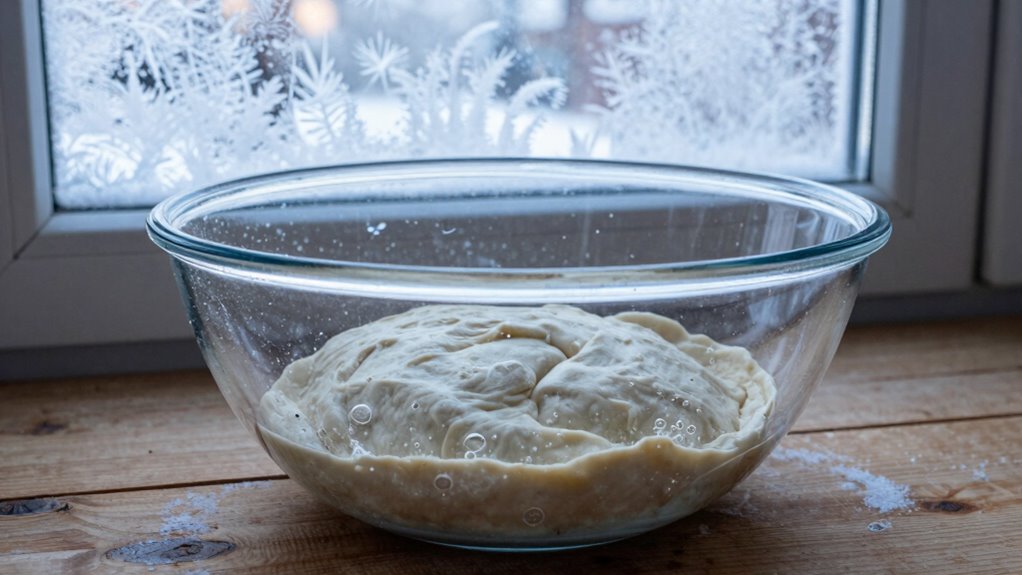
In cold conditions, simply warming the dough isn’t enough; creating a warm environment around it helps guarantee proper rising. To do this, set your dough in a space where the ambient temperature stays consistently warm, ideally between 75-80°F. Avoid drafts or cold windows that can lower the temperature. You can use your oven with the light on or place the dough near a radiator—but be careful not to overheat. A warm environment encourages yeast activation, which is essential for dough to rise properly. Cover the dough with a damp cloth or plastic wrap to trap heat and moisture. By controlling the ambient temperature, you’ll give your yeast the best chance to activate fully, resulting in a better rise even during cold winter days.

Oura Ring 4 - Rose Gold - Size 8 - Size Before You Buy
ACCURATE SIZING ESSENTIAL - Oura Ring 4 uses unique sizing different from standard jewelry rings; use the Oura...
As an affiliate, we earn on qualifying purchases.
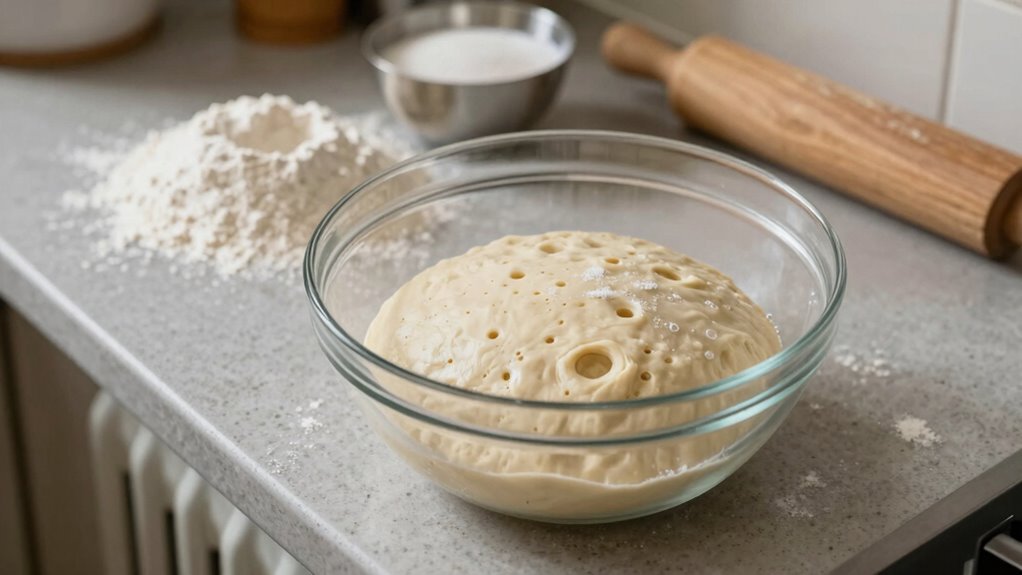
What Are the Best Ways to Proof Dough in a Cold Environment?
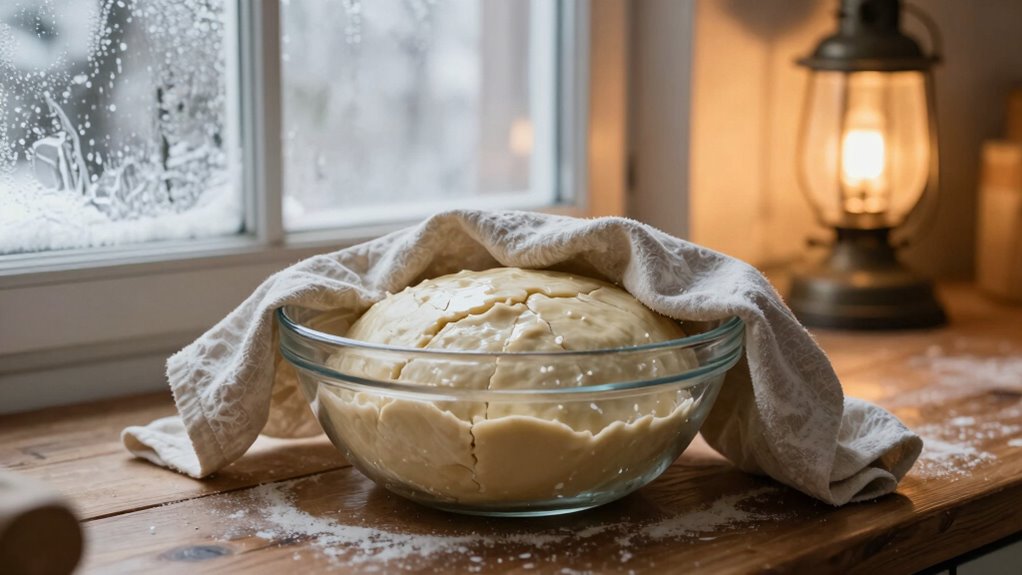
Proofing dough in a cold environment can be challenging, but there are effective strategies to help your dough rise properly. To encourage yeast activation, start by warming your ingredients slightly before mixing, ensuring the yeast is not exposed to extreme cold. Using a proofing box or placing your dough in a warm spot, like near a radiator or inside an oven with the light on, can create a more suitable environment. Covering the dough with a damp cloth or plastic wrap helps retain moisture and improves dough elasticity, making it easier for the dough to expand. Keep an eye on the dough’s rise, as cold temperatures slow fermentation. Patience is key—adjust your proofing time accordingly to achieve a well-risen, airy dough. Additionally, understanding how temperature impacts yeast activity can help you better control fermentation conditions and improve your baking results. Incorporating natural insulation techniques, such as wrapping the dough in towels or placing it in a draft-free space, can also help maintain a consistent warmth for fermentation. Recognizing the effects of temperature on yeast activity can further refine your proofing process and lead to better baking outcomes. Using modern kitchen devices, like proofing drawers with precise temperature controls, can optimize proofing environments for consistent results.
How Using Warm Environments or Proofing Boxes Can Help Yeast Thrive
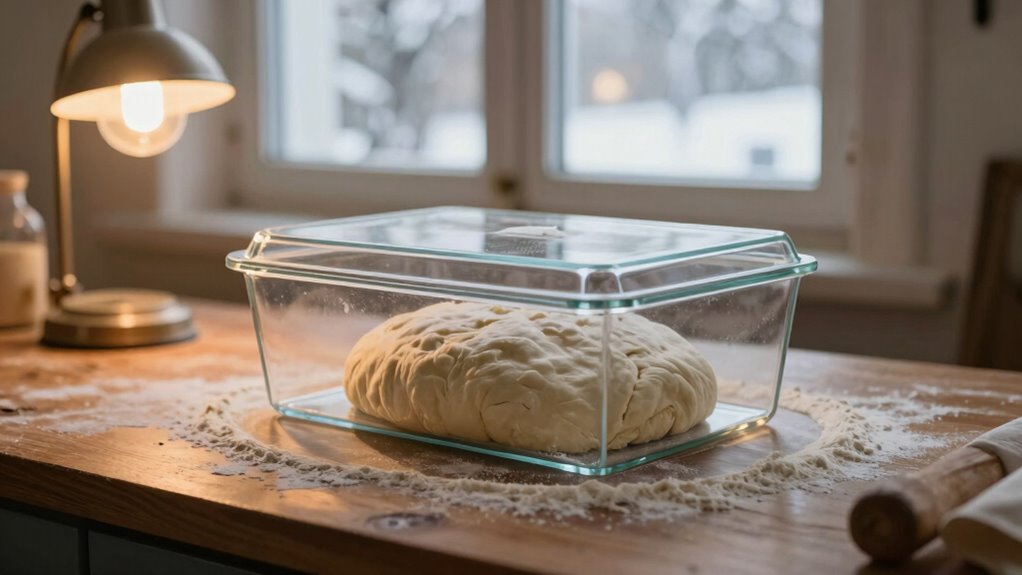
Creating a warm environment or using a proofing box provides an ideal setting for yeast to activate and ferment effectively. Maintaining proper temperature regulation boosts yeast vitality, encouraging consistent rising. Yeast thrives between 75°F and 85°F, so a controlled space helps prevent temperatures from dropping too low, especially in winter kitchens. Proofing boxes trap warmth and humidity, creating a steady environment for fermentation. This ensures the yeast stays active and produces the gases needed to leaven your dough. By providing a warm, stable setting, you minimize the risk of cold setbacks that inhibit rising. Temperature regulation is essential for maintaining the ideal conditions for yeast activity and achieving perfect dough rise. Additionally, consistent warmth helps prevent the yeast from becoming sluggish or dormant, ensuring reliable fermentation every time. Proper temperature regulation not only accelerates fermentation but also results in a better rise, fine texture, and improved flavor. Using these methods helps yeast do its best work, even during the coldest months, especially when combined with proper environment control.
Do Your Ingredients and Their Temperatures Affect Yeast Rising in Winter?
During winter, the temperature of your ingredients can profoundly impact how well yeast activates and rises. If your ingredients, especially liquids like water or milk, are too cold, yeast activation slows down or stops altogether. Cold ingredient temperatures hinder the yeast’s ability to produce the carbon dioxide needed for rising. To guarantee proper fermentation, warm your ingredients to about 100°F to 110°F before mixing. Using a thermometer helps you verify the right temperature. When your ingredients are at the correct temperature, yeast can activate efficiently, leading to better dough rise. Keep in mind, even a slight chill can delay proofing, so always check ingredient temperatures and warm them gently if needed. Proper ingredient temperature is key to successful rising in winter. Additionally, temperature control plays a crucial role in ensuring consistent fermentation and optimal dough rise during colder months.
Common Mistakes That Hinder Dough Rise in Cold Weather

If your dough isn’t rising, cold temperatures could be the culprit. Using water that’s too cold or not creating a warm enough proofing environment can slow fermentation or stop it altogether. Paying attention to these common mistakes helps guarantee your dough gets the warmth it needs to rise properly.
Cold Temperatures Slow Fermentation
Cold temperatures can substantially slow down the fermentation process, making it harder for your dough to rise properly. When your kitchen is cold, yeast activity diminishes, leading to longer proofing times. To counter this, use cold oven techniques by preheating your oven slightly, then turning it off before placing the dough inside. This creates a warm, draft-free environment that encourages fermentation. You can also consider ingredient substitutions, like adding a small amount of warm water or milk to help activate yeast faster. Keep in mind, avoiding drafts and temperature fluctuations is essential. By controlling the environment, you give your dough a better chance to rise, even in chilly conditions, ensuring a light and airy loaf.
Incorrect Water Temperature Usage
Using water at the wrong temperature is a common mistake that can prevent your dough from rising properly in cold weather. If the water is too hot, it can kill the yeast, halting activation and stopping fermentation altogether. On the other hand, water that’s too cold slows yeast activation, delaying or preventing dough rise. Ideally, the water should be warm—around 105°F to 110°F—to create a suitable environment for yeast activity. Using a thermometer helps guarantee accuracy. When water is at the right temperature, yeast activates quickly and efficiently, producing the carbon dioxide needed for a good rise. Proper temperature control is essential for successful baking, especially in winter when ambient cold temperatures can hinder yeast performance. Always check your water temperature before mixing, especially in winter, when cold temperatures can make it tempting to use water that’s too cold for proper yeast activation.
Insufficient Proofing Environment
Even with the right water temperature, dough still won’t rise properly if you don’t provide a warm, stable environment for proofing. Yeast activation depends heavily on consistent warmth, which helps it produce the gases needed for rising. If your proofing space is too cold or fluctuates in temperature, yeast activity slows or stops, leading to poor dough expansion. Additionally, an insufficient proofing environment can negatively affect dough consistency, making it dense or uneven. To fix this, find a warm spot in your kitchen—like near a radiator or inside an oven with the light on—and cover the dough to retain heat and humidity. Maintaining a steady temperature ensures ideal yeast activation and proper dough rise, preventing the common mistake of underproofing during cold weather. A warm, stable environment is essential for optimal fermentation and dough development.
Tips for Troubleshooting Yeast Problems During Winter Baking
When yeast refuses to activate in winter, temperature fluctuations and low ambient warmth often cause issues. To troubleshoot yeast problems, focus on maintaining proper dough temperature for ideal yeast fermentation. Cold environments slow down fermentation, preventing dough from rising. To improve results:
- Warm your liquid ingredients slightly, around 100°F (38°C), before mixing
- Use a proofing box or warm spot in your kitchen
- Cover dough with a damp cloth to retain heat
- Avoid drafts that cool your dough quickly
Ensuring your dough is at the right temperature helps yeast ferment effectively. Use a thermometer to monitor dough temperature, aiming for 75-80°F (24-27°C). Proper warmth accelerates yeast activity, giving your dough the rise it needs even in winter.
Frequently Asked Questions
Can Using Expired Yeast Prevent Dough From Rising in Winter?
Yes, using expired yeast can prevent dough from rising in winter. When yeast’s freshness declines, it loses its ability to ferment properly, especially if the temperature isn’t ideal. To guarantee your dough rises, check your yeast’s expiration date and activate it in warm water before mixing. Maintaining proper temperature control during proofing also helps activate fresh yeast, giving your dough the best chance to rise beautifully.
Does the Type of Flour Affect Yeast Activity in Cold Weather?
Think of flour as the foundation of your rising success and yeast as the spark that ignites it. In cold weather, choosing a flour with higher protein content (like bread flour) provides stronger gluten, giving yeast a sturdy environment to work in. Different yeast strains respond uniquely; active dry yeast may need extra warmth, while instant yeast works faster. Selecting the right flour protein and yeast strain helps your dough rise despite winter’s chill.
Is It Necessary to Increase Sugar for Better Yeast Fermentation in Winter?
You don’t need to increase sugar for better yeast fermentation in winter unless your dough isn’t rising well. Sugar adjustments can help, but too much can inhibit yeast activity. Focus on maintaining a warm environment for your dough, as yeast activity slows in cold temperatures. If your dough struggles, a small amount of sugar can boost fermentation, but don’t overdo it—balance is key to achieving a good rise.
How Does Humidity Impact Dough Rising During Winter Months?
Humidity impact on winter dough is like a sponge soaking up moisture—too little, and your dough dries out, making it hard to rise; too much, and it becomes sticky and difficult to handle. During winter months, low humidity can slow yeast activity, preventing proper rising. To improve your winter dough, maintain consistent humidity levels by covering your dough well or using a humidifier to foster ideal rising conditions.
Can Adding Alcohol or Other Ingredients Interfere With Yeast Fermentation?
Adding alcohol or other ingredients can interfere with yeast fermentation, mainly through alcohol interference and ingredient interactions. Alcohol can inhibit yeast activity if used excessively, slowing or halting rising. Certain ingredients, like fats or acidic components, may also disrupt yeast’s ability to produce carbon dioxide. To guarantee proper fermentation, use alcohol sparingly and consider how ingredients interact, avoiding anything that might suppress yeast activity or alter the dough’s rising process.
Conclusion
Did you know that yeast activity slows by nearly half when temperatures drop below 75°F? In winter kitchens, cold can considerably hinder your dough’s rise. But with the right adjustments—like warming your ingredients or using proofing boxes—you can overcome this. Don’t let the cold sabotage your baking. Keep your environment warm and your dough cozy, and you’ll enjoy perfectly risen bread all winter long. Happy baking!