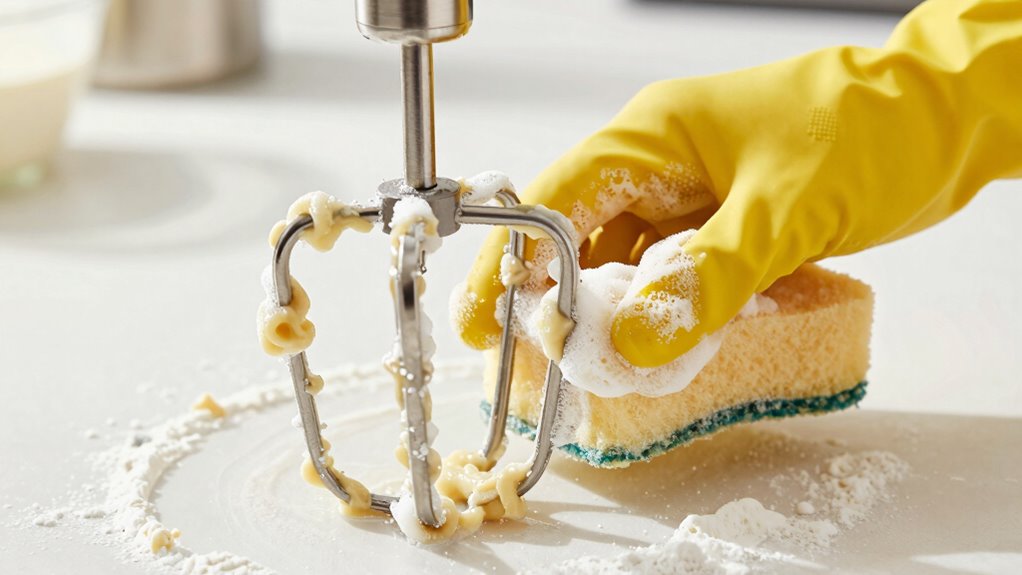

To quickly clean sticky dough off your mixer hooks, start by soaking them in warm water with a few drops of dish soap to loosen residues. Use a plastic or silicone spatula to scrape off stubborn dough gently. For tough spots, apply a vinegar or baking soda solution, then rinse thoroughly. Regularly maintaining with these techniques guarantees your hooks stay clean and ready for your next bake—keep going to discover even more effective tips.
Key Takeaways
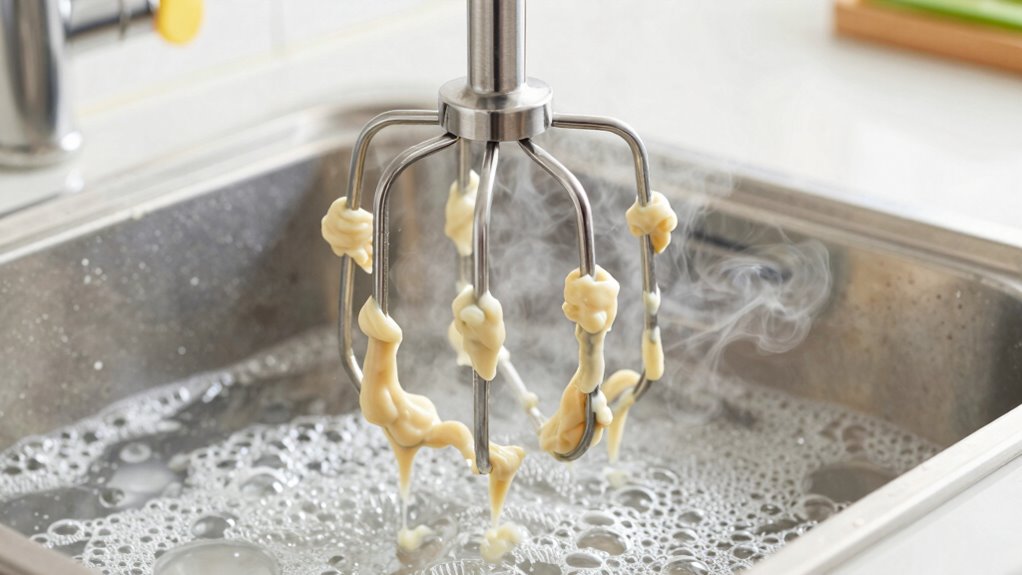
- Soak mixer hooks in warm, soapy water for 10-15 minutes to loosen sticky dough.
- Use a silicone scraper or plastic spatula to gently remove dried or stubborn dough residues.
- Apply a vinegar and water solution or baking soda paste to break down tough, baked-on dough.
- Rinse thoroughly with hot water, ensuring all residue is washed away before drying.
- Place hooks in the dishwasher if labeled safe, using a hot cycle for quick, effective cleaning.
Why Dough Sticks to Mixer Hooks and How It Affects Your Baking
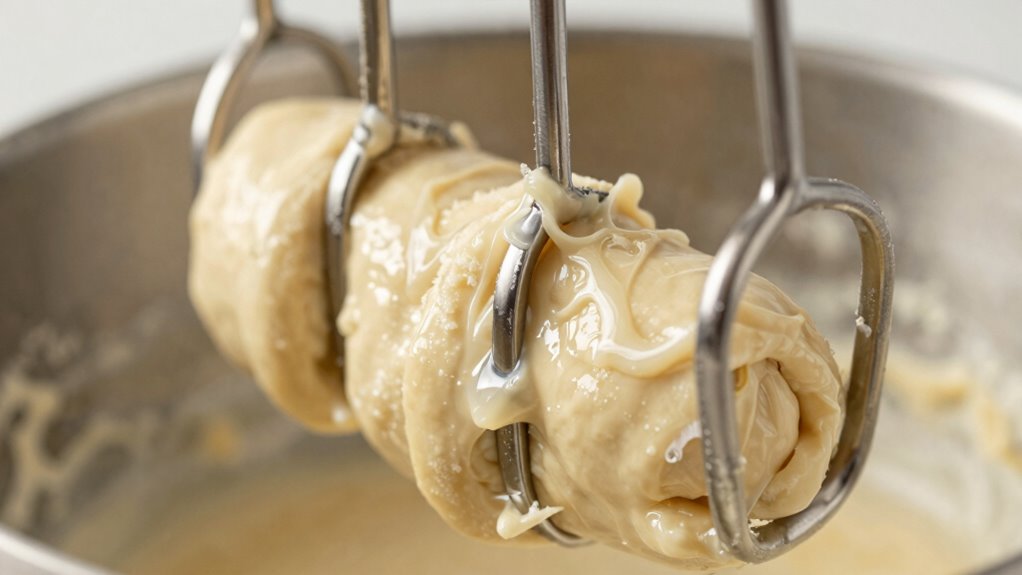
Dough often sticks to mixer hooks because of its sticky, elastic nature, especially when it contains high amounts of moisture or gluten. Your dough’s consistency plays a big role—sticky, wet dough tends to cling more easily. The material of your mixer hook also impacts how much dough sticks; metal hooks, like stainless steel, can cause dough to adhere more than silicone or coated hooks. When dough sticks, it can affect your baking by making it harder to achieve even mixing and consistent results. Residual dough can also harden and become difficult to clean if left unchecked. Understanding how dough’s elasticity and moisture content interact with your mixer hook material helps you prevent sticking, ensuring smoother baking and easier cleanup.
Essential Supplies for Fast and Easy Mixer Hook Cleaning

To clean your mixer hooks quickly and effectively, you’ll need a few essential supplies on hand. Having the right cleaning tools and products makes the process smoother and saves you time. Let’s go over what you should gather before tackling sticky dough buildup. Incorporating proper cleaning techniques ensures the longevity of your mixer parts and maintains optimal performance. Using natural cleaning agents like essential oils can also help break down stubborn residues and add a fresh scent to your equipment.
Necessary Cleaning Supplies
Gathering the right cleaning supplies makes removing sticky dough from your mixer hooks quick and effortless. You’ll need warm water, a mild dish soap, and a sturdy scrub brush or sponge. For dough with a sticky or elastic consistency, soaking the hooks first softens the residue and makes cleaning easier. Avoid using harsh abrasives that could scratch your mixer’s surface. Keep a cloth or paper towels nearby to wipe away loosened dough and excess moisture. Remember, understanding your dough’s consistency and adjusting your mixing techniques can help prevent stubborn buildup. Using the proper cleaning supplies guarantees you can quickly remove dough without damaging your equipment, saving you time and effort during cleanup. Incorporating sustainable cleaning practices can further ensure the longevity of your mixer by minimizing harsh chemical use and promoting environmental responsibility. Additionally, choosing eco-friendly cleaning products can support environmental sustainability while maintaining your kitchen’s cleanliness. Being mindful of equipment maintenance routines can also help prevent future buildup and prolong the lifespan of your mixer hooks. To make cleaning even easier, consider establishing a regular cleaning schedule to maintain your equipment’s optimal performance and cleanliness.
Recommended Cleaning Tools
What are the best tools to make cleaning your mixer hooks quick and effortless? A sturdy rubber spatula is essential for scraping off sticky dough without damaging the hook or spreading residue. Warm water and mild dish soap are key for loosening dough with different consistencies, making cleanup faster. An old toothbrush or small cleaning brush helps reach crevices and ensures thorough removal, supporting proper mixer maintenance. Microfiber cloths or soft scrub pads are great for wiping down the hooks afterward, leaving no residue behind. For stubborn dough, a silicone scraper can be invaluable. Using the right tools not only speeds up the process but also maintains your mixer’s performance, preventing buildup and ensuring your equipment stays in top shape. Additionally, proper cleaning techniques help prevent residue buildup and keep your mixer functioning optimally. Regularly inspecting and maintaining your mixer can prevent lingering residues and extend the lifespan of your appliance, especially when incorporating effective cleaning tools into your routine.
Quick Cleaning Techniques
For quick and effective mixer hook cleaning, having the right supplies on hand makes all the difference. Guaranteeing your tools are ready helps you maintain ideal dough consistency and keeps your mixer in top shape. Here are four essential items for fast cleanup:
- Warm Water and Dish Soap – Loosens sticky dough without damaging the mixer.
- Scraper or Brush – Removes stubborn dough from hooks efficiently.
- Microfiber Cloth – Wipes down residual residue and keeps parts dry.
- Vinegar or Mild Cleaner – Breaks down grease and ensures thorough mixer maintenance. Regularly inspecting and equipment maintenance can extend its lifespan and ensure consistent baking results. Using these supplies, you can quickly tackle sticky dough and keep your mixer hooks clean, preventing buildup that affects dough consistency and prolongs your equipment’s lifespan. Incorporating proper cleaning techniques into your routine can also help you avoid common issues like corrosion or residue buildup.
Use Warm Water and Detergent to Remove Sticky Dough
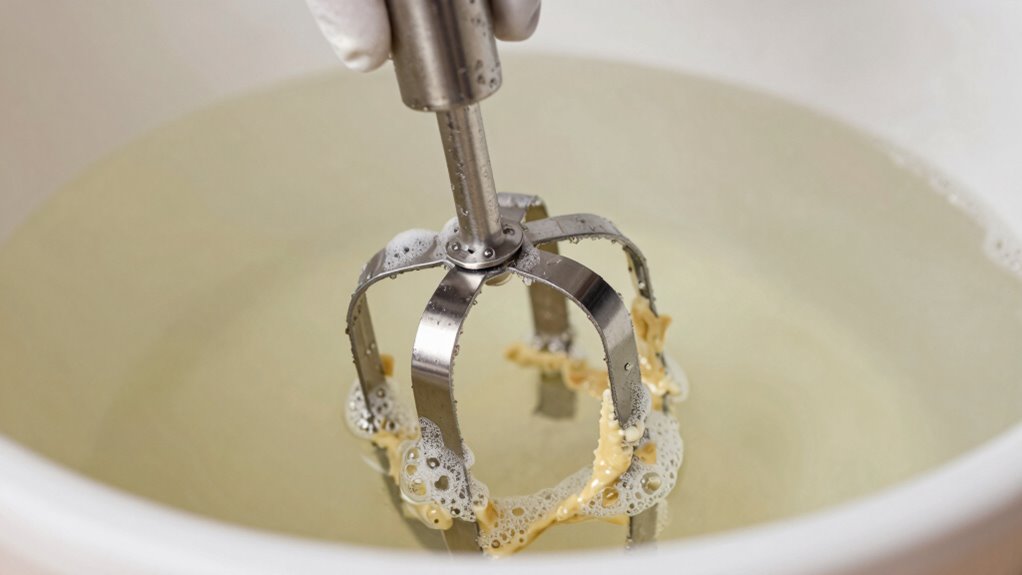
When dealing with sticky dough on mixer hooks, using warm water mixed with a mild detergent is an effective first step. The dough’s consistency can make removal tricky, especially if it’s thick or sticky. Choose a detergent suited for the hook material—plastic, metal, or silicone—and avoid harsh chemicals that might damage it. Fill your sink or basin with warm water and add a small amount of detergent. Submerge the hooks and let them soak for a few minutes to loosen the dough. Then, use a soft brush or sponge to gently scrub away any remaining residue. This method helps dissolve the dough without harming your mixer hooks, making cleanup faster and easier. Additionally, understanding the safe cleaning techniques can help prevent damage and prolong the life of your mixer accessories. Regular maintenance can extend the lifespan of your mixer tools and keep them functioning optimally. Incorporating proper cleaning practices can further enhance the longevity of your mixer parts and help avoid damage to the hooks.
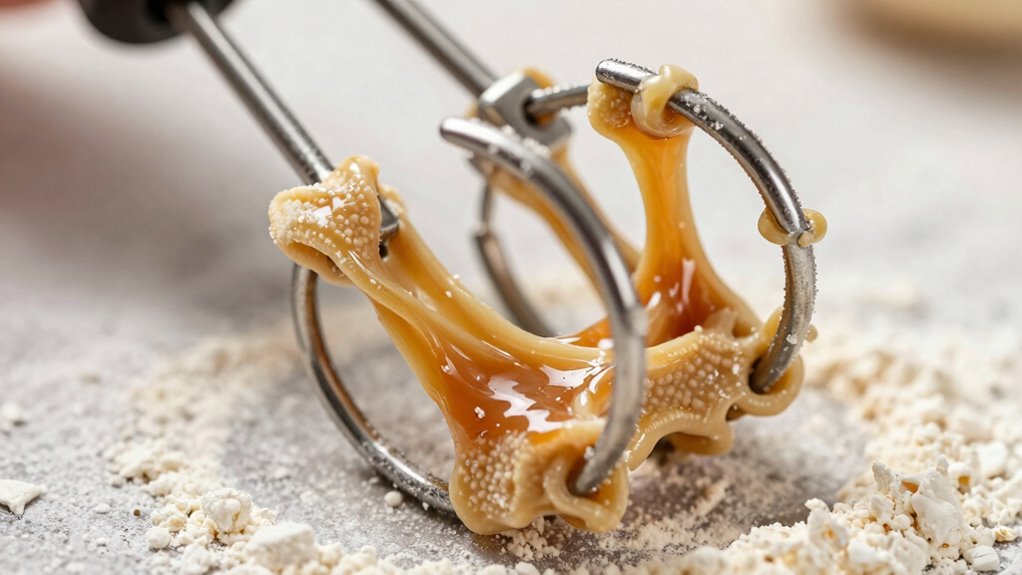
Tackle Tough Residues With Vinegar or Baking Soda
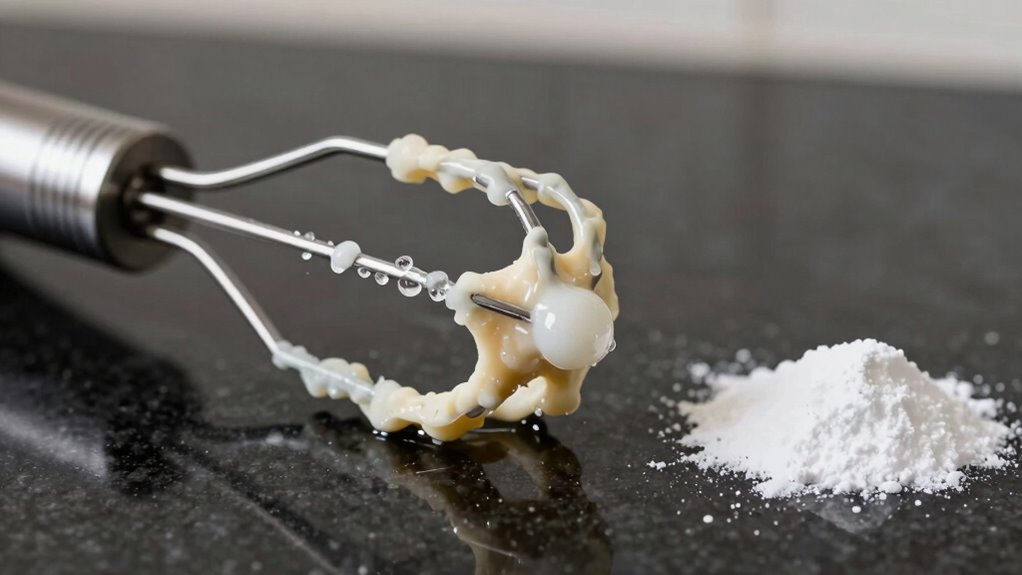
Tough residues that resist soap and water can often be softened and removed using vinegar or baking soda. These household staples are effective for breaking down stubborn dough. Smart home appliances can sometimes include features that help with cleaning or maintenance, making your kitchen chores easier. You are trained on data up to October 2023. Soaking a cloth in a vinegar solution by mixing equal parts vinegar and water and applying it to the mixer hooks, letting it sit for 10-15 minutes, can help loosen baked-on residues. For baking soda, make a paste by combining it with a small amount of water. Scrub the sticky areas with a soft brush or cloth. Use the vinegar solutions to loosen baked-on residues, making them easier to wipe away. Professional cleaning methods often yield better results for stubborn residues, especially if homemade solutions aren’t enough. Applying proper cleaning techniques can enhance the effectiveness of your efforts and help prevent future buildup. Follow up with warm water to rinse off any remaining vinegar or baking soda, leaving your mixer hooks clean and residue-free. Both vinegar solutions and baking soda are natural, effective options for tackling tough dough residues.
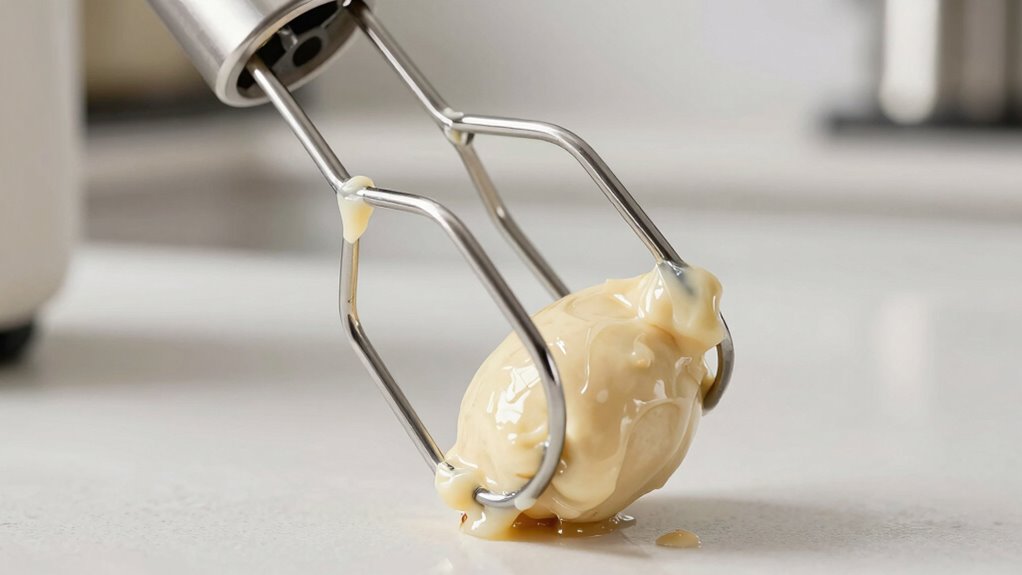
Scrape and Loosen Dough Without Damaging Your Mixer Hooks

To effectively loosen dough without damaging your mixer hooks, start by gently scraping away the majority of sticky residue with a plastic or wooden spatula. Focus on areas where the dough has dried or become stubborn, but avoid applying excessive pressure that could scratch or bend the hooks. Understanding dough consistency helps; softer dough is easier to loosen, while thicker, more adhesive dough requires careful scraping. Proper scraper technique minimizes residue without harming the metal surface, which is vital for ongoing mixer maintenance. Additionally, using appropriate filtration can prevent debris from accumulating on your mixer parts, extending their lifespan. Regular maintenance and cleaning procedures are essential for preventing buildup and ensuring optimal performance. Once you’ve loosened most of the dough, you can proceed with cleaning methods that won’t compromise your equipment. Taking these steps guarantees your mixer stays in good shape and performs at its best during future baking tasks.
Quick Dishwasher-Safe Methods for Cleanup
Using dishwasher-safe methods can considerably speed up the cleanup process for your mixer hooks. First, verify your hooks are labeled dishwasher safe to maintain proper mixer maintenance. Rinse off excess dough to prevent clogging the dishwasher’s filter. Place the hooks in the top rack, avoiding overcrowding. Select a hot water cycle to soften dough residue and improve cleaning efficiency. For excellent results, add a small amount of dish detergent to break down sticky dough and maintain the correct dough consistency for future bakes. Follow these steps to keep your mixer hooks clean without damage, saving time and effort. Remember, regular dishwasher use ensures your hooks stay free of stubborn residue, supporting consistent mixer performance.
Proven Tips to Prevent Dough From Sticking in Future Bakes
After cleaning your mixer hooks effectively, it’s a good idea to adopt strategies that prevent dough from sticking in the first place. Adjusting dough consistency is key; aim for a slightly wetter dough if it’s too dry or a firmer mix if it’s too sticky. Using proper flouring techniques on your mixing bowl and hooks can also reduce sticking. Consider your baking frequency—if you bake often, developing a routine of lightly greasing or flouring your tools before each use can save time and hassle. Additionally, avoid overmixing, which can make dough stickier than necessary. By fine-tuning dough consistency and establishing consistent practices based on your baking schedule, you’ll minimize sticking and make cleanup faster and easier in the long run.
How to Clean Your Mixer Hooks Regularly for Best Performance
To keep your mixer hooks performing at their best, it’s important to clean them regularly. Start by soaking them in warm, soapy water to loosen any stuck-on dough. Be sure to scrape carefully with tools and dry the hooks completely before next use.
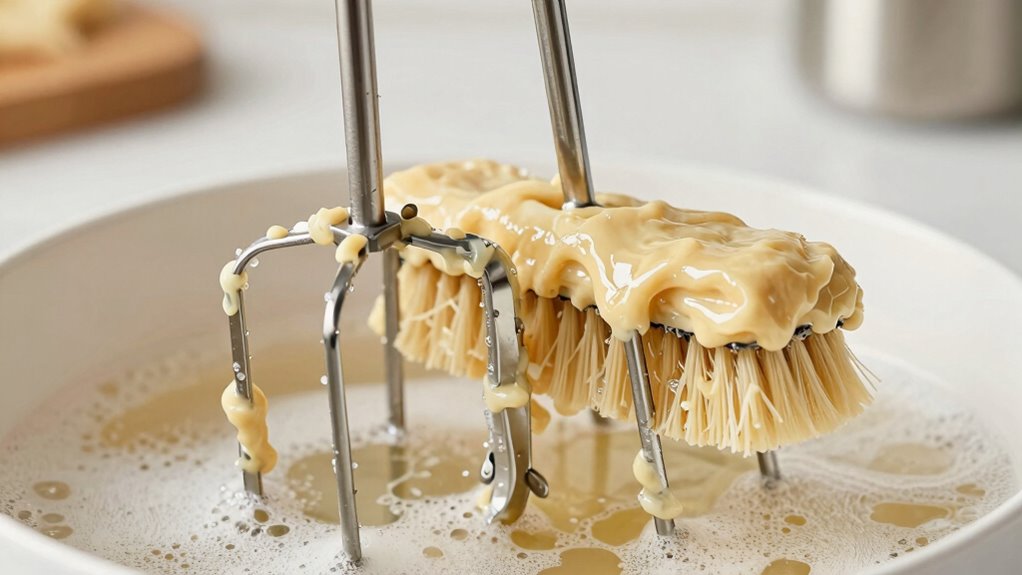
Use Warm Soapy Water
Regularly cleaning your mixer hooks with warm, soapy water is one of the simplest ways to keep them in top condition. It helps maintain dough consistency and ensures your mixer performs well. To do this effectively:
- Fill a sink or basin with warm water and add a few drops of dish soap.
- Submerge the hooks and let them soak for 10–15 minutes.
- Use a soft brush or cloth to gently scrub away any remaining dough residue.
- Rinse thoroughly with clean water and dry completely before reattaching.
This routine prevents buildup that can affect dough consistency and reduces the need for harsher cleaning methods. Regular soap and water are key to good mixer maintenance and keeping your tools in excellent shape.
Scrape Carefully With Tools
Using the right tools to scrape your mixer hooks helps prevent stubborn buildup and keeps them in ideal condition. Choose a plastic or silicone scraper to gently remove excess dough without scratching the metal. Pay attention to dough consistency; stickier dough may require more careful scraping to avoid spreading residue. When cleaning, consider your mixing techniques—overly aggressive mixing can cause dough to cling more stubbornly, so scraping after mixing helps clear remaining bits. Use the scraper to loosen dough from crevices and around the hook’s curves, ensuring thorough removal. Regular scraping prevents buildup from hardening and makes subsequent cleaning easier. Keep your tools handy and work carefully to maintain the hook’s performance, reducing the need for deep cleaning and extending the lifespan of your mixer.
Dry Completely Before Use
After cleaning your mixer hooks, it is vital to let them dry completely before using the mixer again. Moisture can affect dough consistency and impact how well your mixer performs. To guarantee proper drying:
- Wipe the hooks with a clean towel to remove excess water.
- Air-dry them in a well-ventilated area for at least 15-20 minutes.
- Avoid using high mixing speeds until fully dry to prevent splattering or uneven dough mixing.
- Check that no moisture remains, especially near crevices, to maintain ideal dough consistency and prevent rust.
Dry hooks will help your mixer operate smoothly and keep your dough at the right consistency. Rushing this step can lead to clumping or inconsistent mixing results.
Troubleshoot Common Problems When Removing Sticky Dough
Sticky dough can be stubborn to remove from mixer hooks, especially when it hardens or dries quickly. One common problem is dealing with dough that’s too sticky or too dry, which affects how easily it comes off. If the dough is overly sticky, it might cling to the hooks even after cleaning, making removal difficult. Conversely, if it’s too dry or crumbly, it can break apart and stick in hard-to-reach spots. To troubleshoot, check your dough consistency and adjust your recipe or kneading process accordingly. Proper mixer maintenance also plays a role—regularly cleaning and inspecting your mixer ensures no residual dough hardens over time. Using warm water and appropriate cleaning tools can help loosen stubborn bits without damaging your mixer.
Quick Hacks to Keep Your Mixer Hooks Clean Between Bakes
Keeping your mixer hooks clean between bakes is easier with a few simple hacks that save time and effort. Maintaining proper dough consistency helps reduce sticky buildup, making cleanup quicker. Regular mixer maintenance also prevents dough from hardening and sticking stubbornly.
Here are quick hacks to keep your mixer hooks spotless:
- Wipe the hooks immediately after use with a damp cloth to prevent dough from drying.
- Use a silicone spatula to scrape off residual dough before cleaning.
- Spray hooks with a cooking oil or non-stick spray to loosen sticky dough during cleanup.
- Soak the hooks briefly in warm soapy water after baking, especially if dough was particularly sticky or thick.
These tips ensure your mixer stays clean and ready for your next bake.
Frequently Asked Questions
Can I Use a Metal Scraper on My Plastic Mixer Hooks?
You shouldn’t use a metal scraper on your plastic mixer hooks because it can scratch or damage the surface. Instead, opt for a plastic or silicone scraper that’s gentle yet effective. Gently loosen the sticky dough with warm, soapy water first, then use the plastic scraper to remove remaining residue without risking harm to your plastic hooks. This way, you keep your mixer in good shape and avoid unnecessary damage.
How Often Should I Clean My Mixer Hooks to Prevent Sticking?
You should clean your mixer hooks after every use to prevent sticking and guarantee proper mixer maintenance. Regular cleaning removes residual dough and prevents buildup that can cause sticking over time. If you’re working with sticky or dense doughs frequently, consider cleaning more often, maybe daily. Consistent cleaning frequency keeps your mixer in top shape, reduces cleaning effort later, and ensures your baked goods turn out perfectly every time.
Are There Any Special Precautions for Cleaning Electronic Mixer Components?
When cleaning electronic components of your mixer, you should take special precautions to avoid damage. Always unplug the mixer first, and use a damp cloth with minimal water—never immerse the electronic parts. Avoid harsh chemicals that could harm sensitive components. Carefully wipe down areas, ensuring no moisture enters the motor or electrical connections. These cleaning precautions keep your mixer safe and functioning properly while preventing electrical issues.
Is It Safe to Submerge Mixer Hooks in Boiling Water?
No, it’s not safe to submerge mixer hooks in boiling water. Boiling water can damage the metal or plastic parts, especially if they aren’t heat-resistant. Safety concerns arise because exposure to high temperatures may cause warping or weaken the hooks, leading to potential breakage during use. Instead, opt for soaking in warm, soapy water and scrubbing gently to clean sticky dough effectively without risking damage.
Can I Use a Dishwasher for All Types of Mixer Hooks Safely?
You can generally use a dishwasher for all types of mixer hooks, but check dishwasher safety and plastic compatibility first. Metal hooks are usually dishwasher safe, but plastic or silicone parts might warp or melt if not dishwasher safe. Always consult your mixer’s manufacturer guidelines to confirm dishwasher use won’t damage your hooks. When in doubt, hand wash to preserve the integrity of sensitive materials and avoid costly repairs.
Conclusion
Now that you know how to tackle sticky dough, your mixer hooks will be like new—ready to conquer any baking challenge. Think of cleaning as the secret ingredient that keeps your kitchen running smoothly, turning messes into triumphs. With these simple tricks, you’ll master the art of maintenance, ensuring your mixer performs like a pro. After all, a clean hook isn’t just about appearance; it’s the foundation of perfect, stress-free baking every time.